In this article
DIY Headboard Ideas for Any Budget
DIY headboard ideas for every budget and skill level, from no-tools renter options to upholstered and wood builds you can finish in a weekend.

· 7 min read
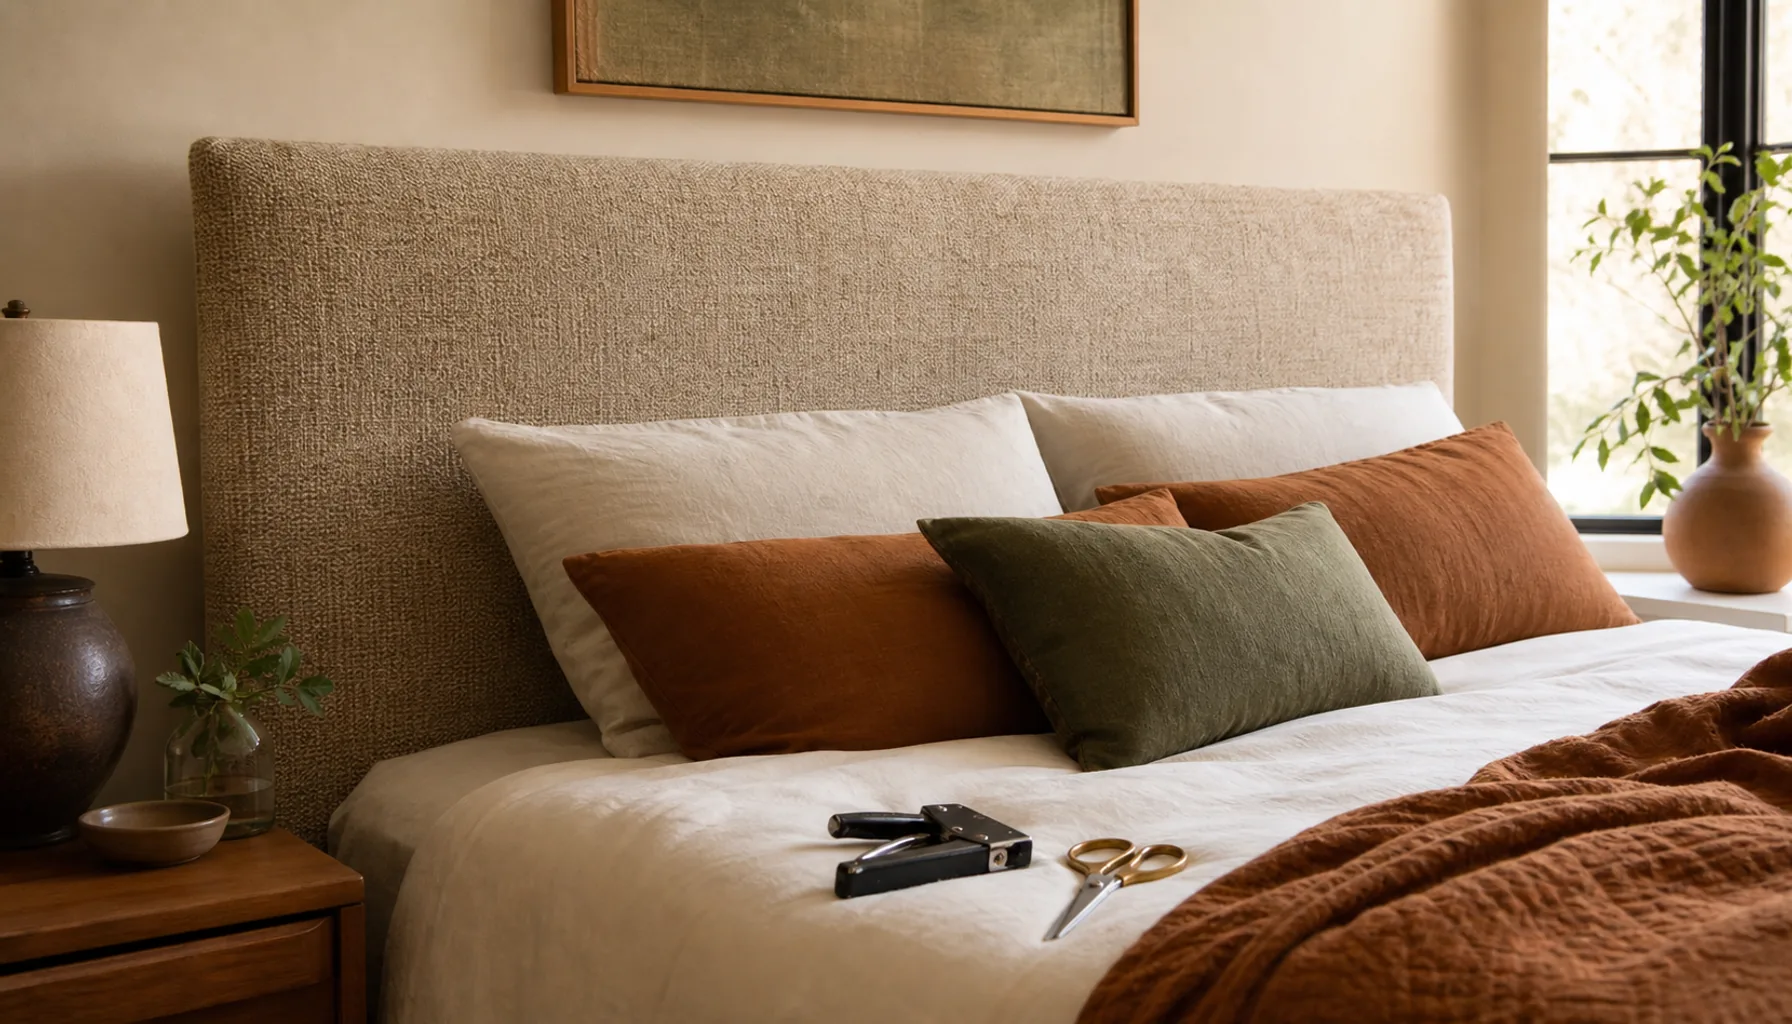
A headboard changes how a bed feels. It gives the eye somewhere to rest, frames your pillows, and quietly signals that the room was cared for. And you do not need a big budget, a garage full of tools, or much experience to make one. Below are practical DIY headboard ideas sorted roughly from easiest to most involved, so you can pick the one that fits your time, your wallet, and your living situation.
Measure First, Then Set a Budget
Before you fall in love with a look, grab a tape measure. Note the width of your bed (a standard rule is to match the mattress width or add a few centimetres on each side), then decide how tall you want the headboard to sit above the mattress. Most people land somewhere between 60 and 120 cm above the mattress top, but taller looks dramatic in rooms with high ceilings.
Setting a rough number now keeps the project honest. It is easy to start with a cheap plan and drift into premium fabric and hardware halfway through. Write down what you can spend, then choose an idea that fits inside it.
A quick tip: sketch the headboard on your wall with painter's tape first. Living with the outline for a day tells you more about the right size than any online guide.
Do not guess at this part. A headboard that is too narrow looks like an afterthought, and one that is too tall can overwhelm a small space.
No-tools headboard ideas for renters
If you rent, or you simply do not want to drill, you still have real options. The problem you are solving is impact without permanent damage, and there are several ways to get it.
- A large textile (a woven blanket, kilim, or tapestry) hung from a slim rod reads as a headboard and softens sound.
- A row of peel-and-stick tiles or wallpaper behind the bed creates a defined zone with no frame at all.
- Removable adhesive hooks can hold a lightweight fabric panel or a length of moulding.
Why it matters: a headboard is as much about defining the space above the bed as it is about a solid object. A framed shape on the wall does most of that work. If you want more portable, low-commitment changes throughout the room, these renter-friendly upgrades you can take with you pair nicely with a no-tools headboard.
One thing to watch: hanging something heavy on adhesive hooks. Check the weight rating and keep panels light, or you will wake up to a crash.
The classic upholstered headboard DIY
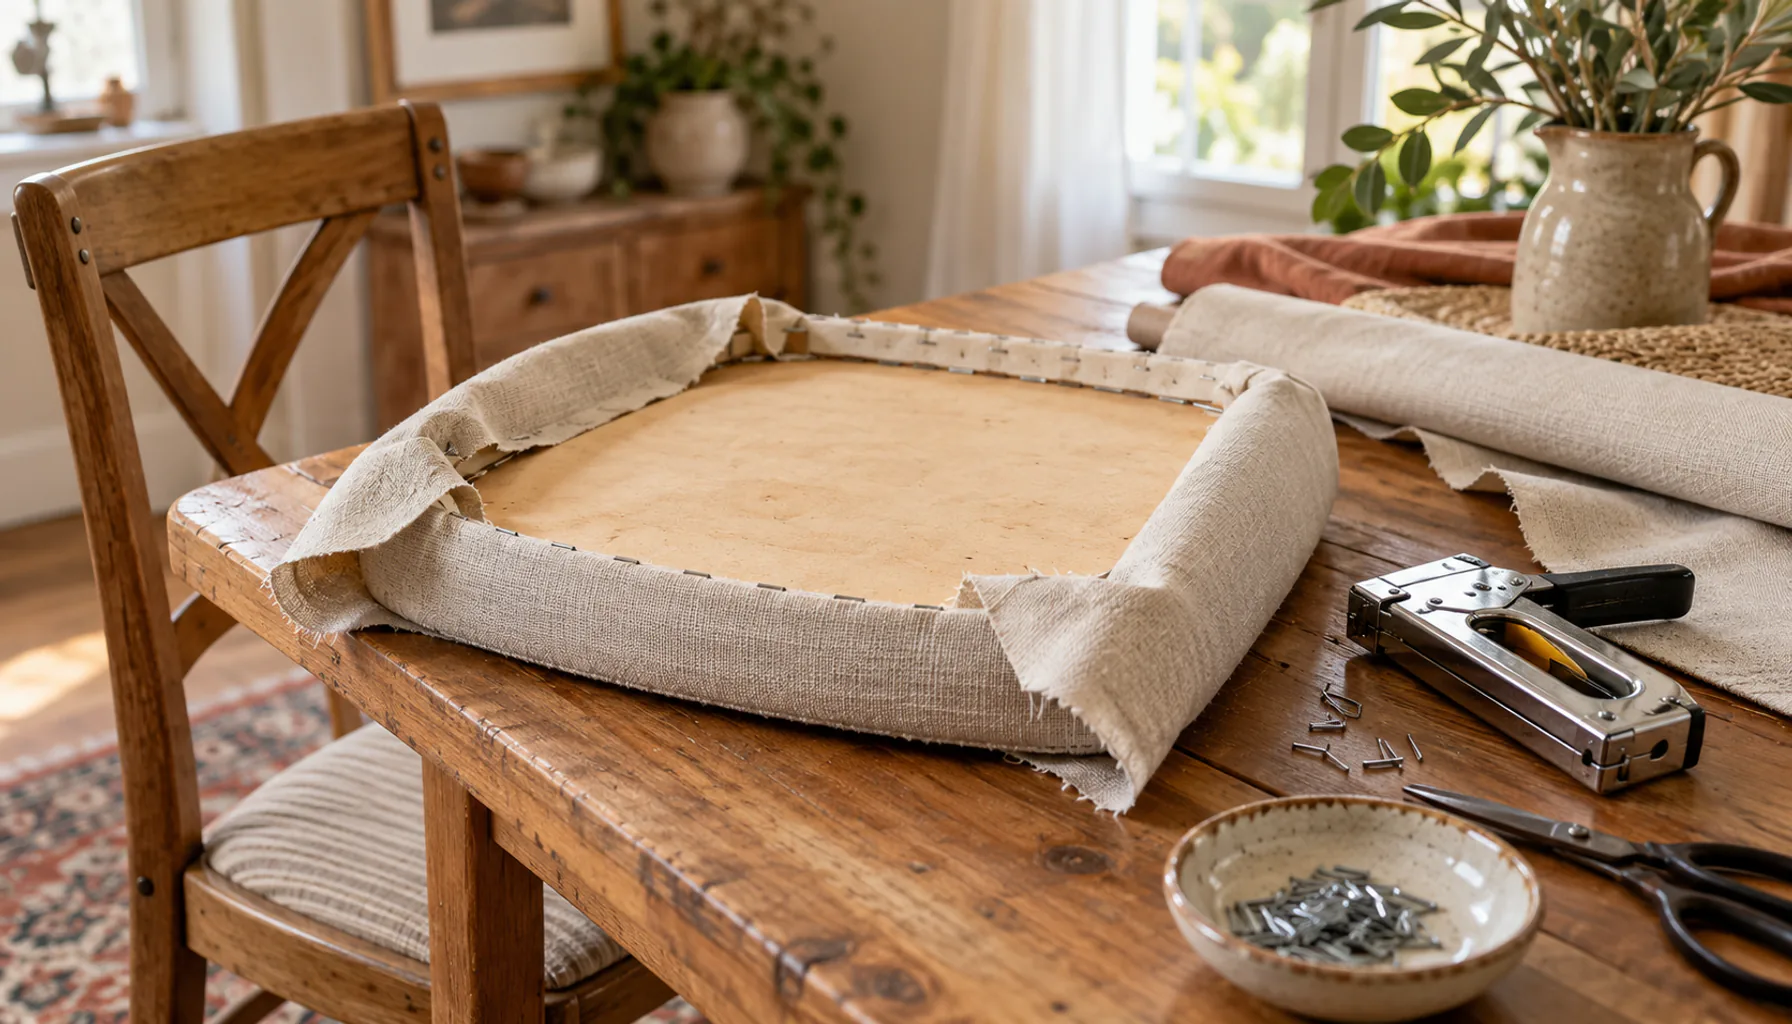
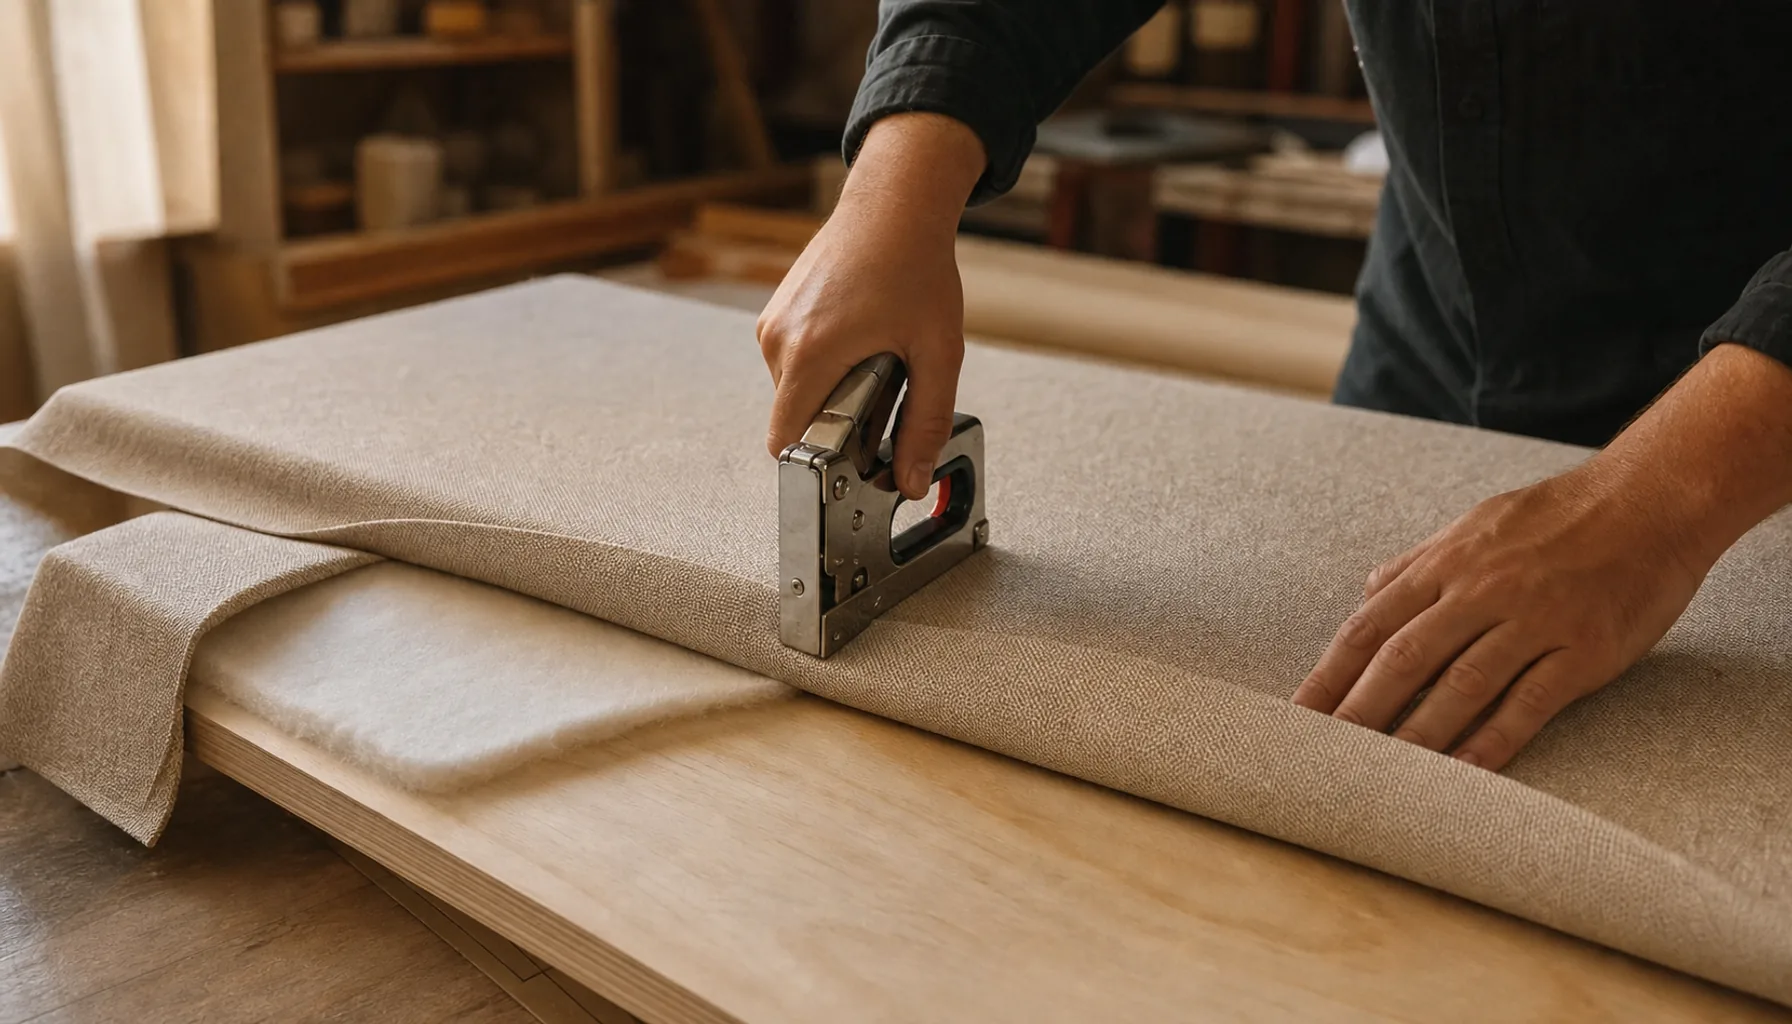
An upholstered headboard is the project most beginners are surprised they can pull off. At its core it is a rectangle of plywood or MDF, a layer of foam, a layer of batting, and fabric wrapped around the back and stapled in place.
The basic method
1. Cut your board to size (many hardware stores will cut it for you, which solves the no-saw problem).
2. Glue foam to the front, then wrap batting over the foam for a soft edge.
3. Lay your fabric face down, set the board on top, and staple the fabric to the back, pulling firmly and working from the centre outward.
4. Mount it to the wall with a cleat, or let it rest behind the bed held by the frame.
Choose a mid-weight, tightly woven fabric; it staples cleanly and wears well. This project is about comfort as much as looks. An upholstered panel is genuinely pleasant to lean against when you read in bed.
The common mistake is uneven tension. If you pull one corner tighter than the others, the fabric puckers. Go slowly and check the front often.
Cheap headboard ideas using what you already own
Some of the best cheap headboard ideas cost almost nothing because they repurpose things you have. An old wooden door, a salvaged shutter, or a section of decorative fencing can all become a headboard with a light sand and a wipe-down.
The point here is character. Reclaimed pieces bring texture and history that a flat new panel cannot fake. If you enjoy this hunt-and-restore approach, our guide to upcycling furniture with basic tools and first projects walks through the starter kit and the mindset.
Avoid one thing: skipping the cleaning and sealing step on salvaged wood. Old finishes can flake, and unsealed wood near your pillows collects dust. A quick clean and a clear sealer solve it.
A simple wood-plank headboard
If you want something sturdy and modern, a plank headboard is a friendly first woodworking project. You attach several boards to two vertical supports on the back, creating a slatted or solid panel. Reclaimed boards give a rustic feel; new pine sanded smooth gives a clean one.
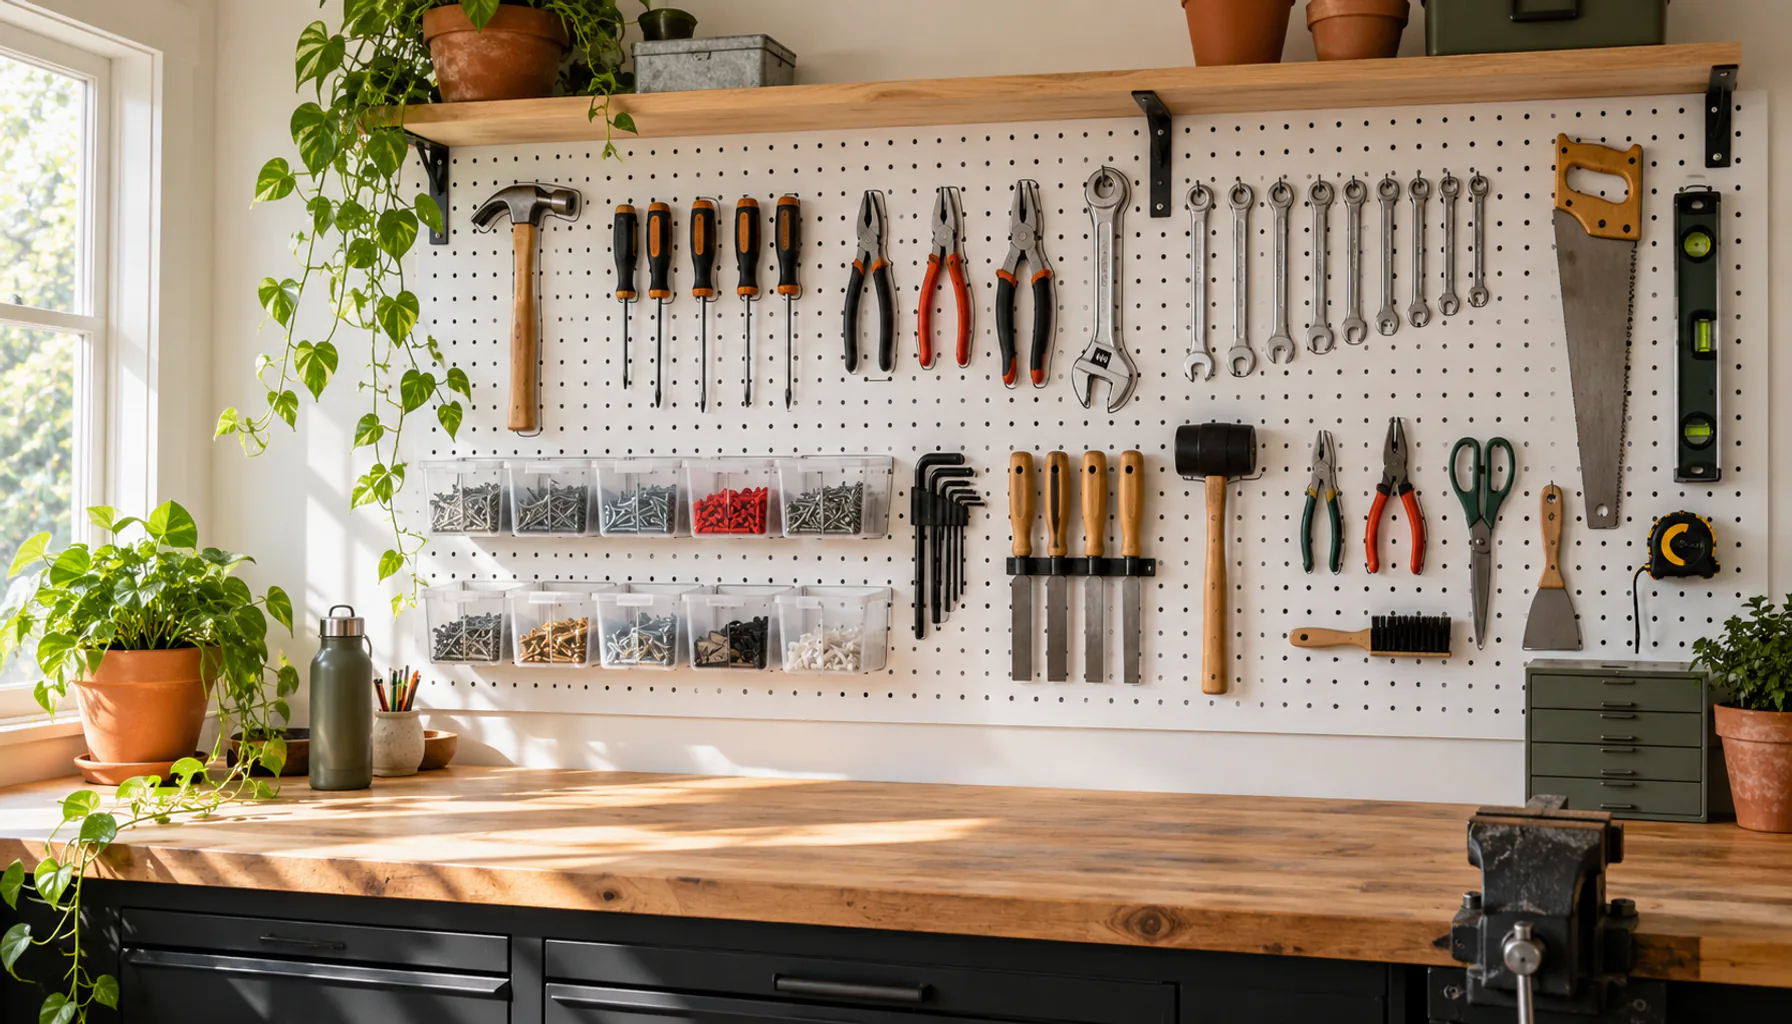
You will need a few real tools here, most importantly a drill and screws, and ideally a saw or a store that cuts to length. Keep the board spacing consistent so the panel looks intentional rather than accidental.
Why choose wood: it lasts, it is easy to refinish later, and it suits many styles depending on the stain. The one thing that will ruin it is warped boards. Sight down each one before you buy; a bowed plank will never sit flat.
The paint-only faux headboard
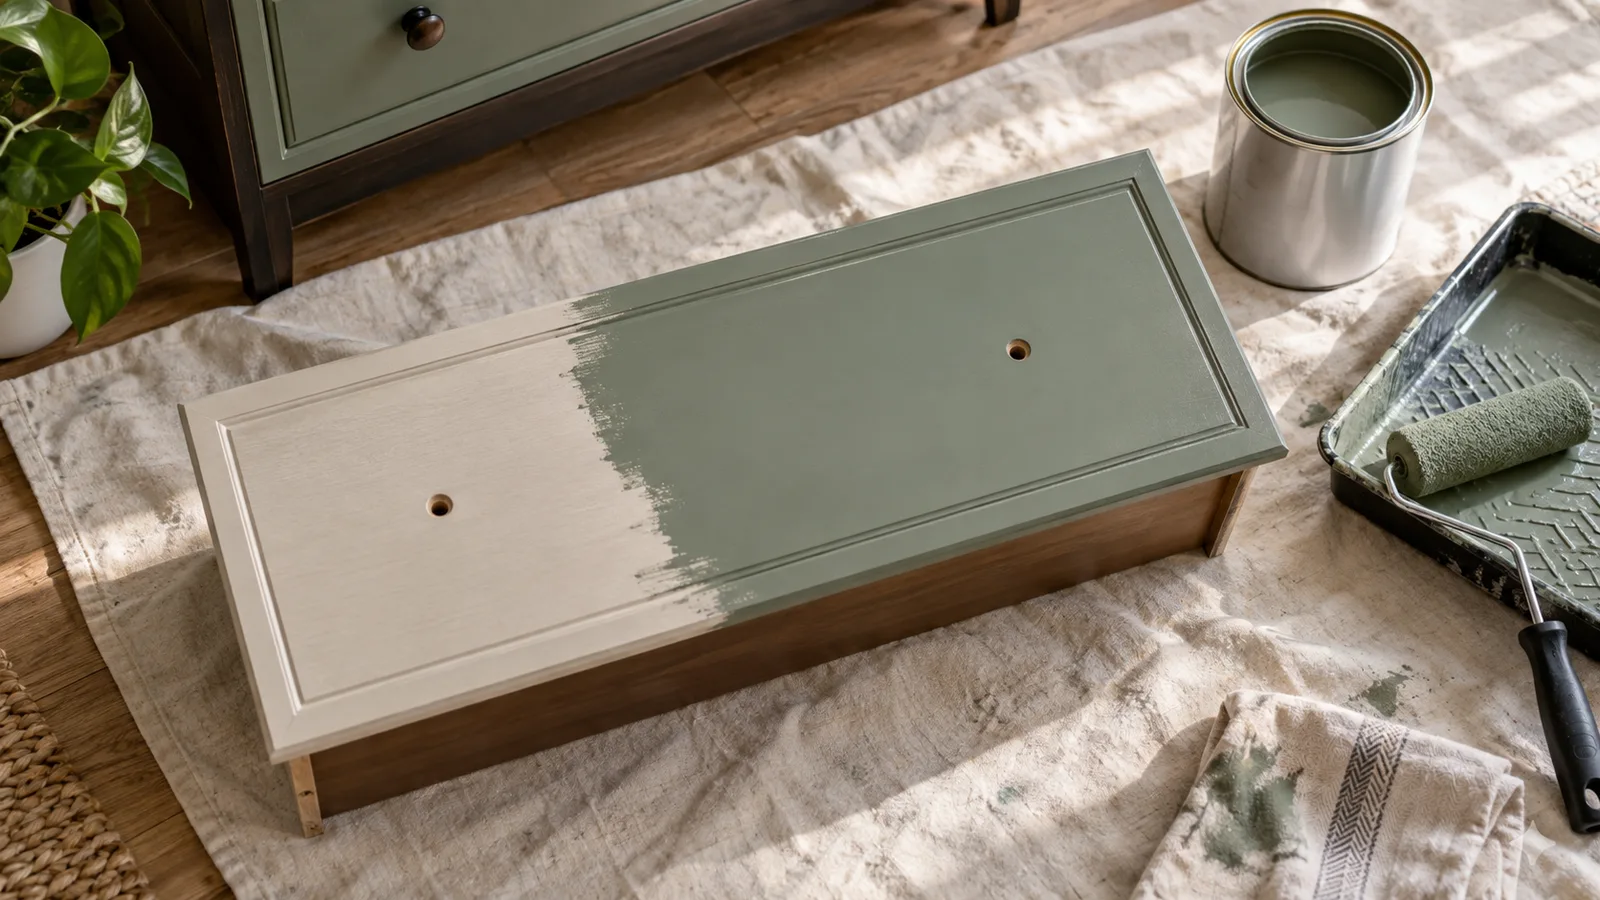
The lowest-cost idea on this list uses no board at all. You paint a headboard shape directly onto the wall, an arch, a rectangle, or a soft half-circle behind the bed. It is bold, cheap, and fully customisable.
Use painter's tape for crisp edges, and if you want a curve, trace it with a pencil on a string as a compass. A satin or eggshell finish wipes clean better than flat paint, which matters right behind a bed.
If you like the idea but want to understand how colour placement shifts a whole room, these paint tricks that change a room completely are worth a read before you commit to a shade. One small trap here: peeling tape after the paint fully dries. Remove it while the paint is still slightly wet for the cleanest line.
Peel-and-stick faux headboards
Between paint and a built panel sits the peel-and-stick approach. You cut removable wallpaper, wood-look vinyl, or foam moulding into a headboard shape and apply it to the wall. It gives you pattern and texture without commitment, which makes it ideal for renters or anyone who likes to change things often.
Smooth the material from the centre out to push air bubbles to the edge, and press firmly along every seam. What trips people up is applying it to a dusty or freshly painted wall; give paint a few weeks to cure or the adhesive will lift.
Matching the headboard to a small room
In a tight bedroom, a headboard has to earn its footprint. Lean toward flat, wall-mounted panels rather than deep frames, and keep the colour close to the wall so the bed does not feel boxed in. A pale upholstered panel or a painted arch both add presence without stealing floor space.
For a fuller plan on keeping a compact bedroom feeling open, see our companion piece on small bedroom ideas that stay calm and spacious. Steer clear of a bulky, dark headboard in a room that needs light; it visually shrinks the space.
Bringing it together
Whatever your budget, there is a headboard here you can finish, from a length of fabric on a rod to a wrapped upholstered panel or a painted arch. Start with the measuring step, be honest about your tools and time, and pick the idea that matches your room rather than the fanciest one you saw online.
When you are ready to plan the whole bedroom refresh without overspending, try the Decor Budget Calculator to map your numbers before you buy a single staple.
One useful home email a month
Real ideas to make your home work better. No spam, easy unsubscribe.