Upcycling Furniture: Tools & First Projects
A beginner-friendly way to start upcycling furniture without buying a workshop first.

· 4 min read
Upcycling furniture sounds like it needs a garage full of gear and a free weekend you never seem to have. It really does not. You can bring a tired piece back to life instead of buying new with a handful of tools, a little patience, and a willingness to learn on something small first.
Start with a low-risk piece
Choose a small table, stool, mirror frame, or bedside cabinet. Do not start with the dining table you use every day. The reason is simple: your first project is where you will make your beginner mistakes, and you want those mistakes to happen somewhere forgiving.
A small piece is easier to move, quicker to sand, and cheaper to fix if something goes wrong. It also fits on a workbench or a covered patch of floor, so you are not clearing a whole room to work. And it finishes fast. Seeing a stool go from scuffed to lovely in a weekend builds the confidence you need for something bigger next time.
If you can, pick a piece that is structurally sound. A wobbly leg or a cracked joint is a repair job, not a finish job, and it is better to learn those skills one at a time.
Basic tools are enough
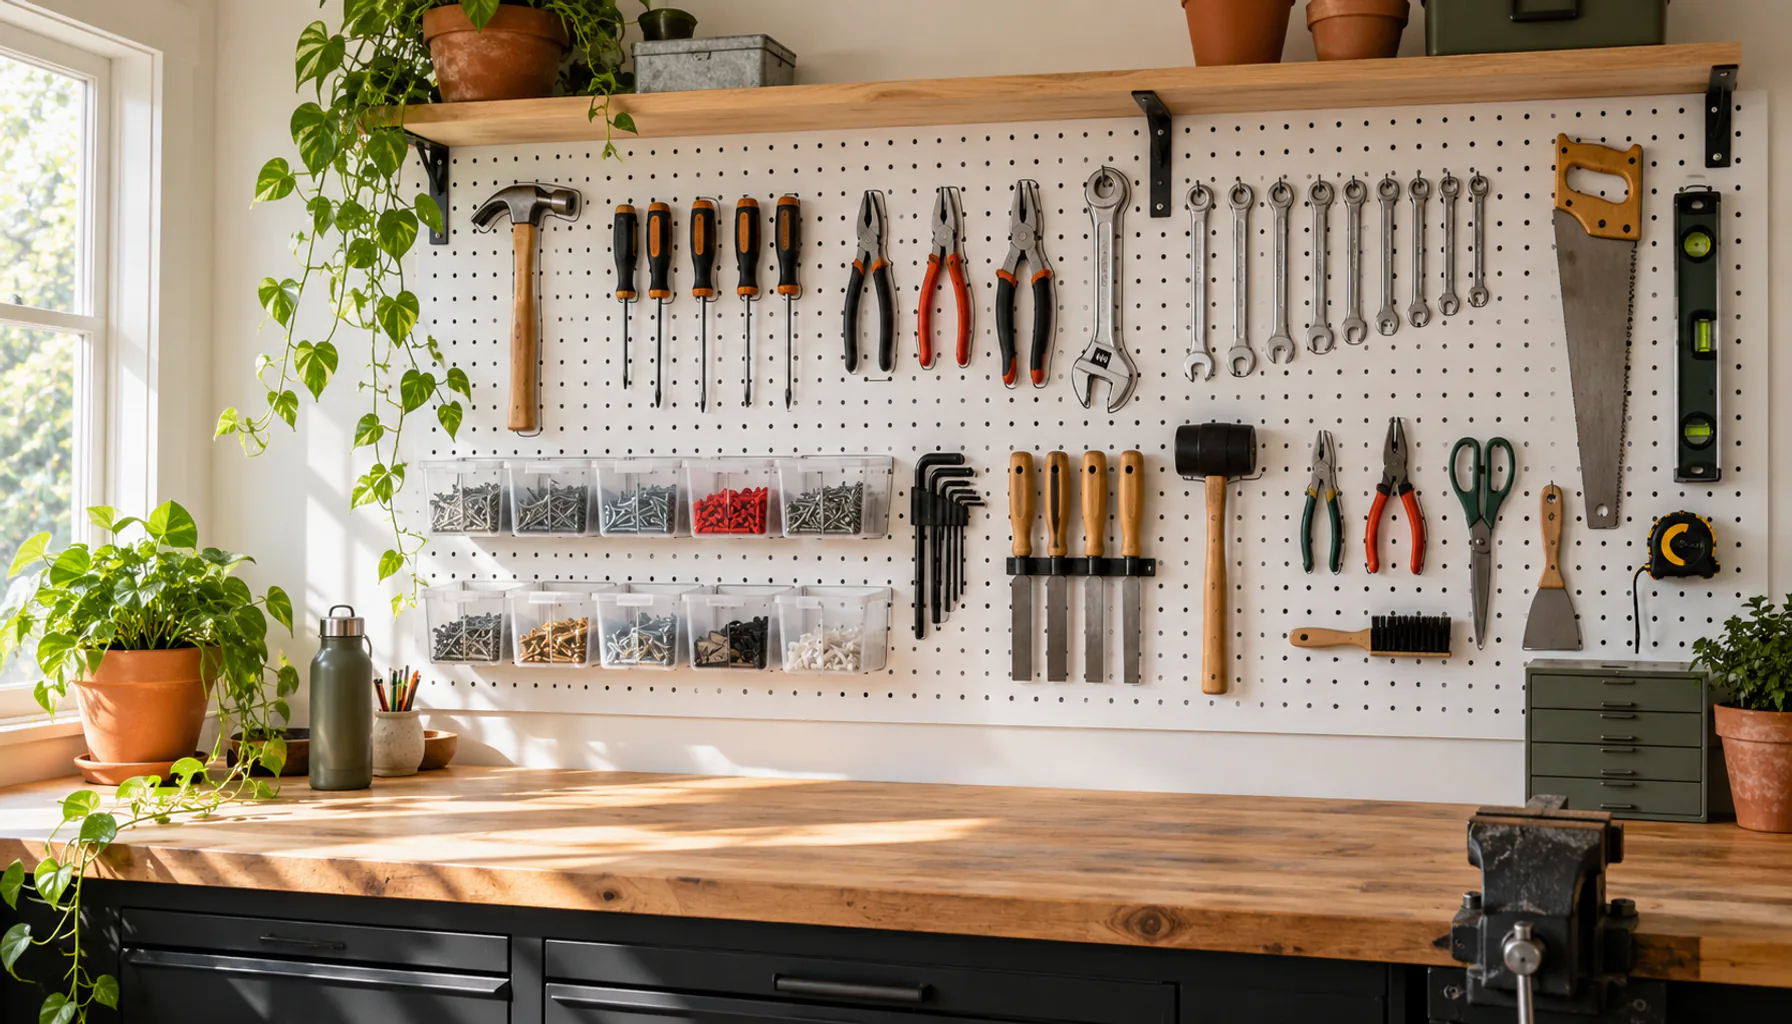
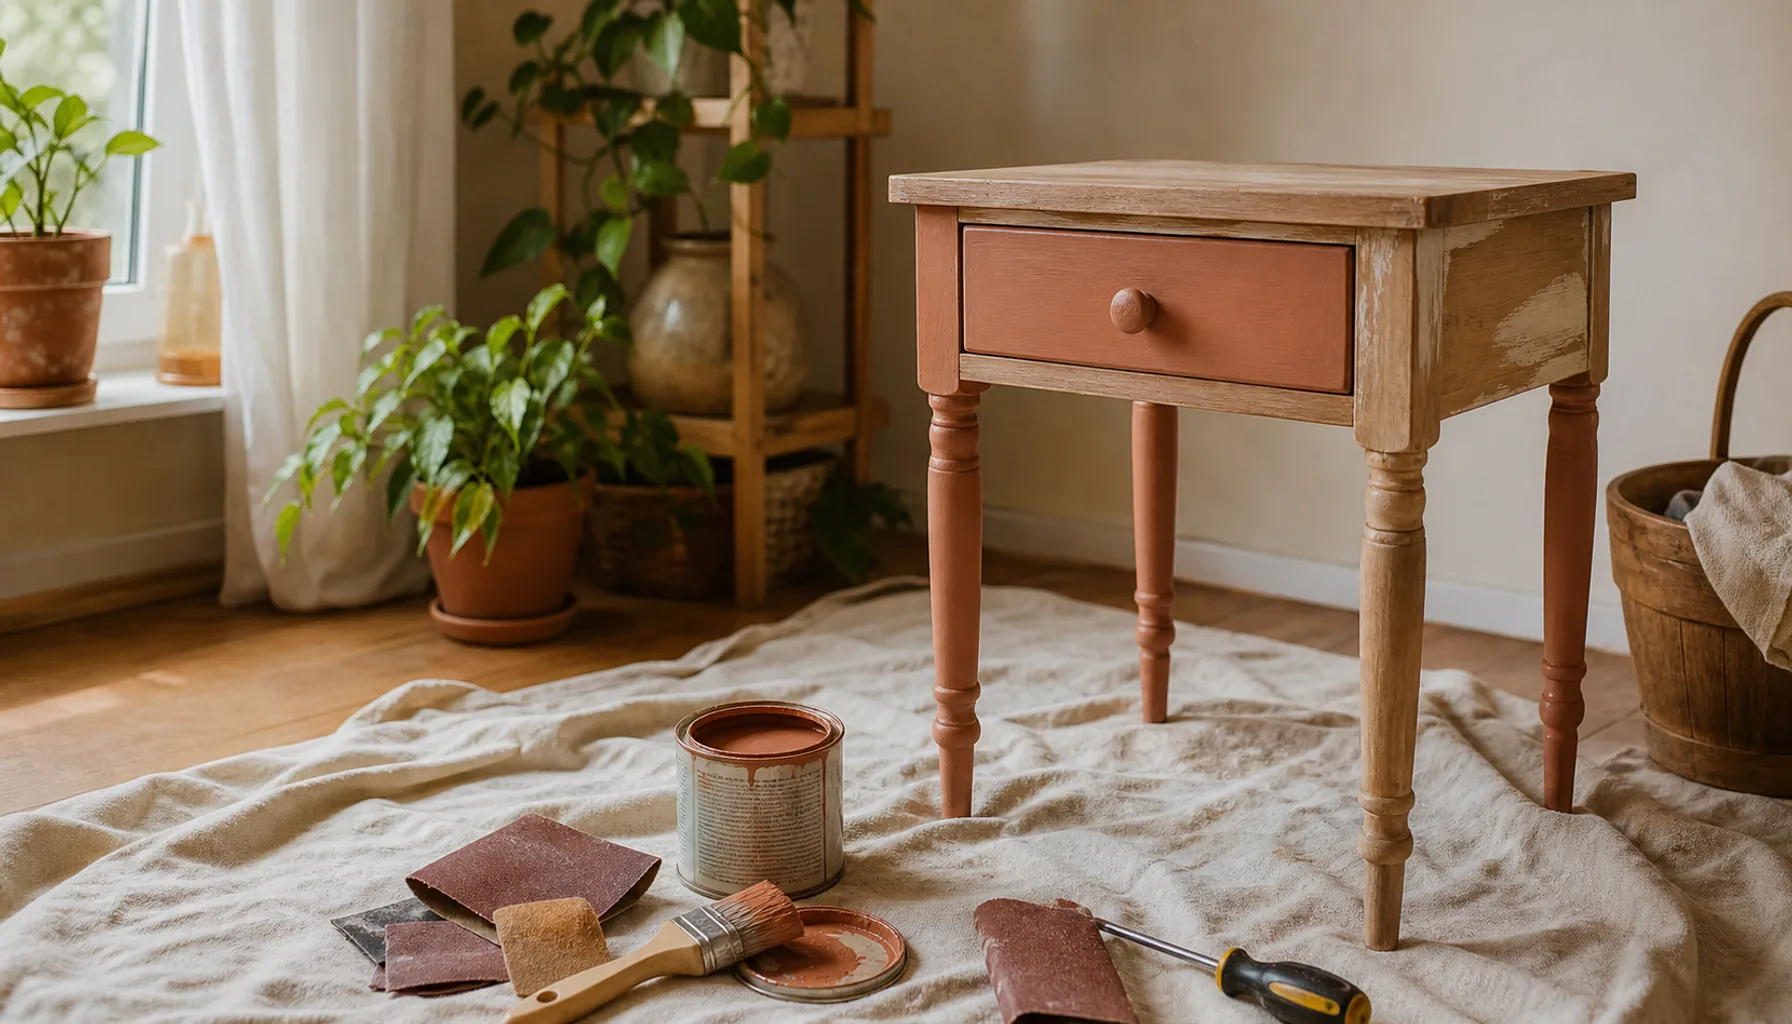
You need cleaner, sandpaper, a small roller, a brush, primer, paint, and a protective finish. Add tools only when a project genuinely needs them. A common trap is buying every gadget you see online before you have even started, and most of it will sit in a drawer.
Here is what each item actually does for you:
- Cleaner removes grease, dust, and old polish so your primer can grip.
- Sandpaper roughens slick surfaces and smooths rough ones. A medium grit for knocking things back and a fine grit for between coats covers most jobs.
- A small roller lays down flat, even color on large surfaces.
- A brush handles edges, corners, and detailed trim the roller cannot reach.
- Primer creates a bond between the surface and your paint.
- Paint and a protective finish give you the color and the durability.
Buy decent versions of these few things rather than a huge kit of cheap ones. A brush that sheds bristles into your finish costs you more in frustration than it saved at the till.
Prep is most of the work
This is the part beginners want to rush, and it is the part that decides how good the result looks. Cleaning and sanding feel like nothing is happening, but you are building the foundation everything else sits on.
Clean first, then sand, then remove every trace of dust with a slightly damp cloth before you prime. Paint shows the truth: any grease, grit, or fingerprint left behind will telegraph straight through the finish. Slowing down here, paired with the right painting technique, is what separates a piece that looks refinished from one that looks painted over.
Hardware changes more than expected
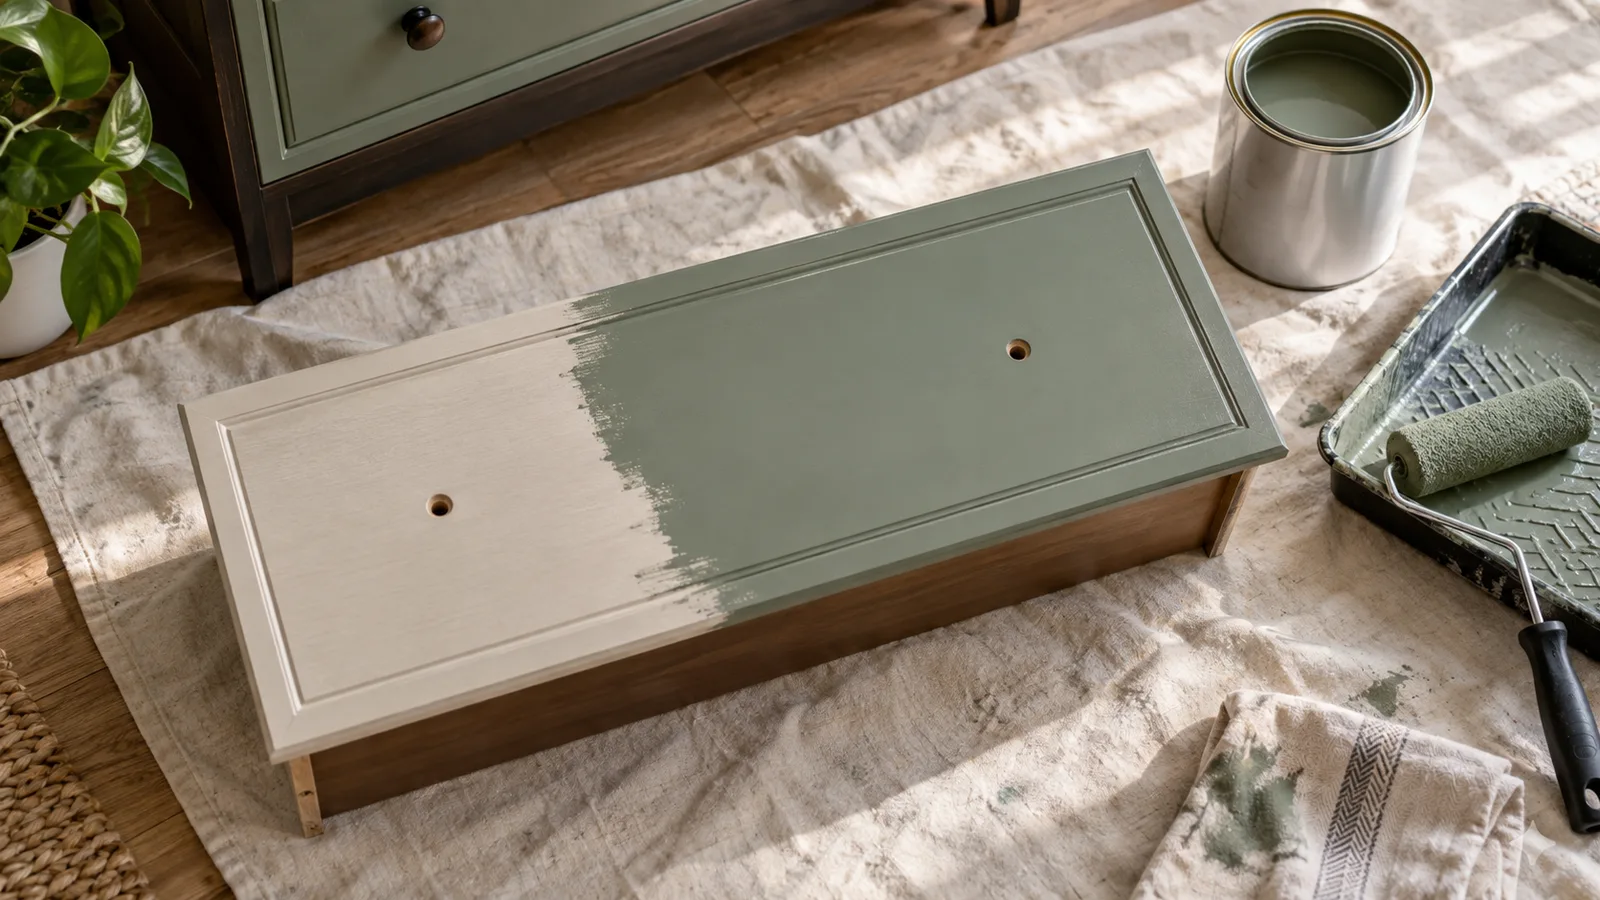
New knobs or handles can make a plain piece feel intentional. Measure the screw spacing before ordering. Swapping tired hardware is one of the cheapest ways to transform a piece on a small budget, shifting the whole character from dated to modern or from plain to warm.
Measure the distance between the centers of the two screw holes, because that spacing has to match or you will be drilling new holes. If you fall for a handle with different spacing, you can fill the old holes and drill fresh ones, but that is extra work to plan for rather than discover halfway through.
Respect the material
Solid wood, veneer, laminate, and metal need different prep. If you skip primer on the wrong surface, the finish will not last. Each surface behaves in its own way, and treating them all the same is the fastest route to a finish that peels.
Solid wood sands and takes paint well. Veneer is a thin real-wood layer over a core, so sand it gently to avoid going through it. Laminate is a slick surface that paint struggles to grip, so it needs a proper bonding primer and no aggressive sanding. Metal wants a primer made for metal to fight rust and help adhesion. When you are unsure what you are looking at, test a small hidden area first.
Let it cure
Paint can feel dry before it is strong. Give the piece time before stacking books, lamps, or daily objects on top. There is a real difference between dry to the touch and fully cured, and it catches people out constantly.
A surface can feel dry in an hour while the finish underneath is still hardening for days. If you load it up too soon, objects can stick, leave marks, or lift the paint. So let it settle before it goes back into heavy use. The wait is dull, but it protects all the work you just did.
Keep going
Your first piece will not be perfect, and that is fine. Each project teaches you something the last one could not, and the tools you already own will carry you through the next. Start small and take your time.
One useful home email a month
Real ideas to make your home work better. No spam, easy unsubscribe.