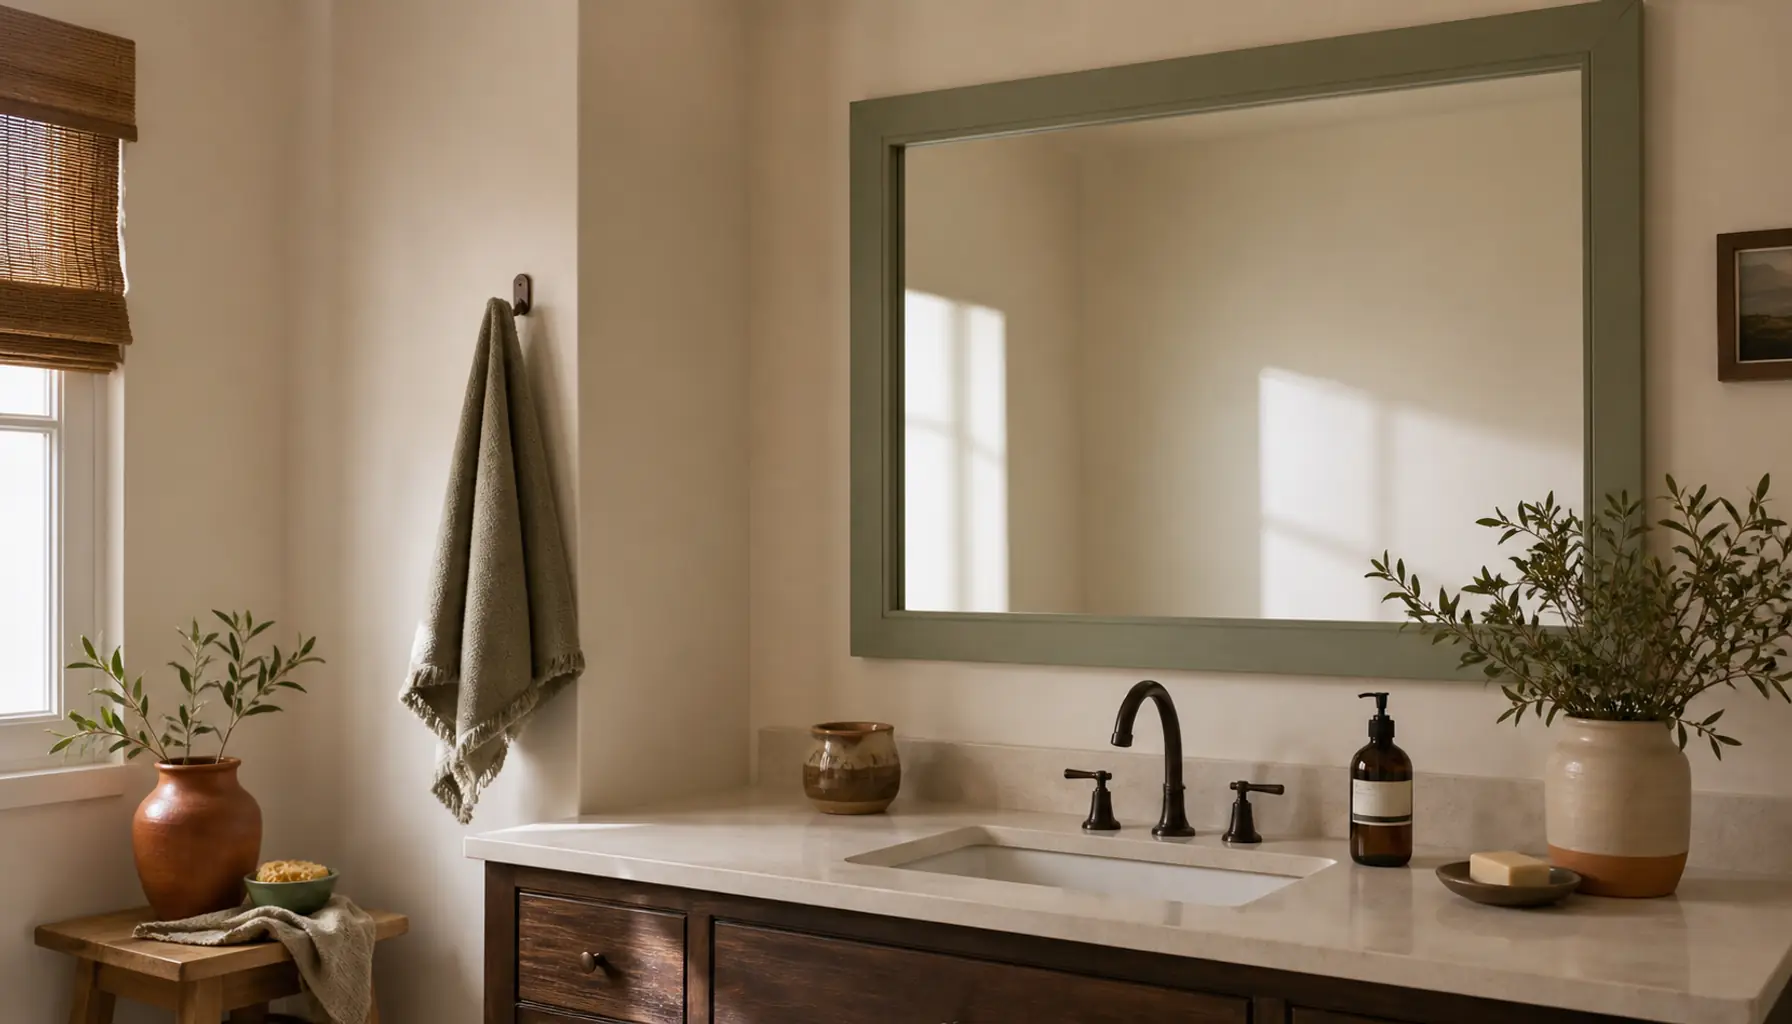
Painting Laminate Furniture Without Sanding: Step-by-Step
Paint laminate furniture without sanding using a bonding primer and deglosser. A full step-by-step guide covering prep, priming, painting, and sealing.

· 10 min read
Laminate furniture is hard to paint because the surface is designed to resist exactly what paint needs: something to grip. Sanding is the traditional fix, but it's slow, messy, and easy to mess up on thin laminate that chips instead of scuffing. The workaround is a liquid deglosser and a bonding primer made for slick surfaces. Together they do the job sandpaper normally does, without the dust or the risk of sanding through the laminate layer to the particleboard underneath. It's also one of the better renter-friendly upgrades you can take with you, since you're changing furniture you own, not the apartment itself.
This guide walks through the whole process, from picking the right piece to the final coat that keeps the paint from chipping at the edges. If you're weighing this against buying something new, our before you buy: when DIY beats new piece covers that decision in more depth, and paint tricks that change a room completely has more on choosing paint and sheen for other surfaces in the room.
Key Takeaways
- A liquid deglosser replaces sanding by chemically softening the top layer so primer has something to bite into.
- Bonding primer is the part that actually matters. Regular primer will peel off laminate within weeks.
- Two thin coats of paint beat one thick one. Thick coats show brush marks and take far longer to cure hard.
- Edges and corners fail first. They need an extra light coat and a full cure before anything touches them.
- Hardware and drawer glides should come off before you start, not get painted around.
- Cure time matters more than dry time. The piece can feel dry to the touch days before it's actually hard enough to use.
Is It Really Possible to Paint Laminate Without Sanding?
Yes, as long as you replace sanding with a product that does the same job: giving the surface enough texture and openness for primer to bond. A liquid deglosser (sold for cabinet refinishing) breaks down the glossy top coat on laminate and melamine so it stops repelling paint. It's a legitimate professional shortcut, not a step you're skipping, just one you're doing chemically instead of mechanically.
Where this method struggles is peeling or bubbled laminate edges, and veneer that's actually wood rather than a plastic laminate. Wood veneer takes paint differently and often does better with a light hand-sand anyway, since it won't chip the way laminate can.
What You'll Need Before You Start
Gather everything first so you're not stopping mid-project with wet primer on a brush.
- Liquid deglosser or a TSP-substitute cleaner-deglosser, sold at most hardware stores in the paint aisle.
- A bonding primer labeled for laminate, melamine, or "slick surfaces." This is not optional and not interchangeable with a general-purpose primer.
- A foam roller and a good angled brush, since laminate shows roller texture more than drywall does.
- Paint suited to furniture, not wall paint. A cabinet-and-trim enamel in satin or semi-gloss levels out brush marks and resists scuffing better than a flat wall finish.
- A clear water-based polyurethane or furniture wax for the final protective coat, especially on tabletops and drawer fronts.
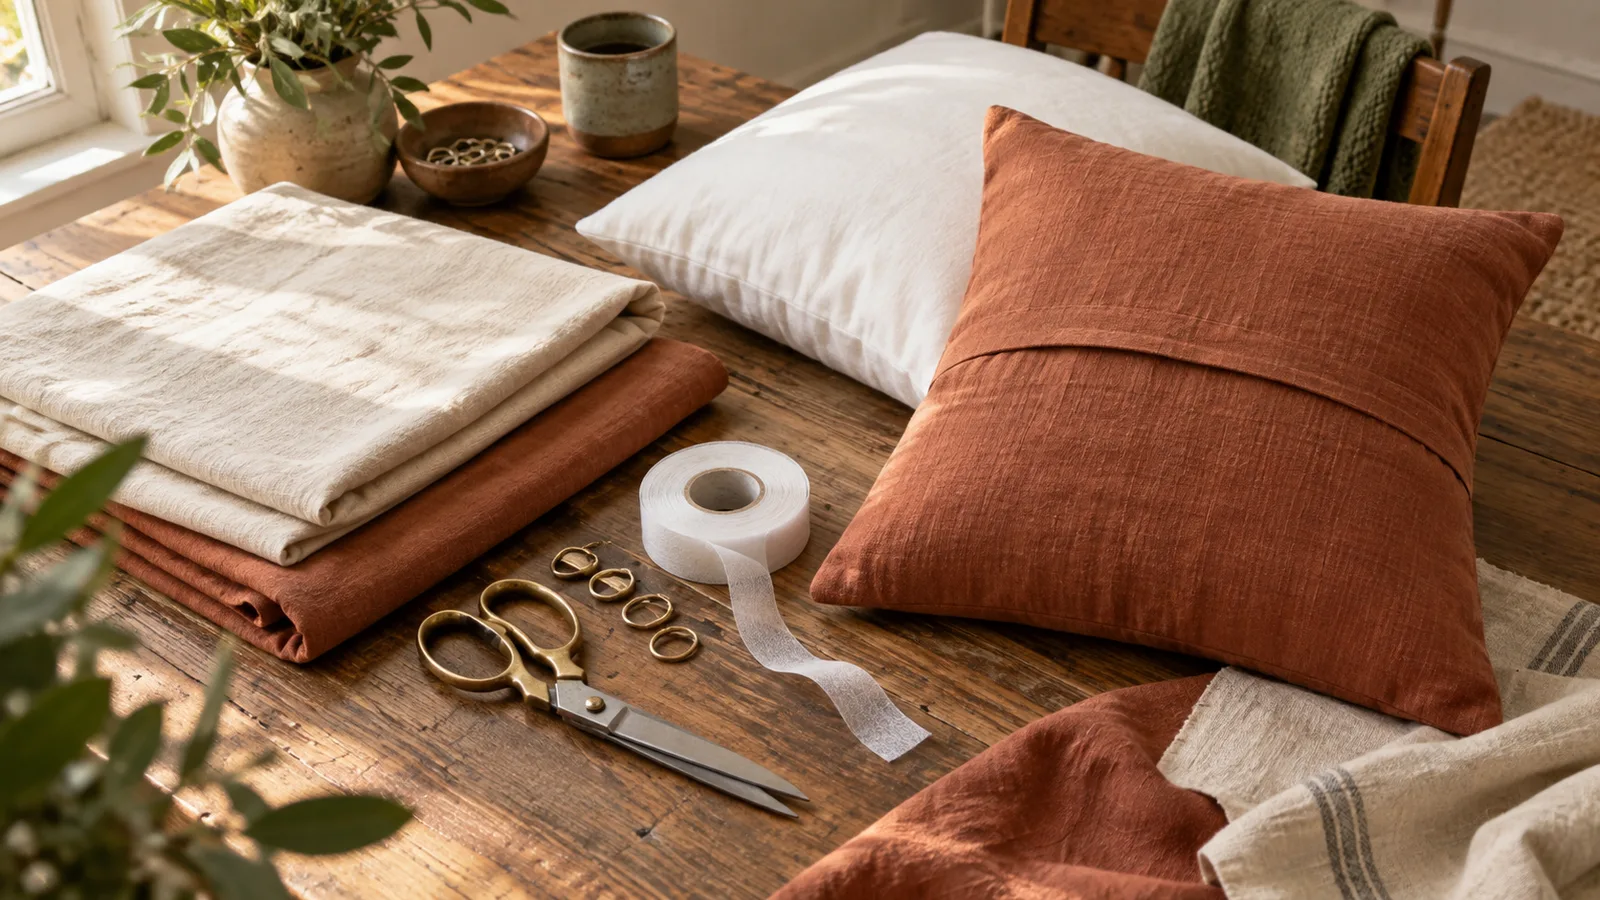
- Screwdriver, painter's tape, drop cloth, lint-free cloths, and rubber gloves.
Skip sandpaper entirely for the laminate itself. You'll still want a fine sanding sponge on hand for knocking down any drips between coats. This is also a good project to fold into a room refresh on a real budget, since most of the cost is a can of primer and paint rather than new furniture.
Step-by-Step: Painting Laminate Furniture Without Sanding
Step 1: Take the Piece Apart
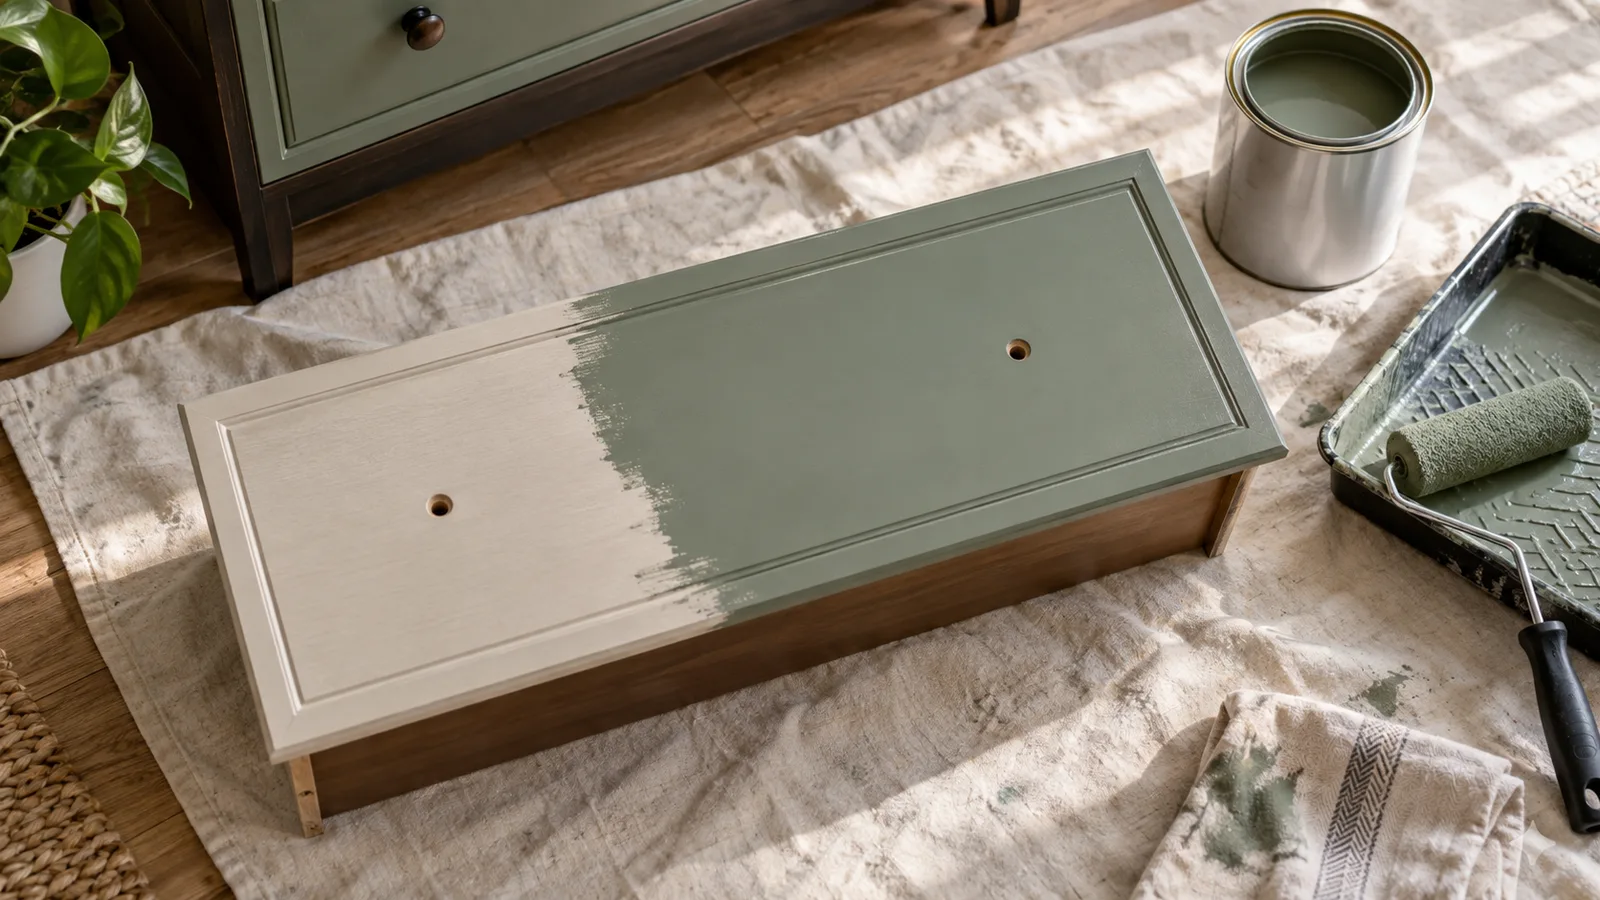
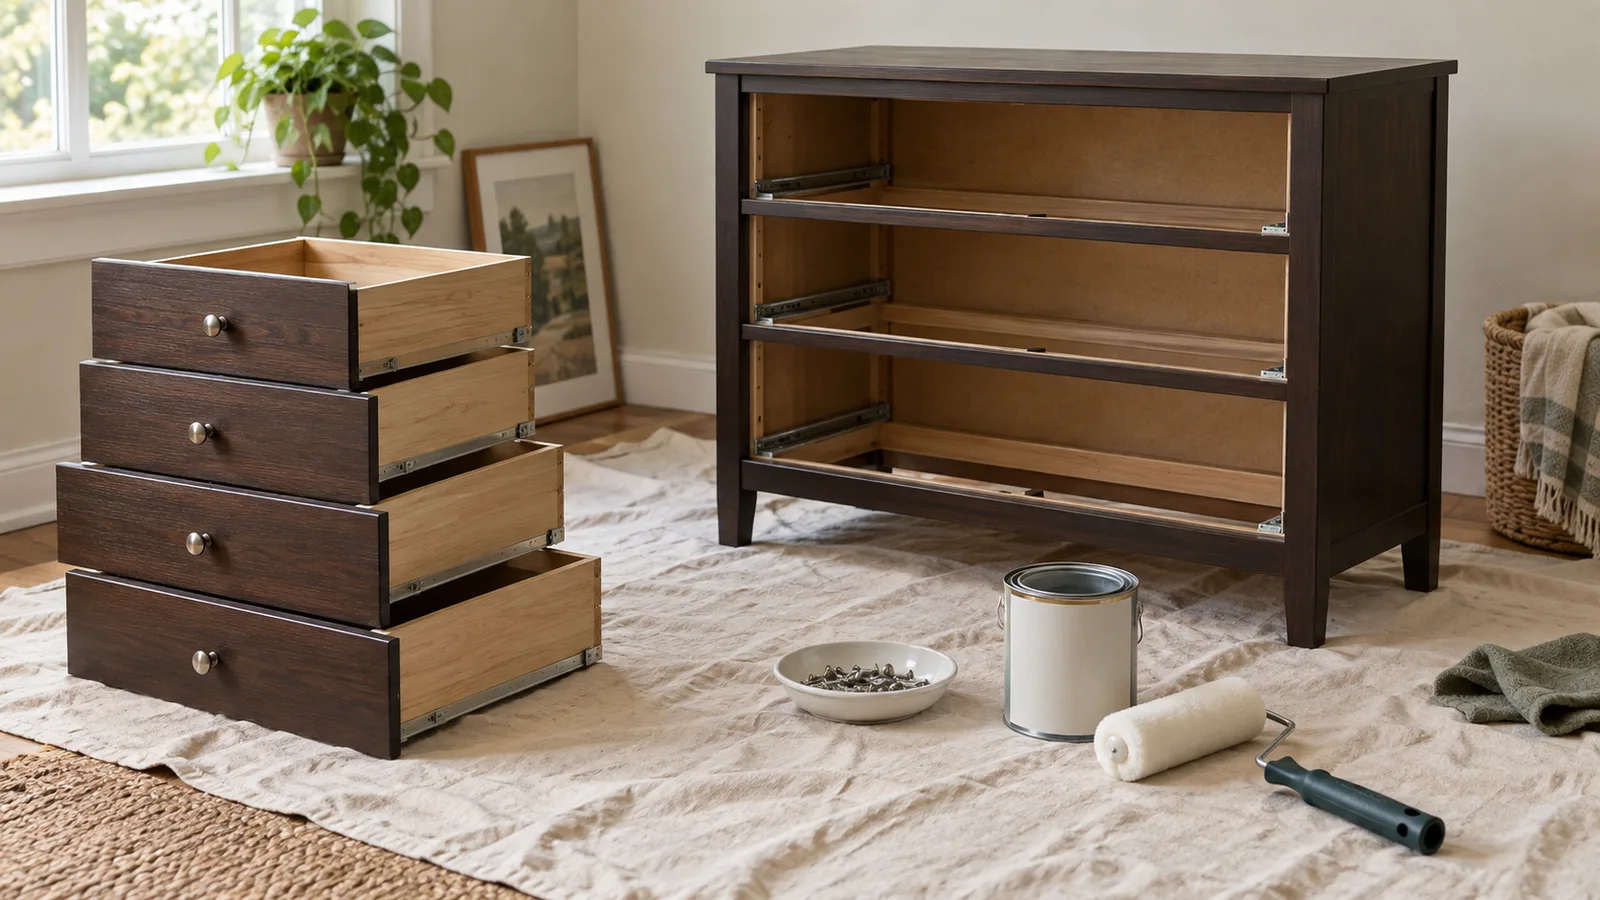
Remove drawers, doors, hardware, and any shelves that lift out. Painting a flat drawer front on a table is faster and cleaner than painting it standing up, and it keeps drips from running into hinges and drawer glides. Set hardware aside in a labeled bag if you're reusing it.
Step 2: Clean the Surface Thoroughly
Wipe down every surface with a degreasing cleaner, focusing on handle areas and tabletops where hand oils and old furniture polish build up. Paint and primer won't bond to residue, no matter how good the primer is. Let it dry fully before moving on.
Step 3: Apply the Deglosser
Following the product's instructions, wipe the deglosser over every surface you plan to paint, working in the direction of the laminate's grain pattern if it has one. This step chemically dulls the glossy finish and slightly softens it, which is what gives primer something to hold onto. Most deglossers need only one pass and a short flash time, not a full cure, before priming.
Don't skip corners and edges here. Those are the spots where laminate paint jobs chip first, so they need the same prep as the flat faces.
Step 4: Fill Any Chips or Gouges
If the laminate has small chips or the substrate is exposed at an edge, fill it with a lightweight wood filler and let it cure fully. Wipe the area with deglosser again once it's dry, since filler doesn't get the same chemical prep as the surrounding laminate.
Step 5: Apply the Bonding Primer
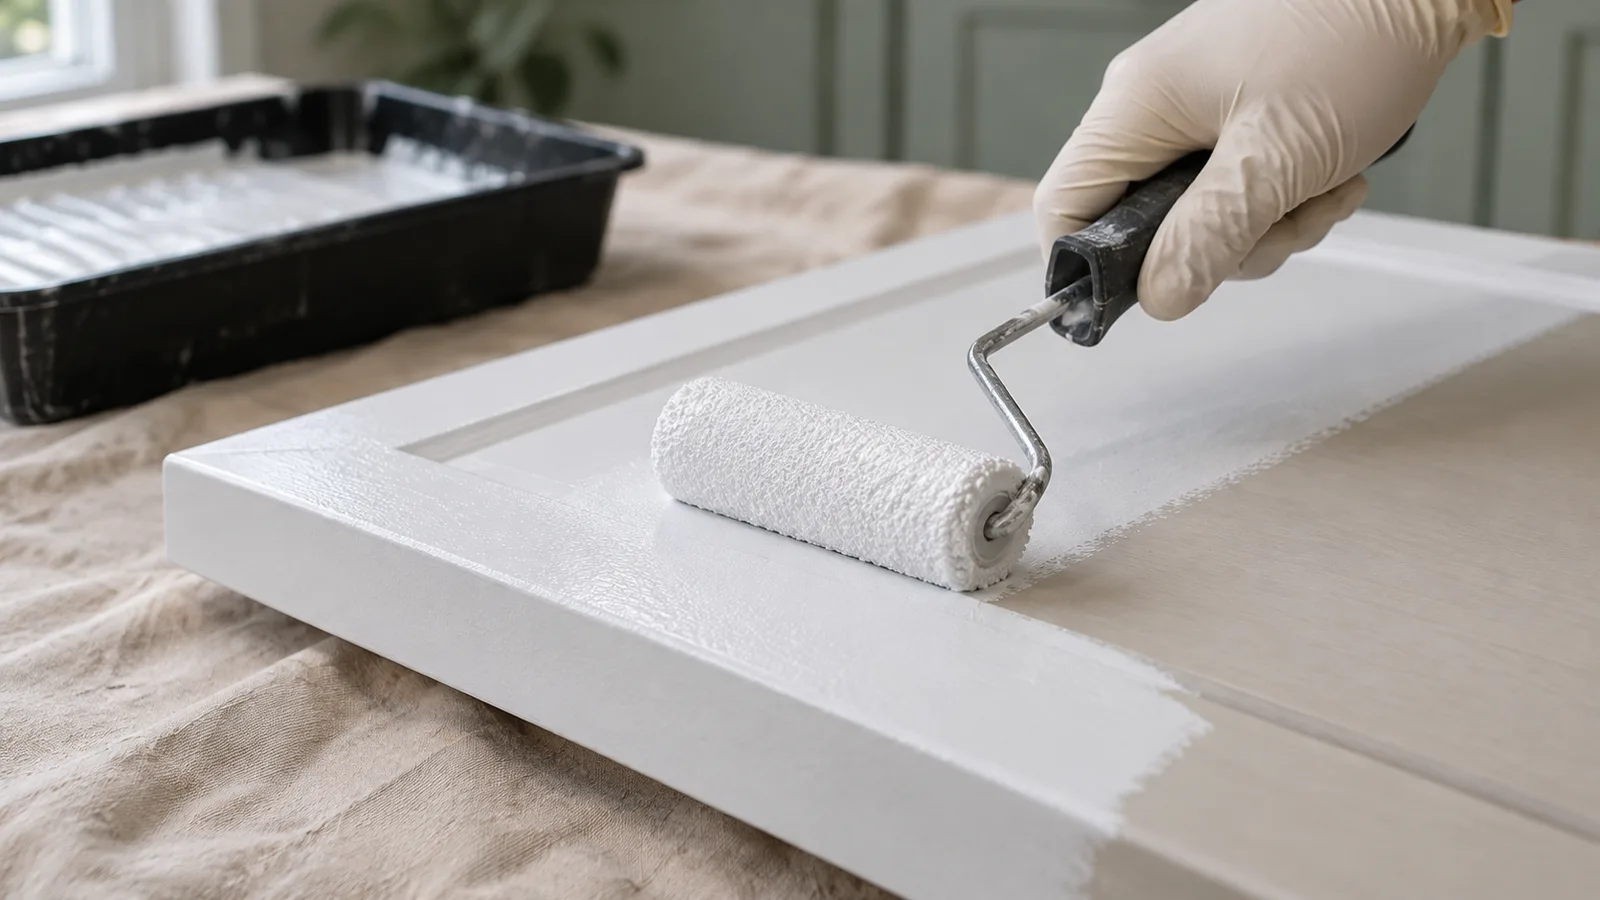
Apply a thin, even coat of bonding primer with a foam roller for flat sections and a brush for edges and detail. One coat is often enough for solid coverage, but check the product label since some bonding primers recommend two thin coats over dark or heavily glossed surfaces. Let it cure for the full time listed on the can before painting. This is the step people rush, and it's the one that decides whether the paint holds for years or peels in a season.
Step 6: Lightly Scuff Between Coats If Needed
If the primer dries with any roller texture or drip marks, knock them down with a fine sanding sponge before painting. This isn't sanding the laminate, it's leveling the primer, and it takes seconds compared to prepping raw laminate.
Step 7: Paint in Thin, Even Coats
Apply your furniture-grade paint in two thin coats rather than one heavy one. Load the roller lightly and work in one direction, then tip off brush marks on edges with a nearly dry brush. Let each coat dry to the touch before adding the next, and give the full recommended dry time between coats even if it looks ready sooner.
Thin coats level out and dry harder. Thick coats stay soft longer underneath a dry-looking surface, which is exactly where chips start.
Step 8: Seal High-Contact Areas
Once the final coat has cured, add a coat of clear water-based polyurethane or furniture wax over tabletops, drawer fronts, and anywhere hands and cups make regular contact. This buys real scratch resistance without changing the color or sheen much, and it's the difference between a finish that lasts one year and one that lasts five.
Step 9: Reassemble Once Fully Cured
Reattach hardware, doors, and drawers only after the full cure time has passed, not the dry time. A piece can feel bone dry two days in and still be soft enough underneath to scuff or stick shut if a drawer closes against it too soon.
Common Mistakes to Avoid
- Skipping the bonding primer to save a step. A regular primer sticks at first and lets go within weeks, especially on tabletops and drawer fronts that see friction.
- Painting over grease or polish residue. No primer bonds to an oily surface, deglosser included.
- Using wall paint instead of a furniture-grade enamel. Wall paint scuffs and marks far more easily under daily handling.
- Reassembling before the full cure time. Drawers that close against wet-cured paint stick or peel at the contact point.
- Applying one thick coat instead of two thin ones. Thick coats look fine at first and then show brush marks and soft spots later.
Expert Tips for a Finish That Actually Lasts
- Test the deglosser and primer on the inside of a drawer or an unseen edge first. Some laminate finishes react differently than others, and a five-minute test avoids redoing a whole piece.
- Keep the same roller nap size for primer and paint. Switching nap sizes mid-project changes the texture and it shows under raking light.
- Paint drawer fronts and doors flat on a table whenever possible. Vertical surfaces are much more likely to show drips and sagging paint.
- If the piece will get heavy daily use, like a kitchen island or a kid's dresser, budget for the poly top coat. It's the one step that most directly extends the life of the paint job.
Frequently Asked Questions
Can you paint laminate furniture without sanding at all?
Yes. A liquid deglosser followed by a bonding primer replaces the mechanical texture sanding would create. The chemical prep opens the surface enough for the primer to grip, as long as both products are applied and cured according to their labels.
What kind of primer works on laminate?
Look for a primer labeled for laminate, melamine, or "slick surfaces." These are formulated to bond to non-porous materials that regular primers slide off of. Skipping this and using a standard primer is the most common reason painted laminate peels.
How long does painted laminate furniture actually last?
With a bonding primer, a furniture-grade enamel, and a protective top coat on high-contact areas, a painted laminate piece can hold up for several years of normal household use. Skipping the primer or top coat cuts that lifespan significantly.
Do you need to remove the hardware before painting?
Yes. Painting around handles and hinges leaves uneven edges and traps paint in the hardware itself. Removing everything first also lets you paint drawer fronts flat, which gives a smoother result than painting them upright.
Can this method be used on real wood veneer instead of laminate?
It can, but wood veneer usually takes a light hand-sand better than a deglosser, since veneer is a thin layer of real wood rather than a plastic laminate surface. If the piece is genuine veneer, a quick scuff sand plus a standard wood primer is usually the more reliable route.
Is a paint sprayer better than a roller for this project?
A sprayer gives the smoothest possible finish and is worth it for a piece with a lot of detail, like paneled doors. For flat drawer fronts and simple case pieces, a quality foam roller and a good brush for edges gets a very close result without the setup and overspray control a sprayer requires.
What sheen works best for painted laminate furniture?
Satin or semi-gloss enamel holds up better than flat or matte finishes on furniture, since the slightly harder surface resists fingerprints and scuffs. Flat finishes show wear marks faster on pieces that get handled daily.
Getting a Piece Ready to Paint
The method comes down to two products doing the work sanding used to do: a deglosser to open the surface, and a bonding primer to give paint something permanent to hold onto. Skip either one and the paint job looks fine for a few weeks before it starts lifting at the edges. If you're deciding whether a piece is worth this effort in the first place, our guide on when DIY beats buying new and how to spot thrift store furniture worth flipping are worth reading before you commit to a specific dresser or table. If this is your first furniture project, upcycling furniture: tools and first projects covers the basic kit worth owning before you start. Once you've picked the piece, start with the cleaning and deglossing step and don't rush the primer cure. That's the part that decides whether this holds up.
One useful home email a month
Real ideas to make your home work better. No spam, easy unsubscribe.