8 DIY Wall Paneling Ideas on a Budget
8 DIY wall paneling ideas on a budget: picture frame molding, board and batten, slat walls, peel-and-stick options, and how to paint and finish them well.

· 10 min read
Paneling is one of the few DIY upgrades that makes a plain wall look architectural rather than just freshly painted. The materials are cheap, usually thin molding or flat boards, and the work is mostly measuring, cutting, and caulking. What decides the result isn't cost. It's spacing, a level line, and a tidy finish. These eight ideas range from a weekend with a tape measure to a renter-friendly peel-and-stick option, and each one works on a different kind of wall.
Key Takeaways
- Spacing matters more than the material. Even gaps make the wall look planned, and uneven ones look like a mistake.
- Caulk and paint hide the amateur seams. A bead of caulk in every joint is what turns strips of wood into paneling.
- Paint the panels the same color as the wall for subtlety. A contrasting color makes them bolder.
- Start with the lower third of the wall. Wainscoting is faster, cheaper, and easier to get right.
- A level line comes before anything else. Mark it, check it twice, then build from it.
- Renters have options. Peel-and-stick and slat panels can come off without damage.
- Check outlets and switches. They need extra care so your boards sit flush.
8 DIY Wall Paneling Ideas Worth Trying
Idea 1: Frame Rectangles With Picture Frame Molding
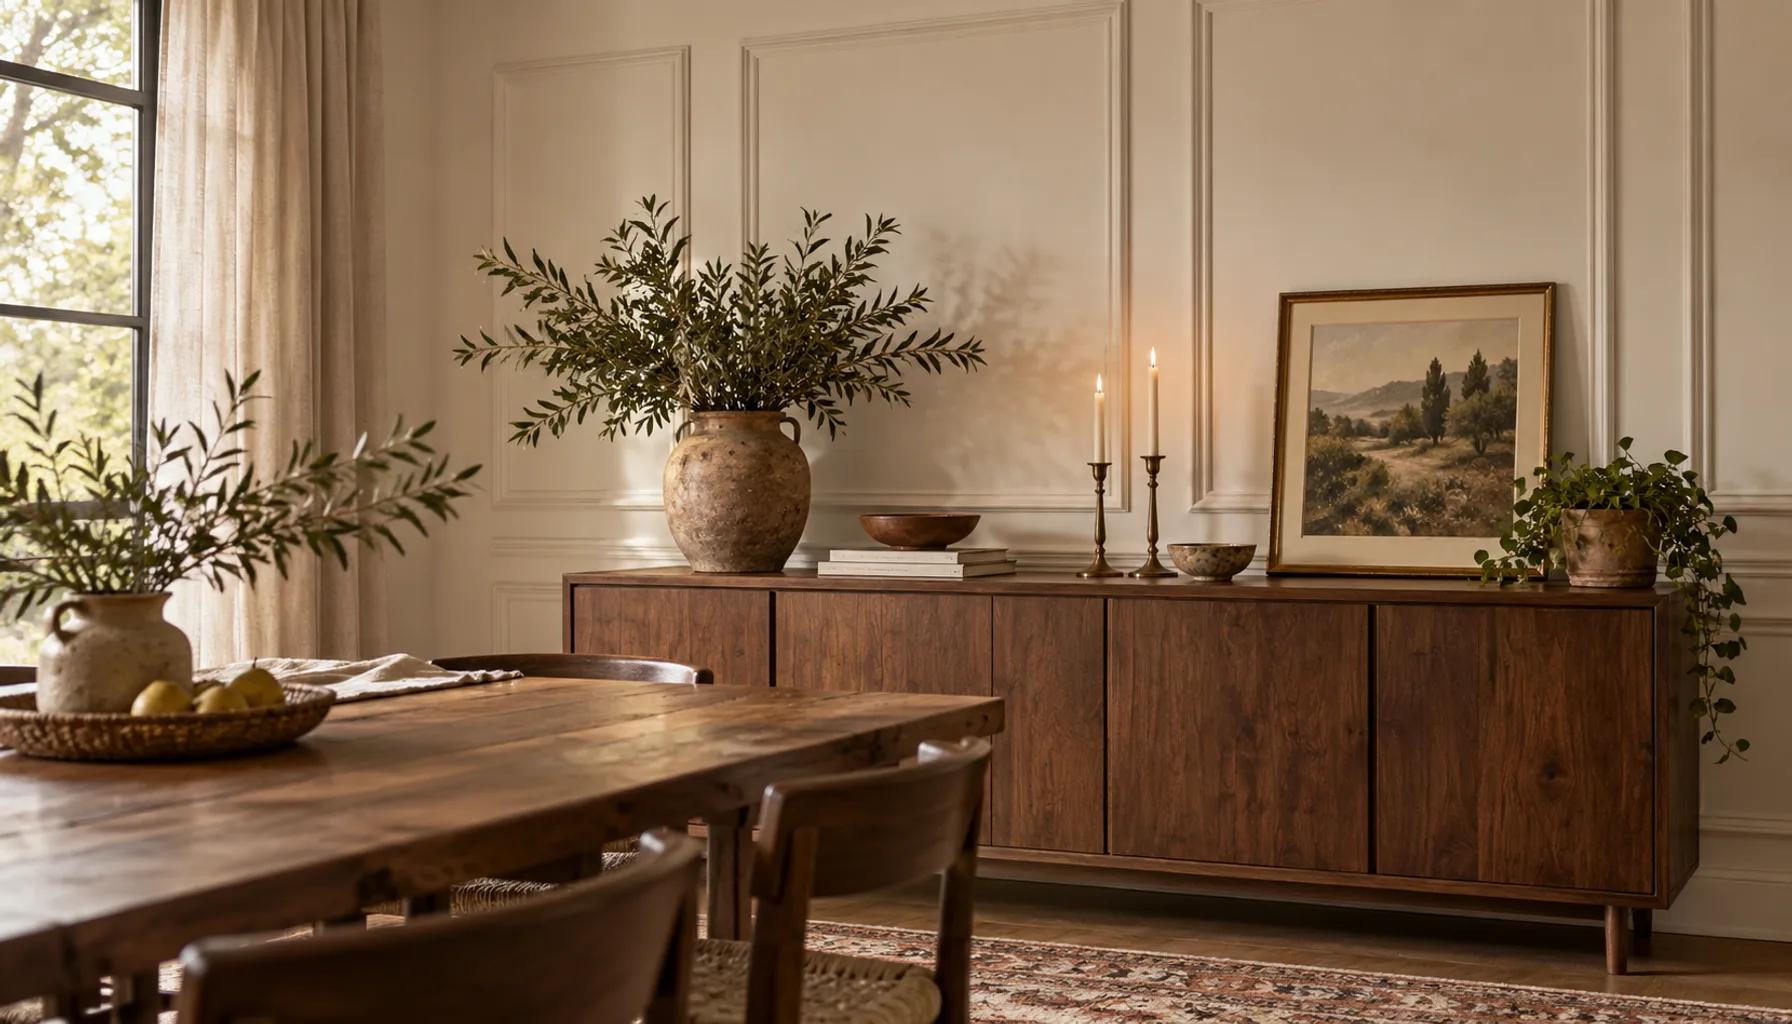
Picture frame paneling uses thin molding to make rectangles on the wall. It's classic, and it suits dining rooms, hallways, and bedrooms. The rectangles can be the same size across a wall or arranged in a pattern.
Plan the layout on paper first. Divide the wall width into equal gaps, and keep the space between boxes narrower than the boxes themselves. Cut the corners at a 45 degree angle, and use construction adhesive plus a few small nails. Fill the nail holes and caulk the edges before painting.
A practical note on proportion: boxes that are taller than they are wide feel formal and stretch a low ceiling upward, while wide boxes feel calmer and suit a long wall. Measure from the baseboard top and the ceiling so the outer margins match on every side. If the margins differ by even a little, the eye catches it.
Idea 2: Build Board and Batten With Flat Boards
Board and batten uses vertical strips, called battens, over a flat backing. It reads as a crisp, cottage or modern farmhouse look, and it's one of the easiest DIY options because the cuts are straight.
You can use thin MDF or pine strips. Mark the spacing, glue and nail each batten, and add a horizontal rail along the top. Choose the batten width and gap based on the wall height, so a tall wall can carry wider strips. Caulk every seam for a smooth look.
The backing is where budgets go wrong. If the existing wall is heavily textured, battens will sit unevenly and show gaps along their edges. In that case, fix a thin sheet of plywood or MDF to the wall first, then apply the battens on top. It costs more and takes longer, but the lines stay crisp. On a smooth painted wall, you can skip the backing and glue directly.
Idea 3: Add a Shallow Wainscot to the Lower Third
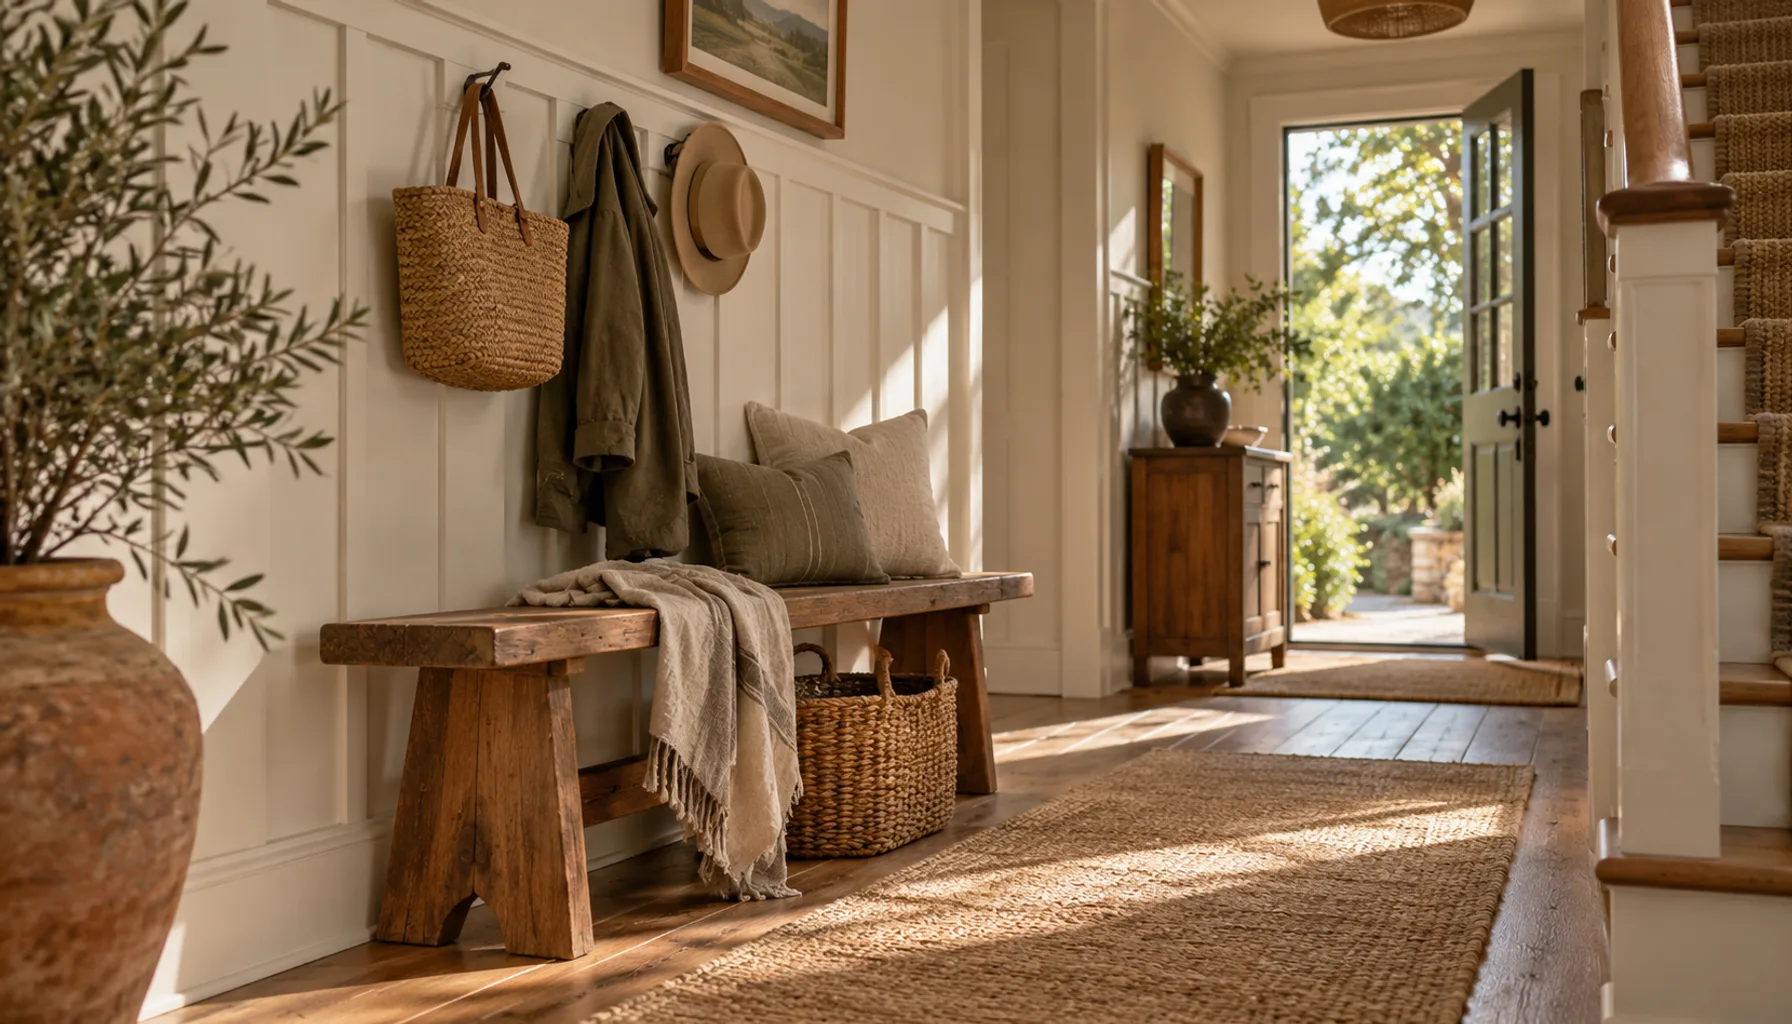
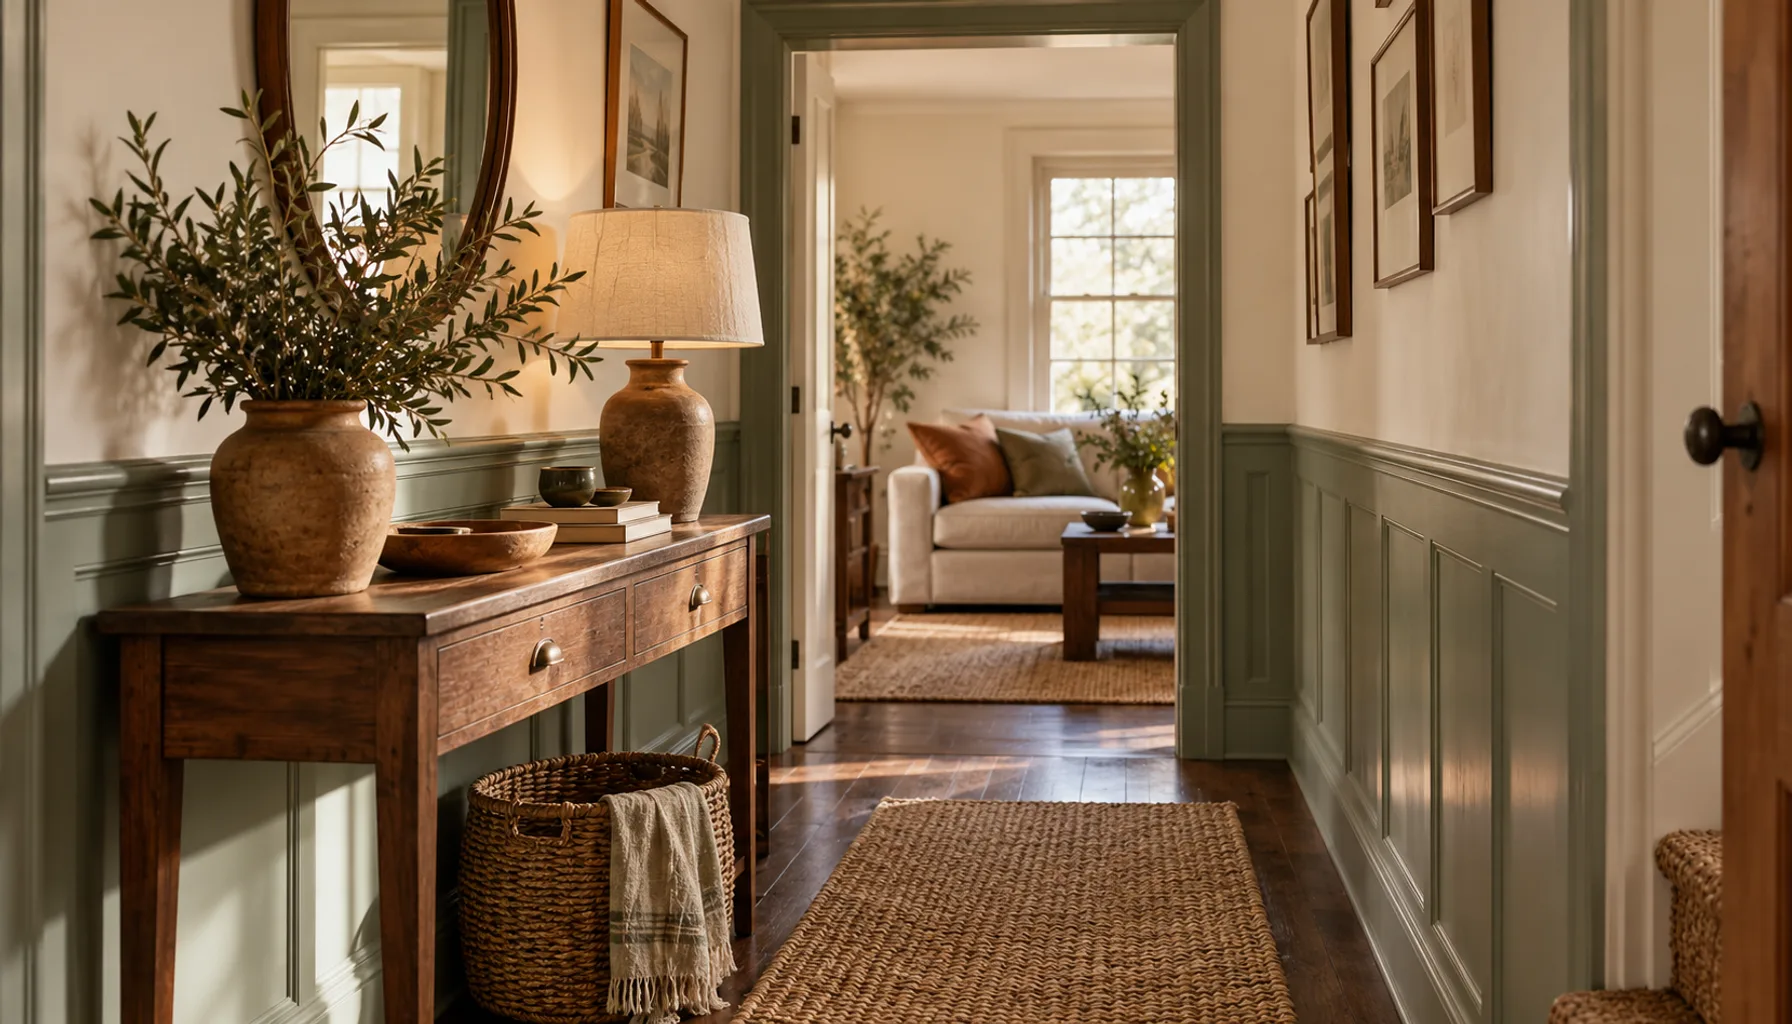
Wainscoting covers only the bottom portion of the wall. It protects the paint from scuffs, which makes it handy in hallways, entryways, and kids rooms, and it uses far less material.
Pick a height by looking at the room. A lower rail usually looks better than one that cuts the wall in half. Keep the top cap tidy, because that's where the eye lands. A simple flat or slightly angled cap rail sheds dust better than a ledge, which matters in a hallway where nobody wipes the top. Wainscoting also pairs well with a two-tone scheme, with a deeper shade below and a lighter one above, which makes a low ceiling feel taller than a single dark color would. For tips on choosing colors that sit well together, our post on paint tricks that change a room is a good companion.
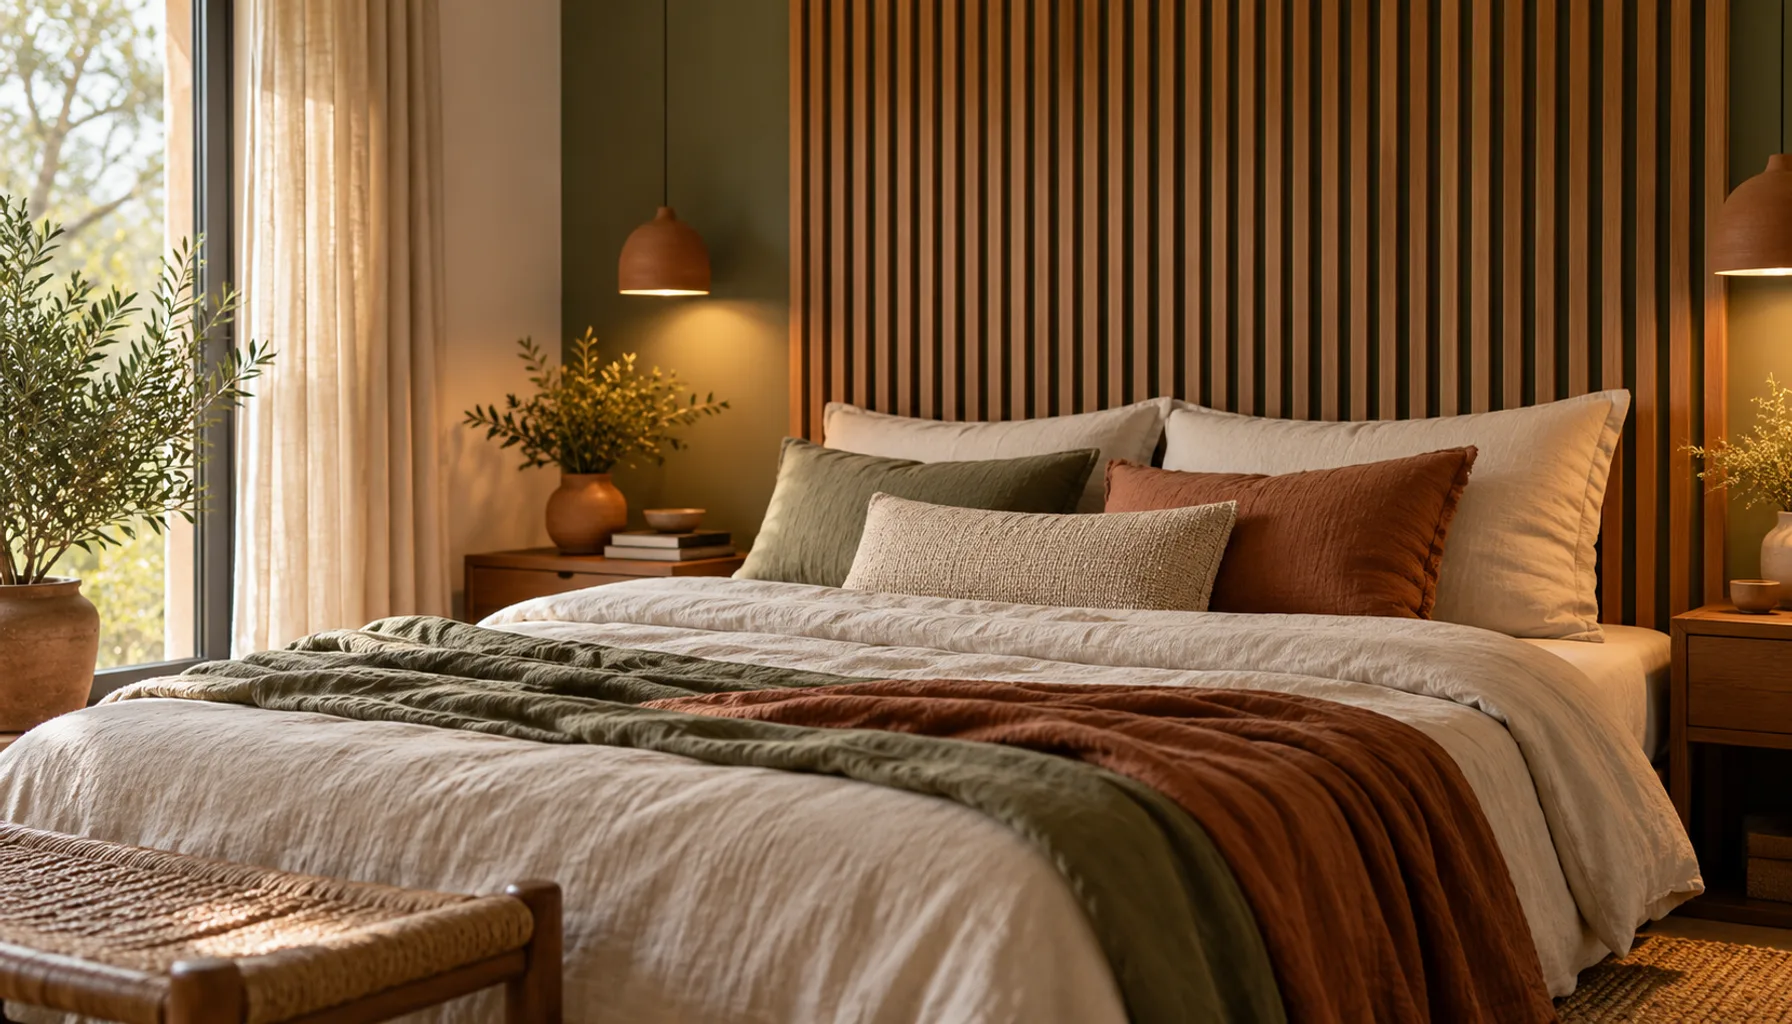
Idea 4: Try a Slat Wall With Spaced Wood Strips
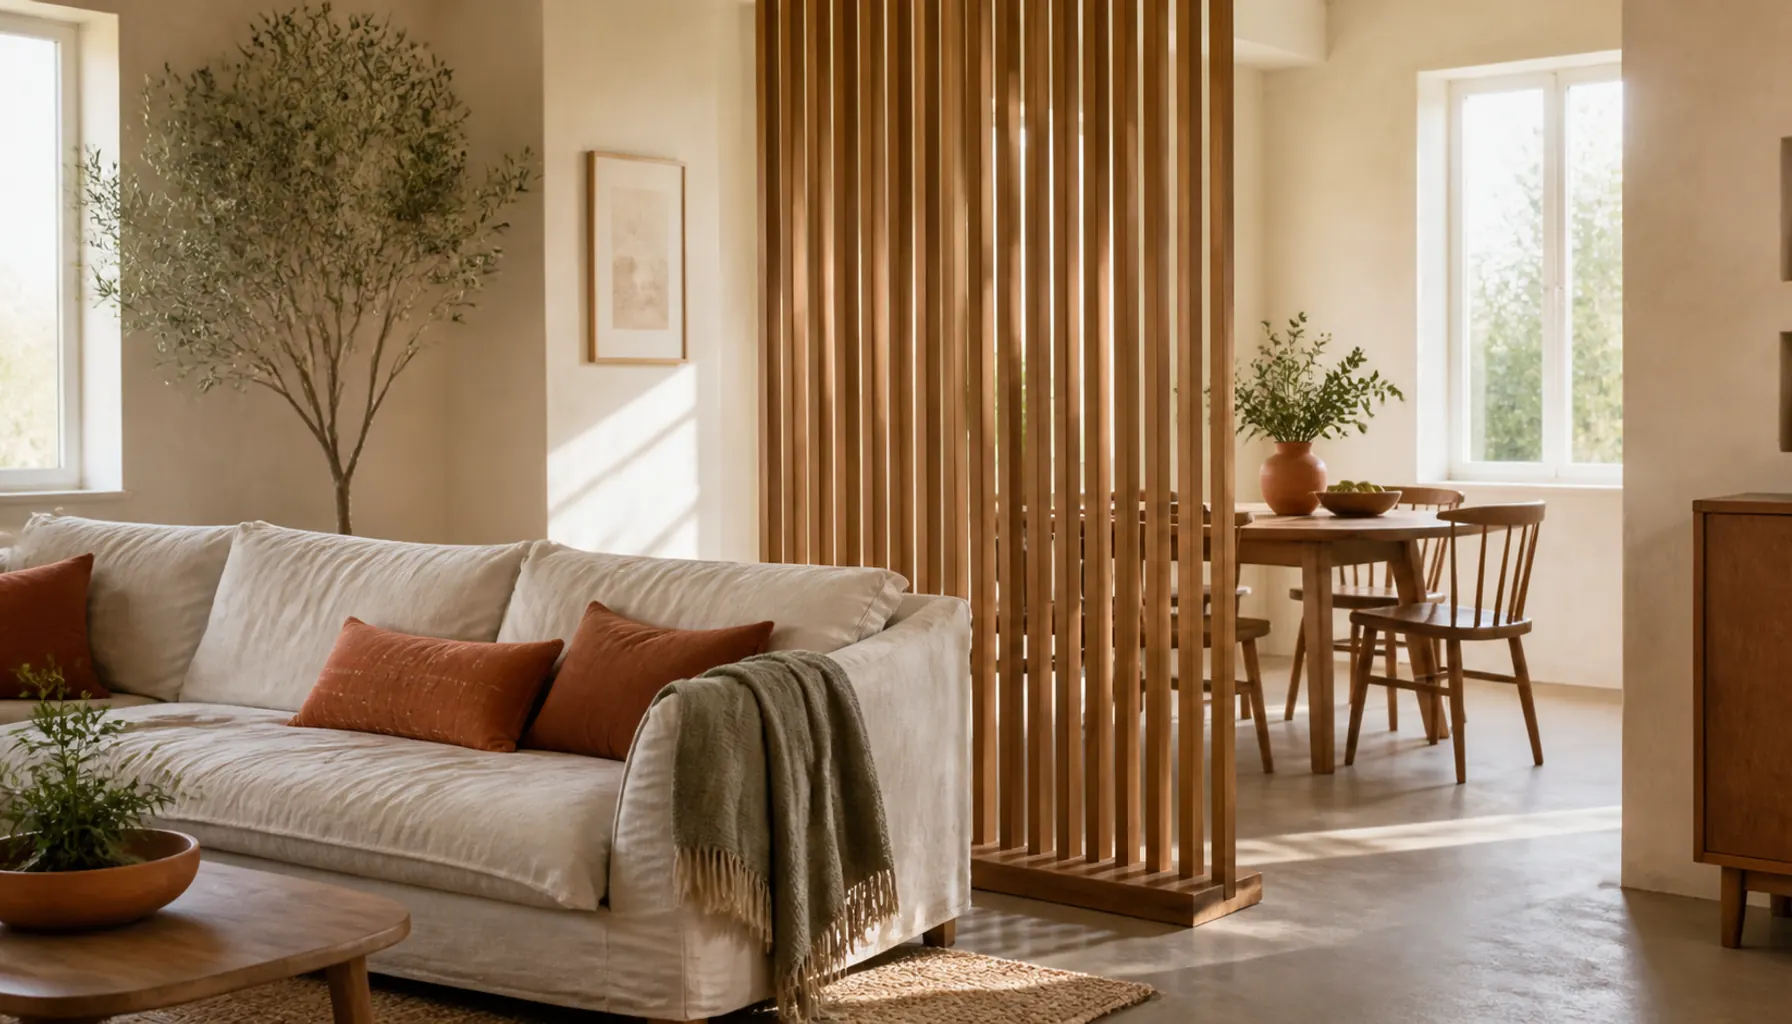
Slat walls use narrow vertical strips with small gaps, and they add warmth and a modern look. You can buy pre-made panels or cut your own from thin pine or poplar.
Painting the wall behind the slats a darker tone gives depth. Spacing should be consistent, so use a small scrap piece as a spacer while you nail. Slat walls suit behind a bed, a TV, or a desk. Pre-finish the strips with stain or clear coat before you nail them up, since getting a brush into narrow gaps afterward is slow and messy. Slim strips with narrow gaps read as texture from across the room, while wider strips with larger gaps read as a stronger graphic pattern, so decide which you want before buying. Real wood strips also expand and contract slightly with humidity, so leave a hair of room at the ends in a bathroom or a damp basement. For a TV area, our guide on hiding cables shows how to keep wires tidy.
Idea 5: Use Peel-and-Stick Panels in a Rental
If you can't alter the walls, peel-and-stick panels give the paneled look with little commitment. Quality varies, so test a small piece on an out-of-sight area first.
Clean the wall and let it dry before applying. Press firmly, and trim at corners with a sharp blade. Check how the product comes off, since some can pull paint from the wall. Wall paint that was applied recently, within a few weeks, may not have cured enough to hold an adhesive without lifting, so wait if the wall is fresh. Start in the least visible corner and work toward the focal wall, so your first imperfect seams end up behind a door rather than above the sofa. Keep warm air from a hair dryer handy: a little heat softens the backing and helps panels settle around a slightly uneven wall. More ideas like this are in our peel-and-stick projects for a rental.
Idea 6: Make a Headboard Wall With Paneling
A paneled section behind the bed can replace a headboard. It anchors the bed and gives the room a focal point. Make the paneling wider than the bed so it doesn't look like a patch.
Keep the design simple: a few large rectangles or vertical battens. Paint it a few shades deeper than the other walls for contrast.
Height is the choice that matters here. Carrying the paneling to the ceiling makes the bed wall feel like built-in architecture, while stopping at about the height of the top of a headboard or slightly above makes it read as a backdrop. If you have bedside sconces or wall lamps, plan their mounting positions before you install, because cutting a hole through finished paneling is far harder than leaving a gap for the wire. Center the design on the bed, not on the wall, if the two don't line up. If you also want a physical headboard, see DIY headboard ideas for any budget.
Idea 7: Paint the Paneling for Impact
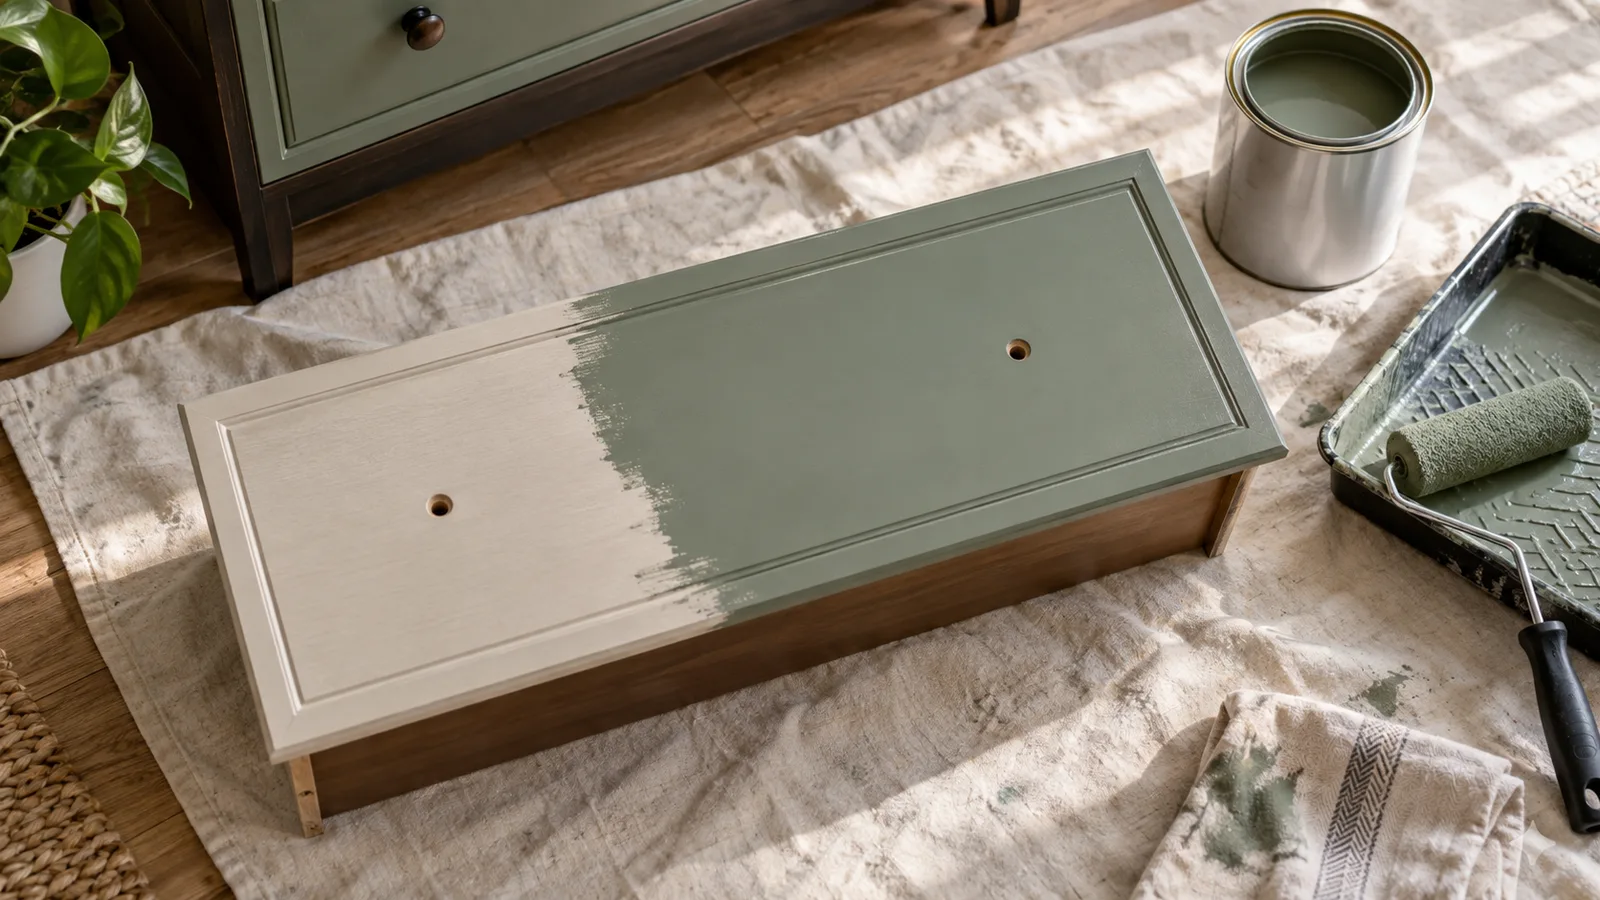
The finish decides the mood. Paint everything the same color, including the wall and trim, for a tonal and quiet look. A deeper color, like a muted green or warm gray, gives a richer, moodier result.
Use a semi-gloss or satin finish on the molding, since it wipes clean. Prime first, especially on raw MDF, which soaks up paint, and seal the cut edges well, since they drink the most. Sand lightly after the primer dries to knock down any raised grain, then apply two thin coats of finish instead of one heavy one, which would drip in the corners of the molding. Use a small angled brush for the grooves and a mini roller for the flat faces. Colors also shift under paneling: shadow lines make the same paint look a little deeper in the recesses than on the faces, so test a sample on a spare piece first. For palette help, read how to choose a color palette for a small room.
Idea 8: Handle Outlets, Switches, and Corners Cleanly
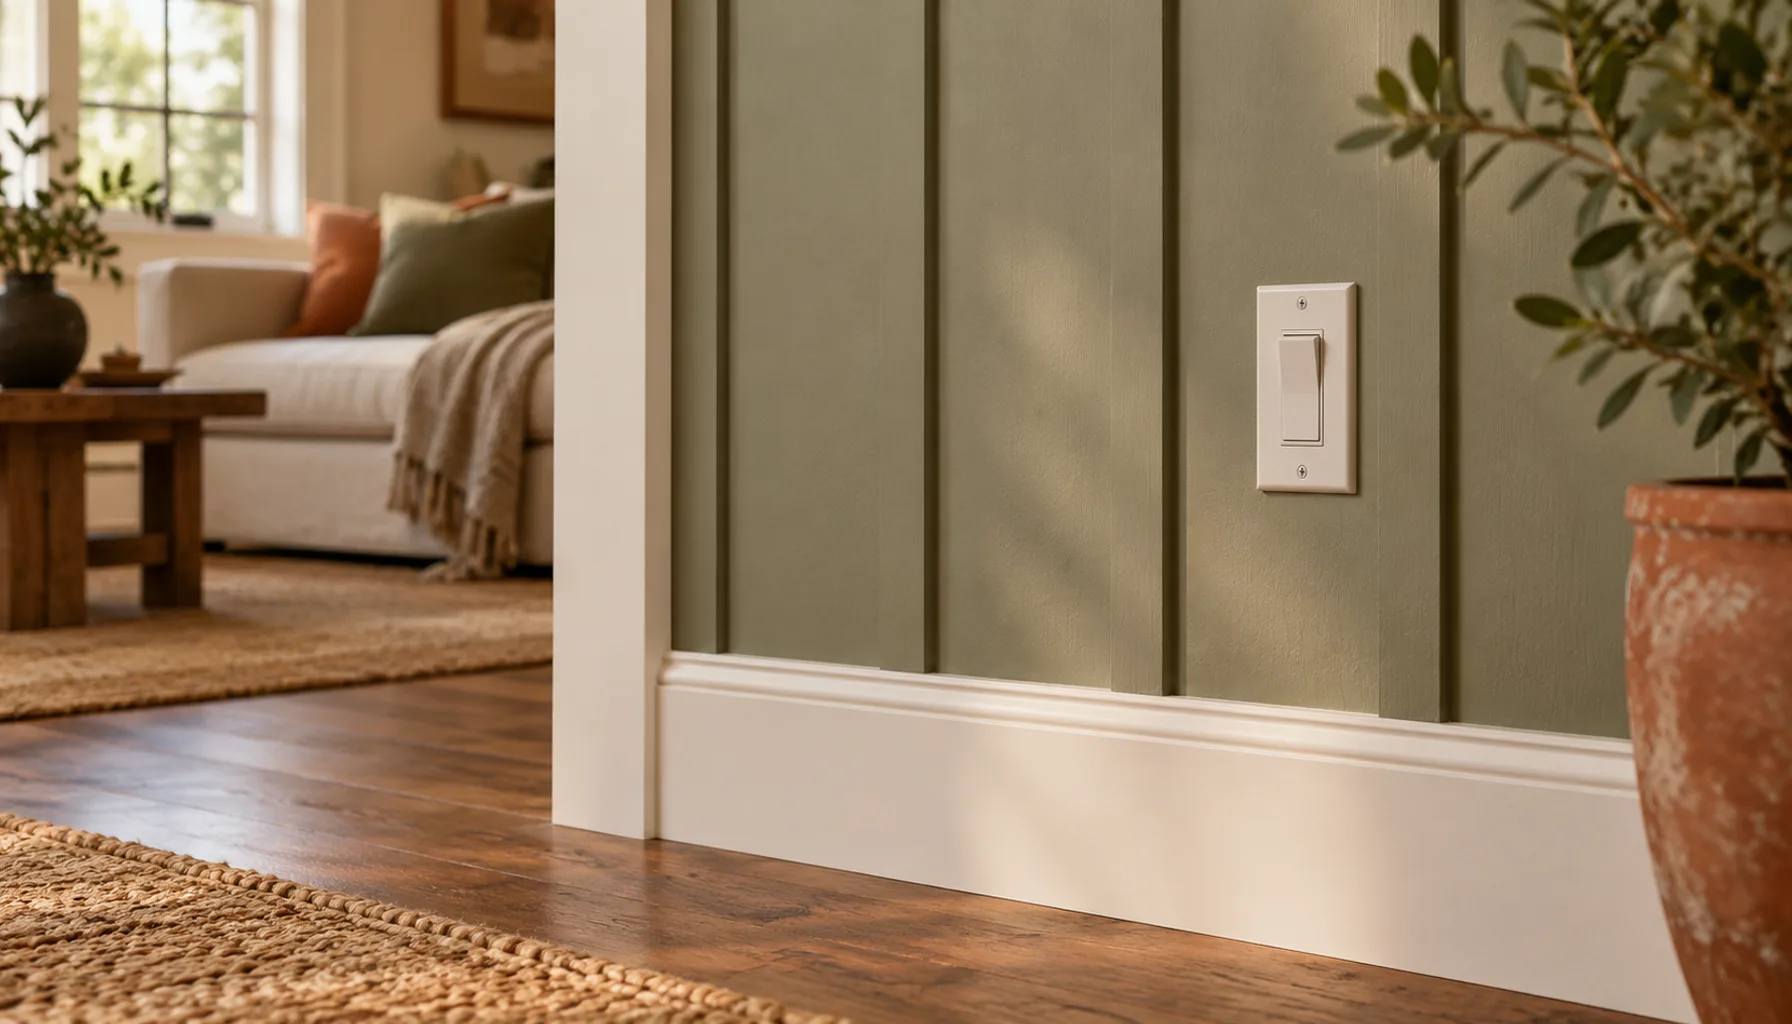
The details are where DIY paneling often stumbles. Outlets and switches need to sit flush with the new surface, so use box extenders where the panel adds thickness. Turn off the power at the breaker before touching anything, and if you aren't comfortable with the electrical part, hire an electrician.
Corners rarely meet at exactly 90 degrees, so cope or scribe the joints and fill gaps with caulk. Remember baseboards and door casings, and decide whether the paneling stops short of them or wraps around.
Common Mistakes to Avoid
Skipping the layout causes the most trouble. Without a plan the gaps drift, and the last panel ends up a sliver. Nailing into drywall alone, without finding studs, lets the trim loosen over time. And people often use flexible caulk on gaps that need filler, or skip primer on raw MDF.
Two quieter errors show up after the paint dries. One is trusting the floor and ceiling to be level. They rarely are, so a layout measured from the baseboard can drift visibly by the time it reaches the other side of the room. Measure from a level line instead and let any difference vanish into the baseboard or the crown. The other is choosing a gloss finish on a wall with flaws. High sheen exaggerates every ripple in the drywall, so a satin or eggshell hides far more.
Expert Tips for a Clean Finish
Cut a few spare pieces, because one will be wrong. A laser level or a long straight edge keeps the lines true. Start from the center of the wall and work outward, so any narrow leftover gap lands in a corner where it's hard to see.
Not sure if DIY is the right call for your project? See before you buy: when DIY beats new, and for a wider plan, room refresh on a real budget.
Frequently Asked Questions
What is the cheapest way to do wall paneling?
Thin MDF or pine strips with adhesive and small nails are the cheapest. Wainscoting only on the lower third uses even less.
Can I put paneling on a rental wall?
Peel-and-stick panels or leaning panels are the safest. Always check the lease and test removal on a small area.
What is the easiest paneling style for beginners?
Board and batten, because the cuts are straight and the spacing is simple.
Do I need to prime paneling?
Yes, especially raw MDF, which soaks up paint. Prime, caulk, then paint.
How high should wainscoting be?
Usually around a third of the wall height, though you should adjust to the room. Test with painter's tape before committing.
Where to Start
Pick a small wall, like a hallway or the space behind a bed. Mark a level line, plan the spacing on paper, and build one section before committing to the rest. A small win teaches the technique, and then you can scale to a bigger wall.
One useful home email a month
Real ideas to make your home work better. No spam, easy unsubscribe.