12 DIY Pegboard Wall Ideas for Garage and Craft Rooms
12 DIY pegboard wall ideas for garages and craft rooms, covering panel choice, spacer mounting, paint finish, small-parts bins, a fold-down shelf, and renter-friendly options.

· 12 min read
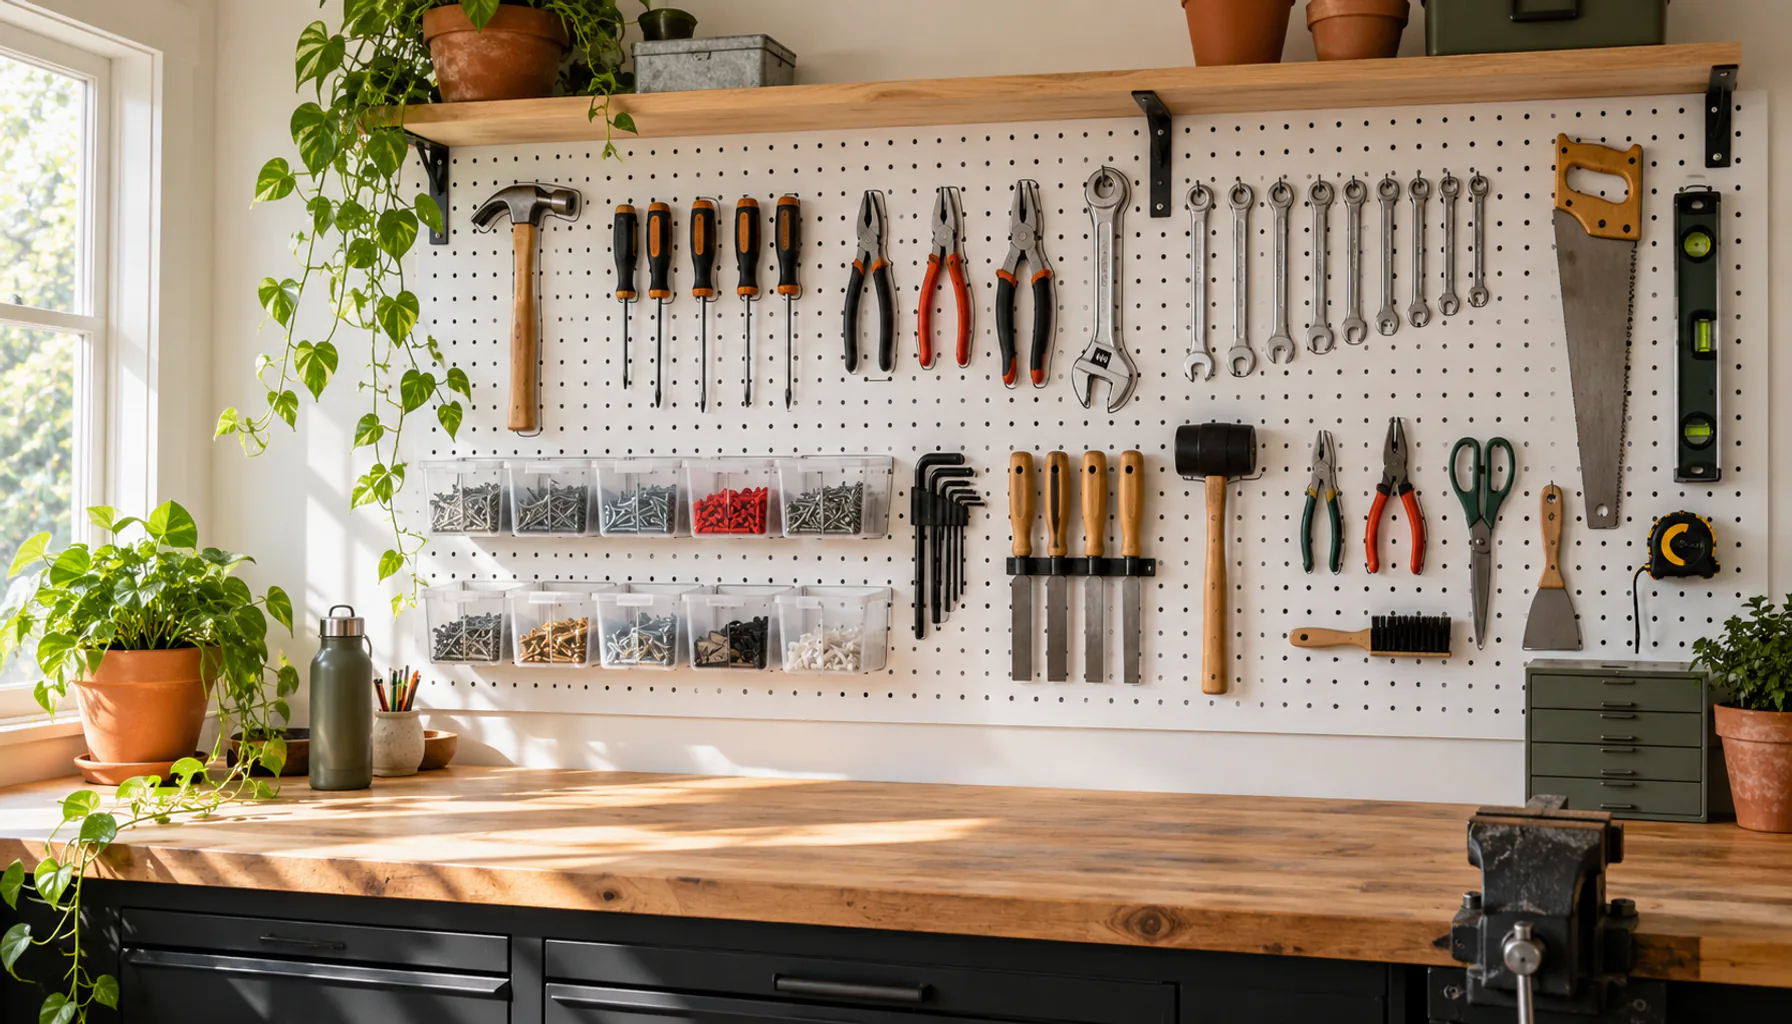
A pegboard wall only works if you build it right the first time. Screw a sheet straight to drywall with no gap behind it, and half the hooks won't seat properly. Leave it raw, and it reads as a workshop even in a tidy craft room. These twelve ideas cover the setup choices that matter, from the board itself to what you hang on it, so the panel earns its wall space in a garage or a sewing room alike.
Key Takeaways
- Spacers behind the board aren't optional. Standard pegboard hooks need clearance to seat, and flush-mounted panels fight you from day one.
- Paint the board before you hang it. Raw hardboard reads as "workshop" even when the rest of the room doesn't.
- Match the panel to the room. Tempered hardboard suits a garage. A lighter board or metal grid suits a craft space you actually want to look at.
- A bottom shelf catches what hooks can't. Paint cans, jars, and anything with a flat base need a ledge, not a peg.
- Renters can do this too. A frame-mounted leaning panel skips drilling into drywall entirely.
- Craft rooms can use pegboard for more than tools. Ribbon spools, pattern rolls, and trim work just as well as wrenches.
- A hinged shelf turns the wall into a workspace. A fold-down bracket gives you a work surface when you need one, without eating floor space when you don't.
12 DIY Pegboard Wall Ideas Worth Trying
Idea 1: Match the Panel Material to the Room
Standard tempered hardboard pegboard is the default for a reason: it's cheap, it's stiff, and it shrugs off a dropped wrench. That makes it the right pick for a garage wall that takes real abuse. A craft room asks for something different. A lighter-weight panel, or a metal grid system with S-hooks, holds scissors and ribbon just as well and looks less like leftover construction material in a room people sit in.
Thickness matters more than most people expect. Quarter-inch board flexes under a loaded shelf bracket, while the heavier 3/4-inch commercial panels barely move. For anything holding real weight, like a full set of hand tools, the thicker board is worth the extra few dollars per sheet.
Idea 2: Mount With Spacers So Hooks Actually Seat
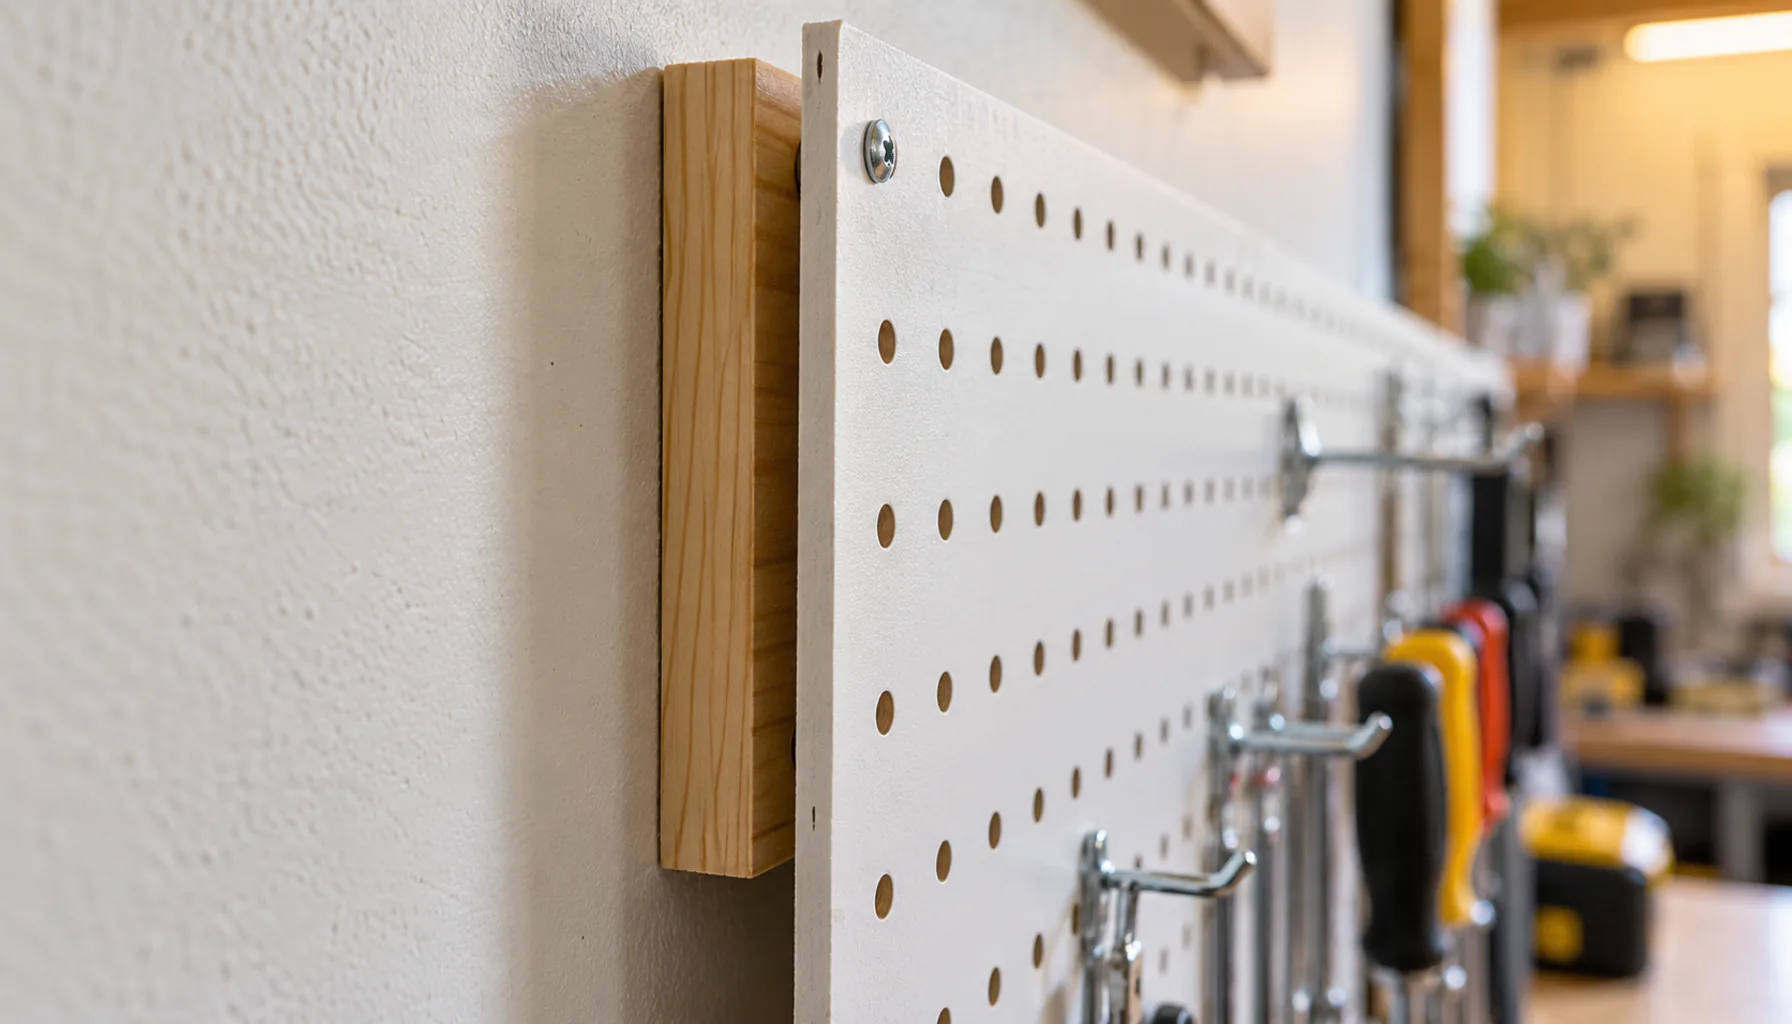
This is the step people skip, and it's the one that makes or breaks the whole wall. Pegboard hooks have a bent tail that needs to slide into open air behind the panel, not press flat against drywall. Furring strips, cut to roughly half-inch thickness and screwed into wall studs first, create that gap and give the panel something solid to anchor to.
Find the studs before you cut anything. A panel screwed only into drywall anchors will sag the first time it carries a loaded shelf or a heavy tool. Space the furring strips every 16 inches, matching standard stud spacing, so the board has support across its full width instead of just at the edges.
Idea 3: Paint the Board Before It Goes Up
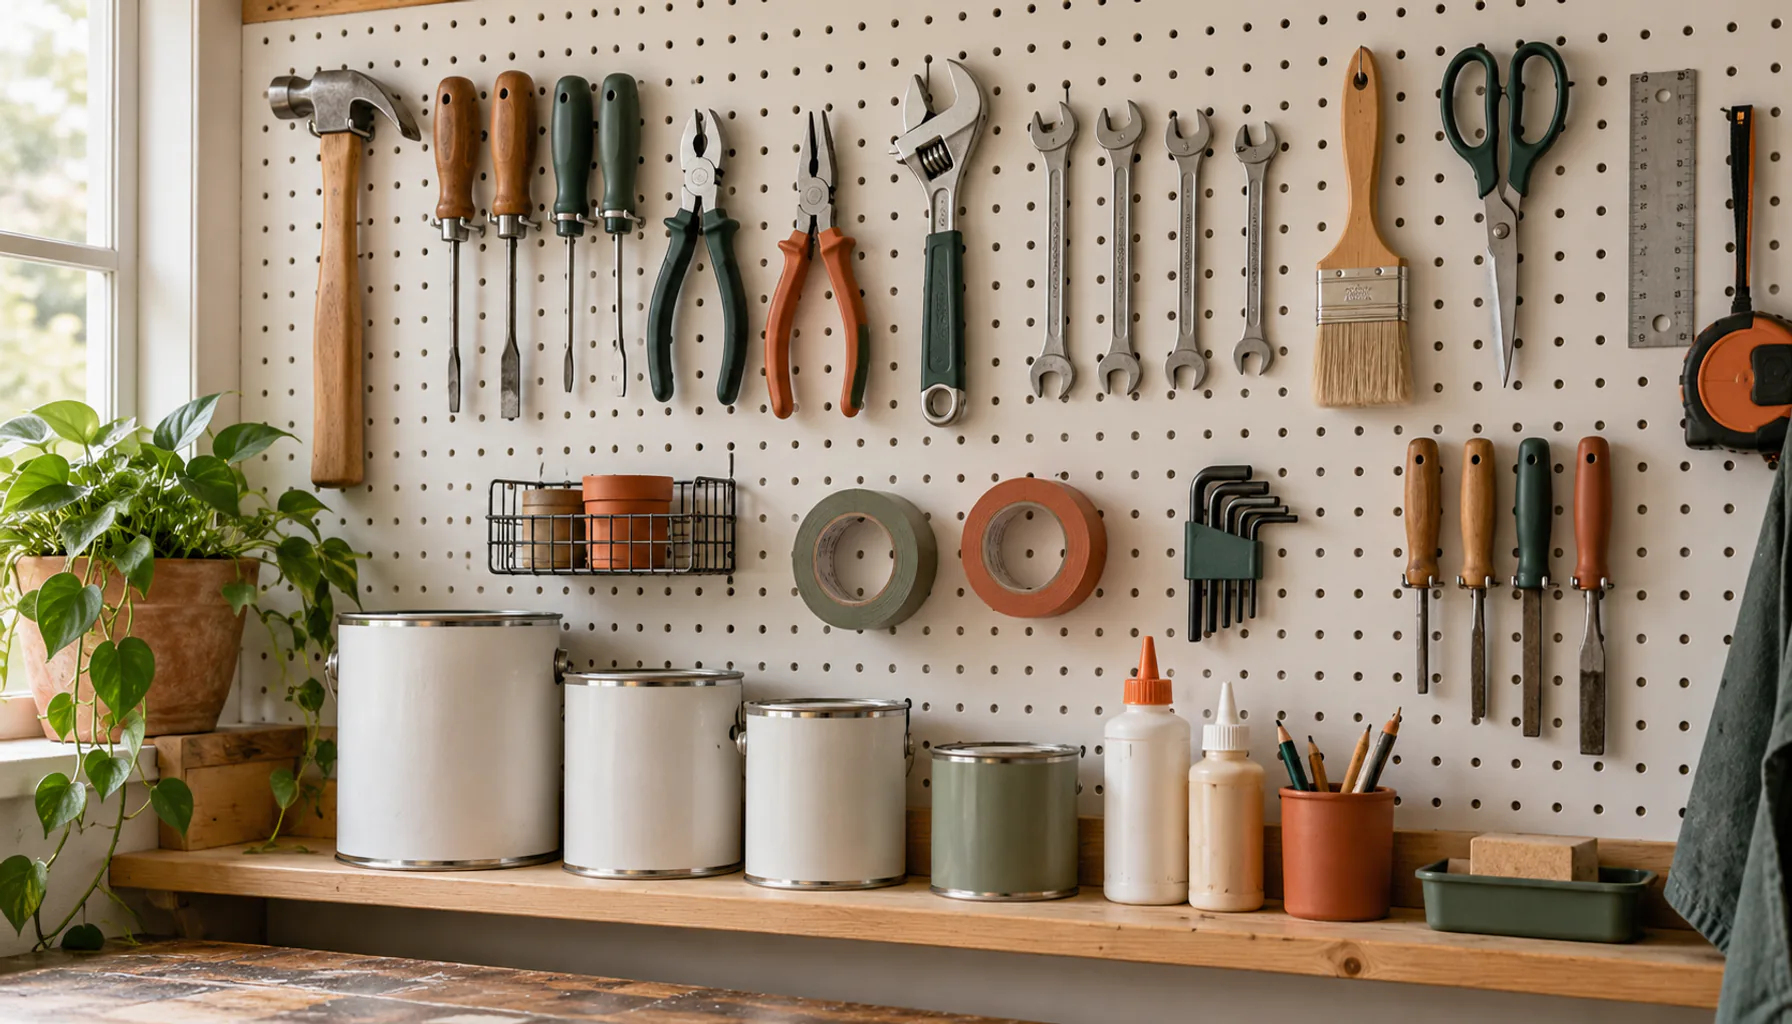
Raw pegboard has a dull tan-brown finish that immediately signals "garage shelf," even in a room with nice trim and good light. A coat of paint, matched to the wall color or picked as a deliberate accent, changes that completely. White or a soft warm gray reads as built-in storage. The original hardboard color reads as scrap material pressed into service.
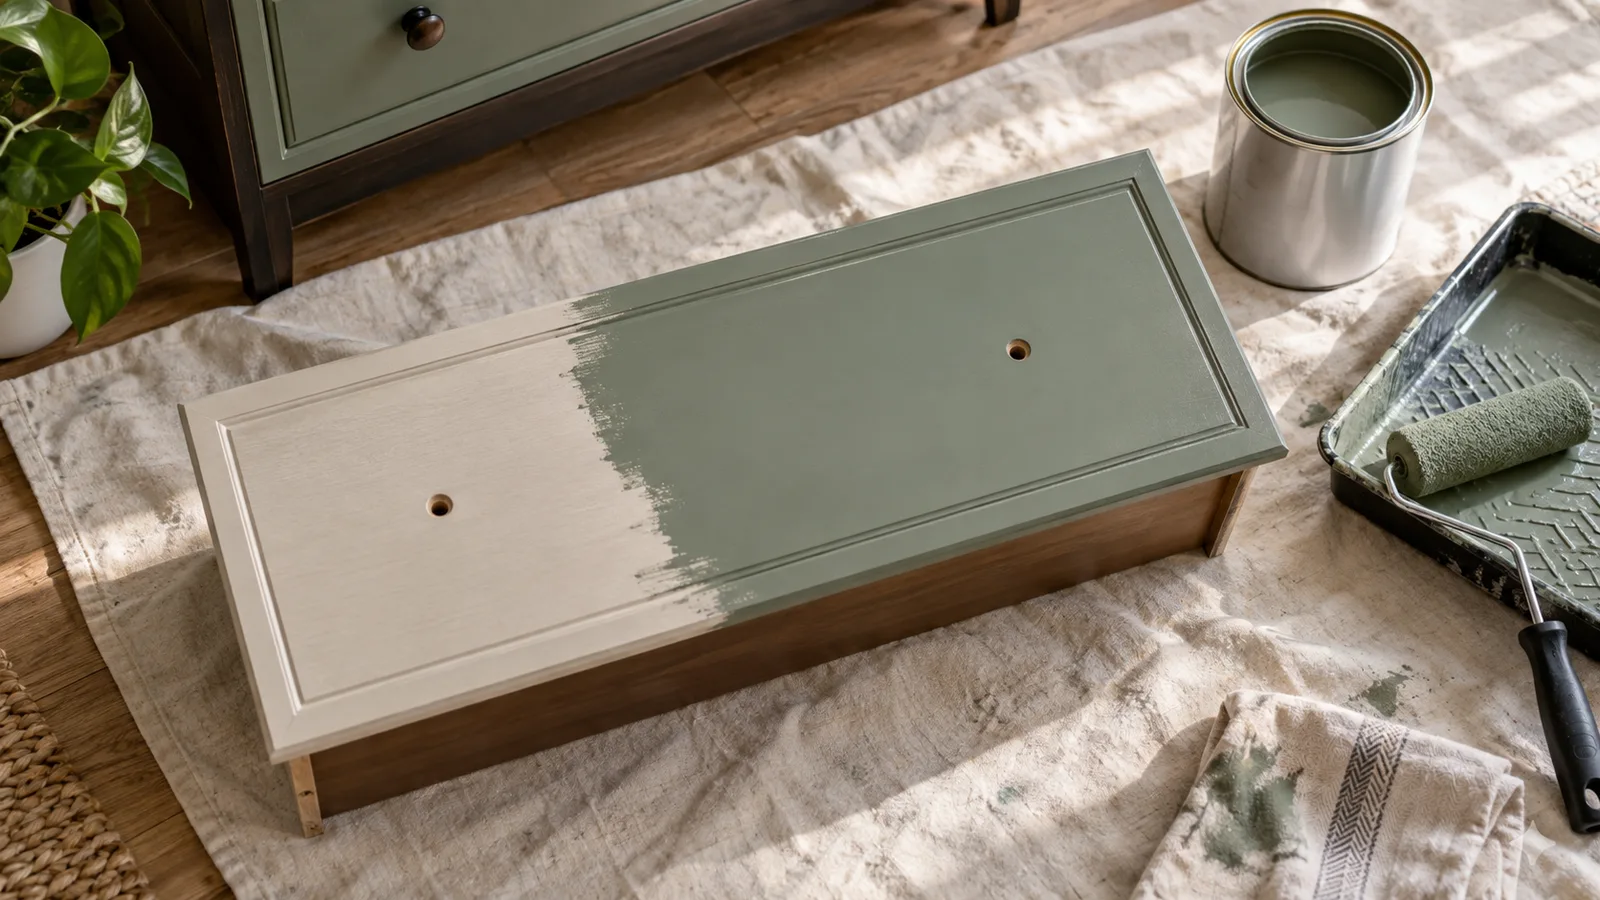
Paint the board flat on sawhorses before mounting it, not after. Painting it on the wall means working paint into hundreds of small holes at an awkward angle, and you'll miss half of them. Two thin coats, lightly sanded between, keep the holes from clogging so hooks still seat properly once the panel is up.
Idea 4: Trace Tool Outlines for At-a-Glance Put-Back
In a garage zone, outline each hand tool in marker directly on the board behind where it hangs. A missing hammer becomes obvious from across the room instead of requiring a search. This only pays off for tools used often enough that the outline gets referenced weekly. Trace the outline with the tool hanging in place, not freehand, so the silhouette matches the real shape and size.
Skip this step for anything used less than once a month. An outlined board covered in rarely touched tools just becomes visual clutter, the same problem a cluttered pegboard was supposed to solve in the first place.
Idea 5: Add Clipped Bins for Anything Too Small to Hook
Screws, beads, washers, buttons, and loose ribbon scraps don't hang on a standard hook. Small clip-on bins, sized to fit the board's hole pattern, solve this by giving loose items a contained spot instead of a pile at the bottom of a drawer. Clear plastic bins work best here because you can see what's inside without pulling each one off the wall.
Group bins by what you reach for together. In a garage, that might mean all the screws and anchors near the drill. In a craft room, it's beads sorted by size next to the jewelry pliers. The grouping matters more than the bin itself.
Idea 6: Build In a Bottom Shelf Ledge
Not everything hangs well. Paint cans, glue bottles, spray bottles, and jars have flat bases and no hook point, and they'll just sit on the floor below the board if there's nowhere else for them to go. A single shelf ledge, mounted along the bottom edge of the panel, gives those items a home without stealing hook space above.
Keep the ledge shallow, around four to six inches deep, so it doesn't block access to the hooks directly above it. A deeper shelf looks useful but ends up shadowing whatever's hung just above it, which defeats the point of a wall system in the first place.
Idea 7: Use Modular Panels Instead of One Big Sheet
A single full sheet of pegboard looks clean on a wide, uninterrupted wall, but most garages and craft rooms have a window, a door, or an electrical panel breaking up the space. Smaller modular squares, cut to fit around those obstacles, cover the same total area without wasting material on a shape the wall doesn't have.
Modular sections also make the system easier to change later. Swap one 2-by-2 panel for a shelf unit, or add a second section when the first one fills up, without redoing the entire wall. A single oversized sheet doesn't offer that flexibility once it's mounted.
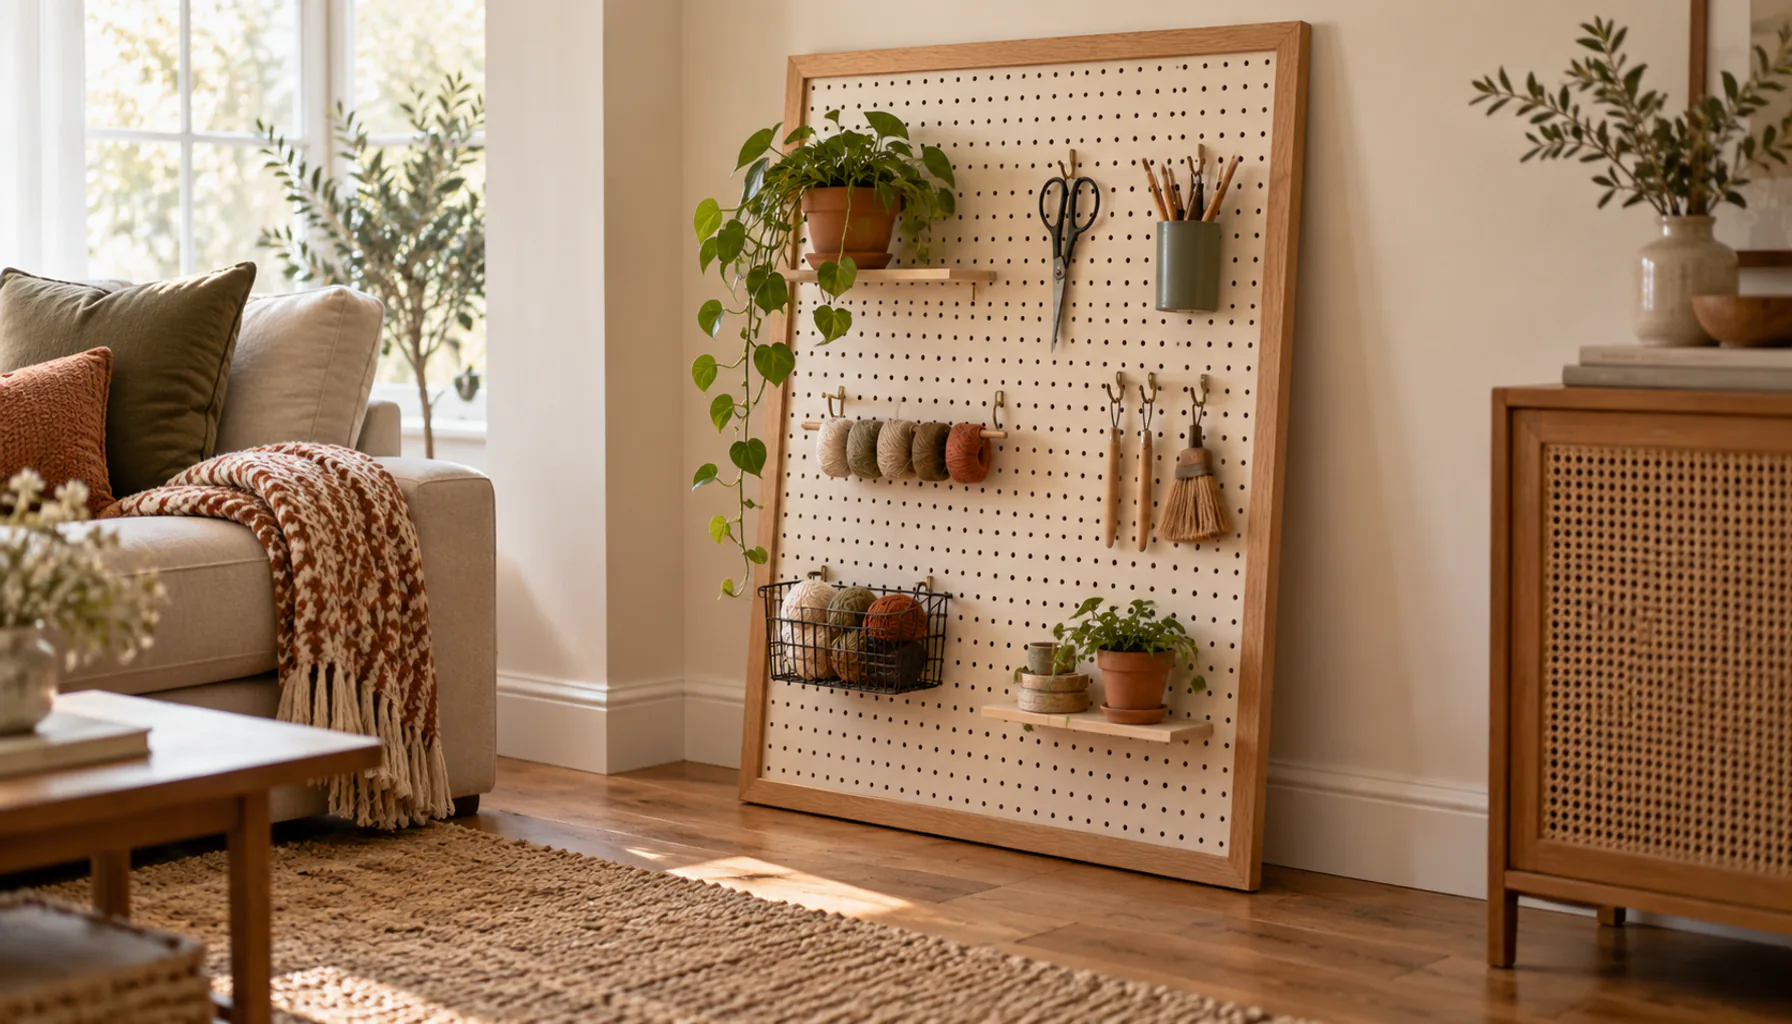
Idea 8: Build a Frame-Mounted Leaning Panel for Renters
Renters can't always drill into drywall, and wall anchors that come out with the board when the lease ends aren't worth the risk of a deposit dispute. A pegboard panel built into a simple wood frame, sized to lean against the wall or wedge between floor and ceiling with a tension rod, gives the same storage without a single hole in the wall.
Build the frame slightly deeper than the panel itself so there's room for hooks to seat properly, the same clearance problem as a wall-mounted version. Renter-Friendly Upgrades You Can Take With You covers more approaches like this one for anyone furnishing a space they don't own.
Idea 9: Color-Code Zones Instead of Labeling Every Hook
Labels work, but they take time to read one at a time. Painted color blocks behind sections of the board, or hooks in a consistent color per category, let your eye sort the wall at a glance instead. Blue hooks for yard tools, orange for car care, green for electrical, whatever grouping matches how you actually use the space.
This works just as well in a craft room split between sewing, painting, and paper crafts. The goal is the same one behind zoning any storage system: group by how you use the items day to day, not by a category that sounds logical on paper. Garage Organization Ideas for Small, Cluttered Spaces covers the same zone-by-activity logic applied to a whole garage, not just one wall.
Idea 10: Add a Light Strip Along the Top Rail
A pegboard tucked into a garage corner or a windowless craft nook often sits in its own shadow, which makes small items hard to find even when they're hung in plain sight. A slim LED strip mounted along the top rail, angled slightly downward, solves this without adding a full fixture or running new household wiring.
Battery or USB-powered strips avoid an electrician entirely, which matters for both renters and anyone who'd rather spend a weekend building than wiring. Warm white light, rather than a cool blue-white, keeps the corner from feeling like a clinical workspace, especially in a craft room that doubles as a hobby space.
Idea 11: Repurpose Pegboard as a Craft Supply Wall, Not Just a Tool Board
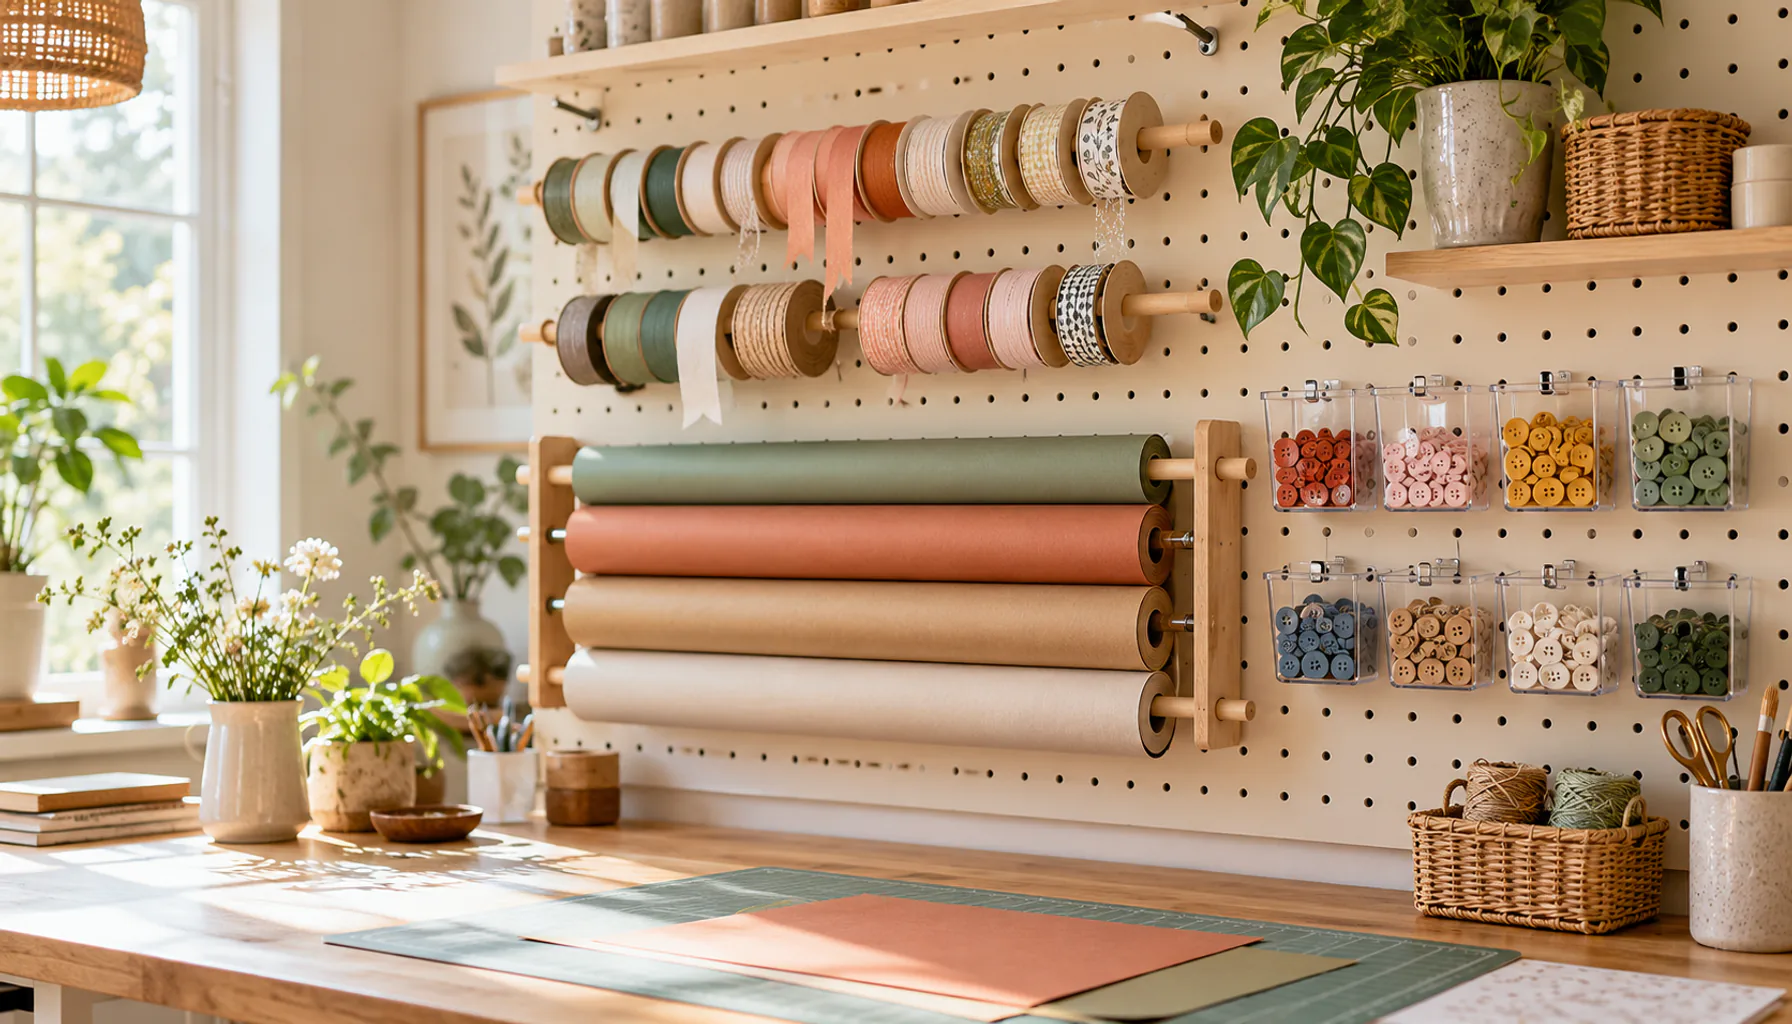
Pegboard gets marketed almost entirely toward garages, but the same hole pattern holds ribbon spools on a dowel, pattern paper rolls on a horizontal rod, and trim or bias tape on simple pegs just as well as it holds wrenches. The difference is what you hang, not the board itself.
Pair small hooks with thin dowels cut to the board's hole spacing for anything that needs to spin freely, like ribbon or thread. Reserve the clip-on bins from Idea 5 for loose notions: buttons, snaps, and small hardware that would otherwise live in a drawer you have to dig through. A craft-room pegboard organized this way does the same job a kitchen pegboard rail does for pots, just scaled to sewing and paper crafts instead of cookware.
Idea 12: Hinge a Fold-Down Shelf for a Pop-Up Work Surface
A fixed bottom shelf holds cans and jars, but it can't give you somewhere to set a project down. A small shelf mounted on a piano hinge, hung from pegboard brackets at waist height, solves that differently: fold it up and clip it flat against the board when you need the wall space, fold it down when you need a few square feet to cut fabric, mix epoxy, or sort hardware.
Build the shelf itself from a scrap of 3/4-inch plywood, cut to about 16 by 20 inches so it's deep enough to be useful without overhanging the panel below. Mount a folding shelf bracket (the same hardware used for fold-down workbenches) to the board through two of the pegboard holes, reinforced with a short strip of furring behind them. A hinge under load pulls harder on the board than a static hook does. In a one-car garage or a craft room with no spare table, this fold-down shelf is often the only flat surface big enough for the project at hand.
Common Mistakes to Avoid
- Skipping the furring-strip spacers. A flush-mounted board fights every hook you try to hang on it.
- Painting over the holes without clearing them. Thick paint clogs the holes and hooks stop seating flush.
- Hanging everything you own on it. A board covered edge to edge in rarely used items is just clutter with better lighting.
- Ignoring stud locations. Anchors in drywall alone will eventually pull loose under a loaded shelf or a heavy tool.
Frequently Asked Questions
What thickness of pegboard should I buy?
Quarter-inch board works for light craft supplies and small tools. For a garage wall holding hand tools or anything heavier, use 3/4-inch tempered hardboard, since the thinner board flexes and sags under real weight over time.
Do I need special hooks for pegboard?
Standard pegboard hooks fit the common quarter-inch hole spacing used on most hardware-store panels. Metal grid systems use their own S-hooks instead, so check which system you're buying before ordering hooks separately.
Can I hang pegboard without drilling into the wall?
Yes. A frame-mounted leaning panel, built with its own wood frame and braced against the wall or wedged with a tension rod, holds the same hooks and bins without a single hole in drywall, which makes it a solid option for renters.
How far should the gap behind the board be?
About half an inch is standard for most hooks, which is what a furring strip cut to that thickness provides. Check your specific hooks first, since some brands need slightly more clearance to seat fully.
Is pegboard a good fit for a craft room, or does it look too industrial?
Painted to match the room and loaded with dowels, ribbon, and clipped bins instead of wrenches, pegboard reads as custom storage rather than a workshop leftover. The raw, unpainted look is what signals "garage," not the hole pattern itself.
Where to Start
Start with the board and the mount, not the hooks. A panel without spacer clearance behind it will frustrate you with every single accessory you try to add later, so get that part right before buying a single hook or bin. Once the board is up and painted, the rest (outlines, bins, a shelf ledge) can be added gradually as you figure out what you actually reach for.
If you're building this as part of a bigger garage overhaul, pair it with Garage Organization Ideas for Small, Cluttered Spaces for the rest of the room. For the build itself, Beginner Scrap Wood Projects and Upcycling Furniture: Tools & First Projects cover the basic tool kit and techniques a frame-mounted panel needs. Weighing whether to build one at all versus buying a pre-made unit is worth running through Before You Buy: When DIY Beats New first, and if you're furnishing a rental, Renter-Friendly Upgrades You Can Take With You has more projects built around the same no-drilling constraint. For the budget-conscious version of the whole project, Room Refresh on a Real Budget: A Practical Plan shows how far a small materials budget stretches when the plan is this specific.
One useful home email a month
Real ideas to make your home work better. No spam, easy unsubscribe.