9 DIY Floating Shelf Ideas for Renters and Small Walls
9 DIY floating shelf ideas for renters and small walls: hidden brackets, picture ledges, corner builds, stud-safe mounting, and how to patch the holes later.

· 9 min read
A floating shelf looks like it's hovering, which is the trick and also the risk. All the weight hangs on a few hidden screws, so the build matters more than the finish. The good news is that a shelf is one of the easiest things to make yourself, and a handful of small decisions, like where the bracket goes and what the board is made of, decide whether it holds a plant for years or sags in a month. These nine ideas cover builds that suit a small wall, including ones a renter can take down without a repair bill.
Key Takeaways
- The bracket carries the load, not the board. Choose the hardware first, then size the shelf to match.
- Screw into studs whenever you can. Wall anchors are for light loads only, and they have limits that depend on the wall.
- A picture ledge is the renter's best friend. It needs only a few small fasteners and holds frames and paperbacks.
- Shallow shelves suit small rooms. Depth eats floor space visually, so go narrow and long instead.
- Edge detail makes a cheap board look built. Rounded corners, iron-on veneer, or a mitered front lip change the whole look.
- Corner shelves use space nobody else wants. They stack nicely and keep the center of the wall clear.
- Plan the repair before you drill. Knowing how you'll patch the holes keeps a rental deposit safe.
9 DIY Floating Shelf Ideas Worth Trying
Idea 1: Build a Hollow Box Shelf Over a Hidden Cleat
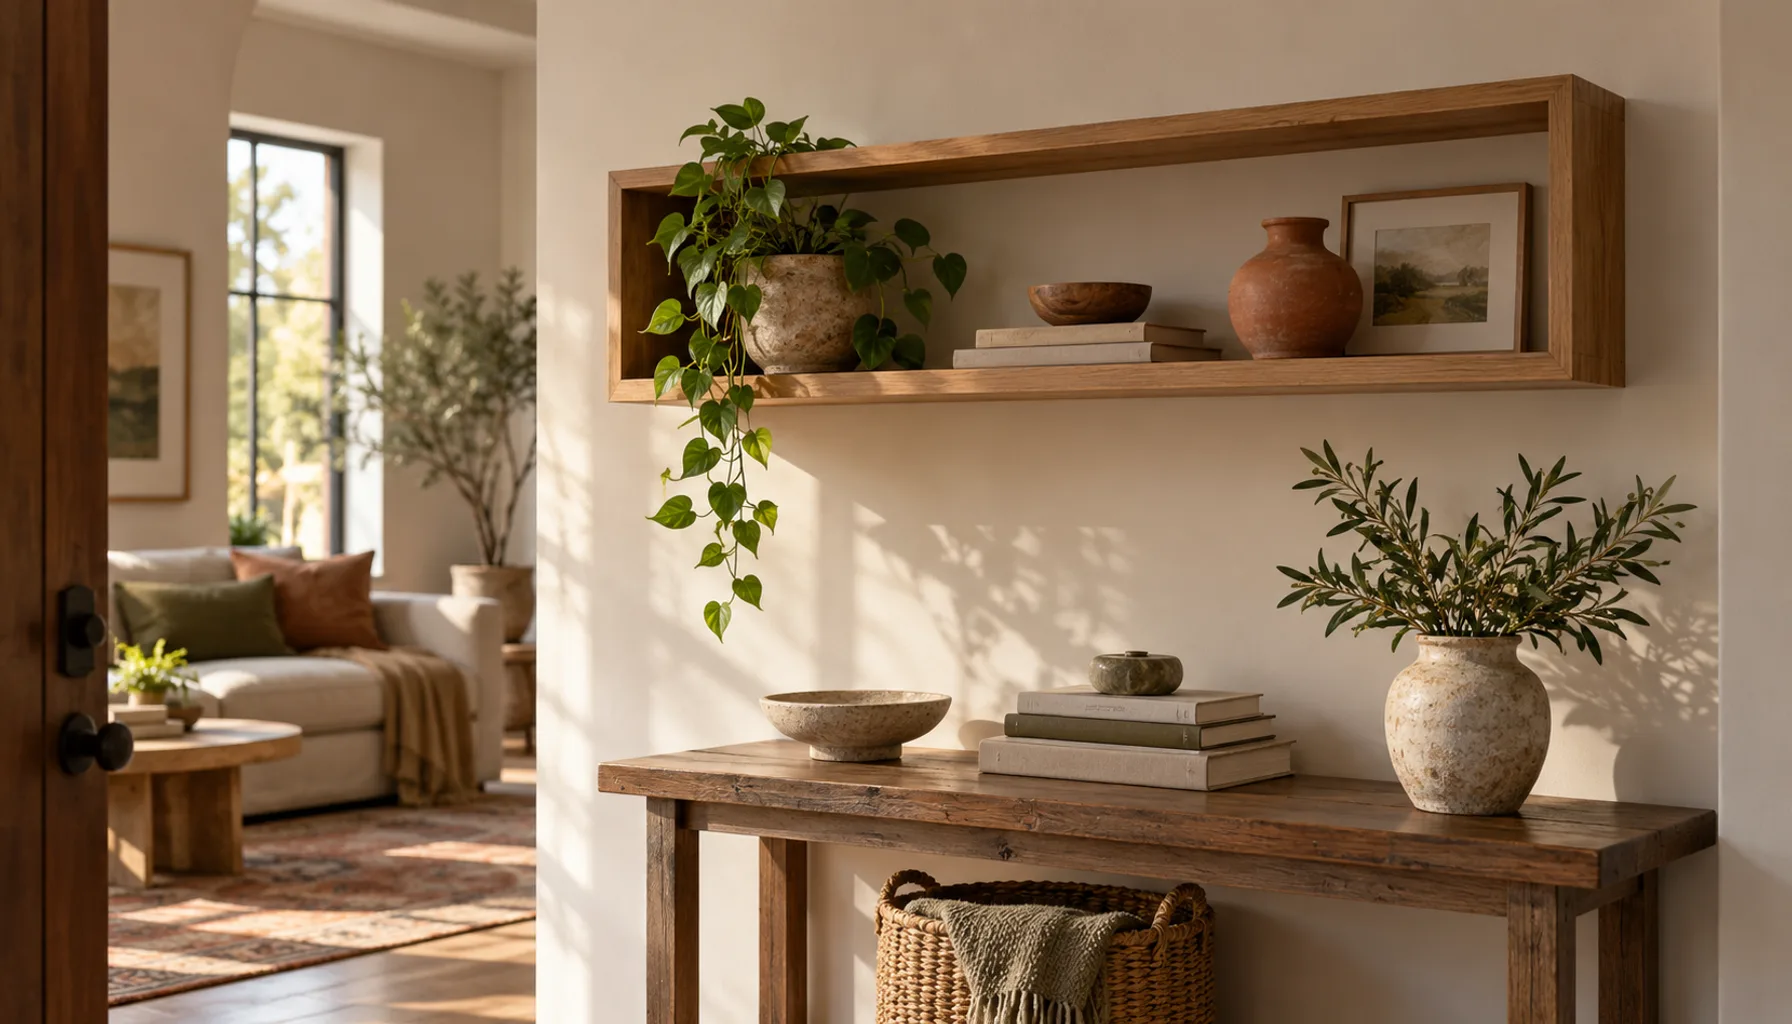
A hollow box shelf looks thick and solid but weighs far less than a slab. You make a three-sided box from thin plywood or pine, then slide it over a flat cleat screwed to the wall. The cleat does the holding, and the box hides it.
Cut the cleat so it fits snugly inside the box. Screw the cleat into studs where you can. For decoration and light books, this design is dependable. For heavy loads, it isn't the right tool, so keep it for frames, small plants, and candles.
Idea 2: Use a Solid Board With Concealed Rod Brackets
Metal rods that slide into drilled holes in a solid board make a true floating look with no visible hardware. The rods are mounted into the wall first, and the board slides over them.
Drilling accurately is the tricky step. Mark the rod positions with a level and transfer them to the board using masking tape and a drill stop. A single misaligned hole makes the shelf tilt, so test the fit on scrap first. This option handles heavier items than a hollow box, provided the rods go into studs.
Board thickness affects how the shelf reads. A chunky board, around the thickness of a standard 2x4 turned flat, looks substantial and rustic. A slimmer board looks more modern but flexes more under load, so keep spans short. Glue a little epoxy into the holes before sliding the board on, which stops it from creeping outward over time, and leave it to cure fully before you load the shelf.
Idea 3: Hang a Picture Ledge for Frames and Paperbacks
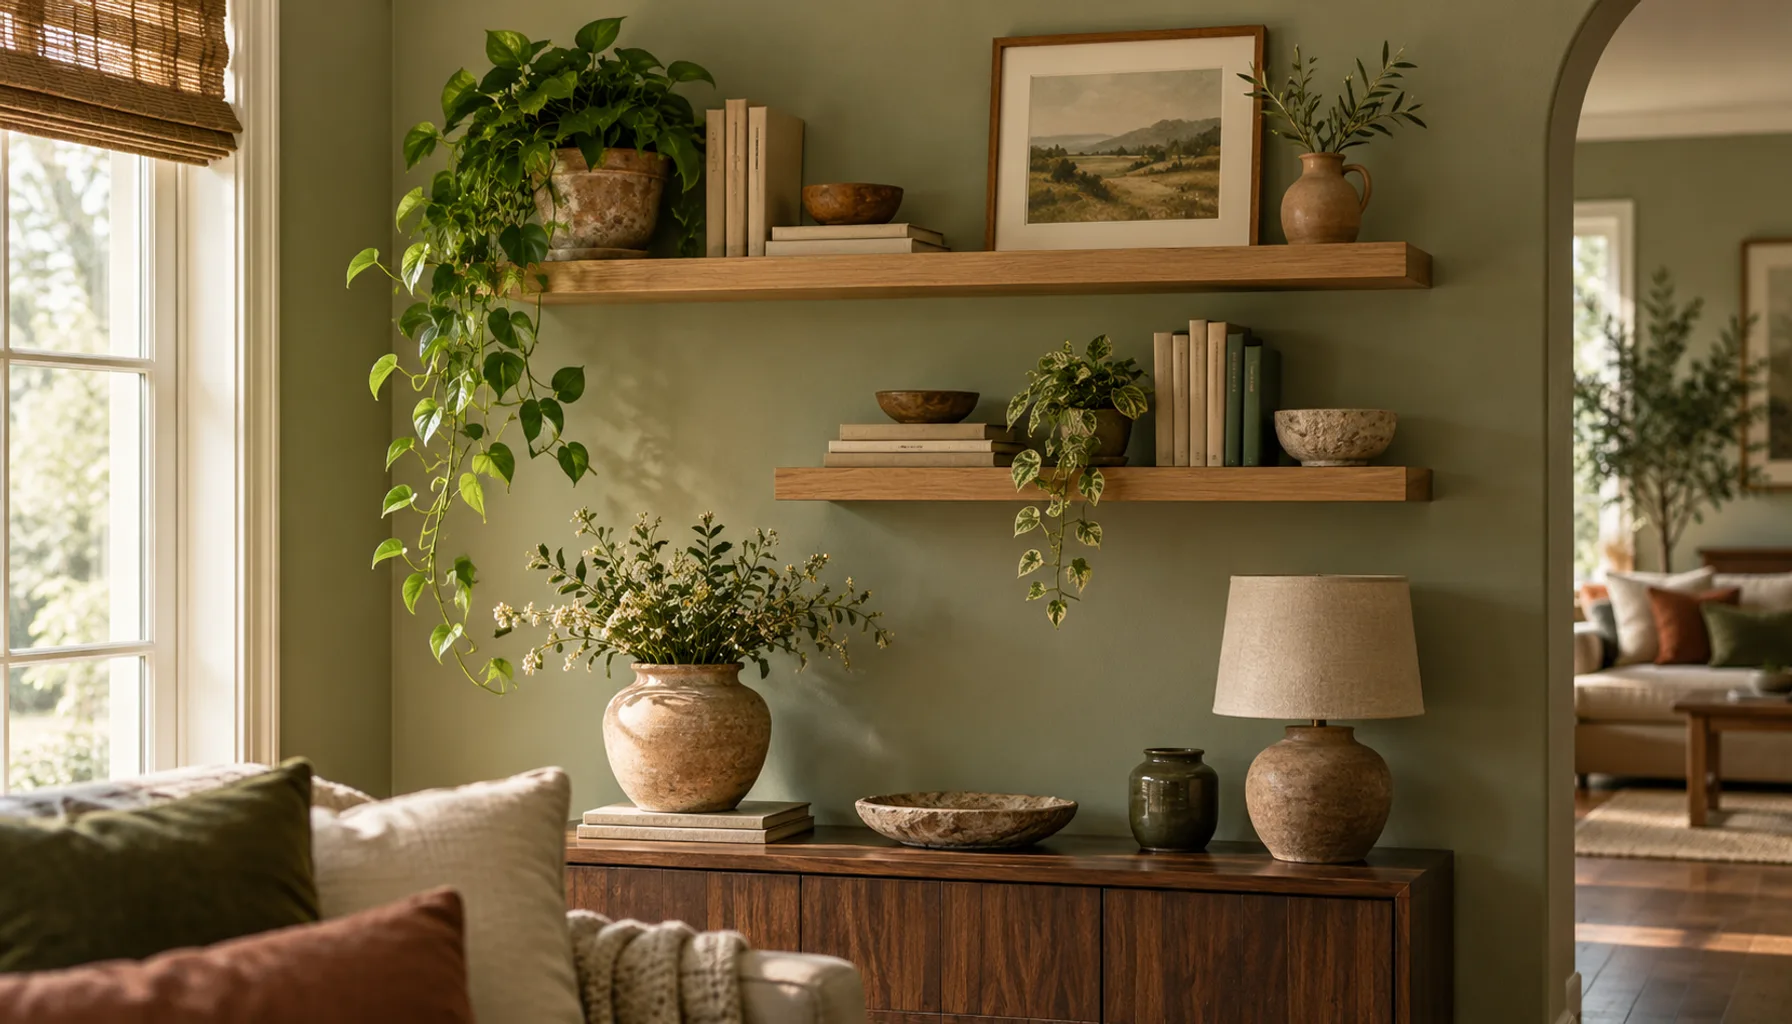
A picture ledge is a narrow shelf with a front lip, so frames lean against the wall instead of sitting flat. Renters get the most from it: it needs only a few fasteners and very little depth.
Buy a slim pine board, add a thin strip glued along the front edge, and sand and paint it to match the wall. Lean frames and a few paperbacks along it, and you can change the display whenever you like without making new holes. It's also a fine option for a hallway, where depth would block traffic.
Idea 4: Stack Two Short Shelves Instead of One Long One
On a small wall, two short shelves staggered at different heights look lighter than one long one. Offset them rather than lining them up, and leave a gap larger than the tallest object on the lower shelf.
The staggered layout breaks up a flat wall and lets you separate uses, such as plants above and books below. Keep the total height within eye level, since a stack that climbs toward the ceiling makes a small room feel shorter.
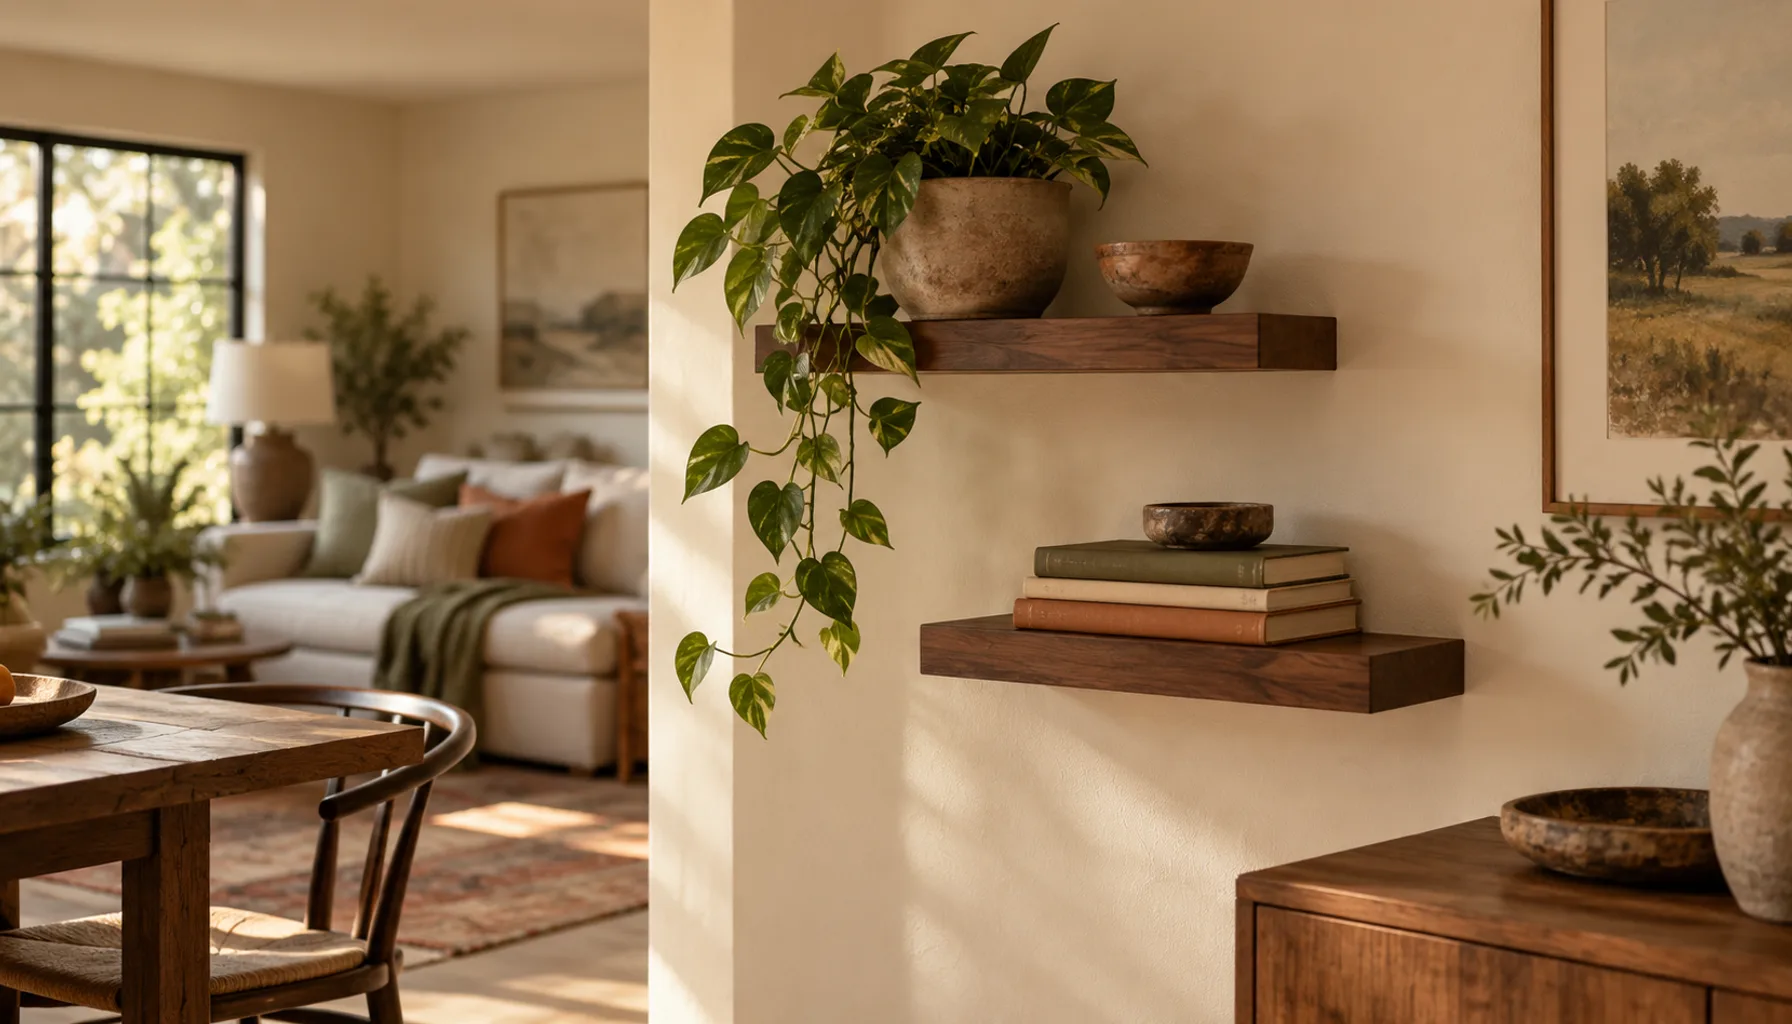
Idea 5: Fill a Corner With Triangle Shelves
Corners are wasted in most rooms. A set of triangular shelves, cut from one sheet of plywood, turns an empty corner into display or storage. Cut the triangles from the same board so the grain matches.
Mount each shelf to both walls if you can, which spreads the load. Corner shelves are nice beside a window or in a bathroom, where a normal shelf would crowd the doorway. Leave a few inches between tiers so you can reach things without knocking them over.
Cutting the triangle is simple: mark the corner angle with a scrap of cardboard, since real corners are rarely a perfect 90 degrees. Trace it onto the plywood and trim a hair undersize so the shelf doesn't bind. Sand the front edge and round it slightly, because an exposed corner at hip height is where people catch a sleeve or a hip.
Small-Space Tip: Paint the shelves the same color as the wall. They fade into the background and the objects become the focus.
Idea 6: Finish the Edge So Cheap Wood Looks Custom
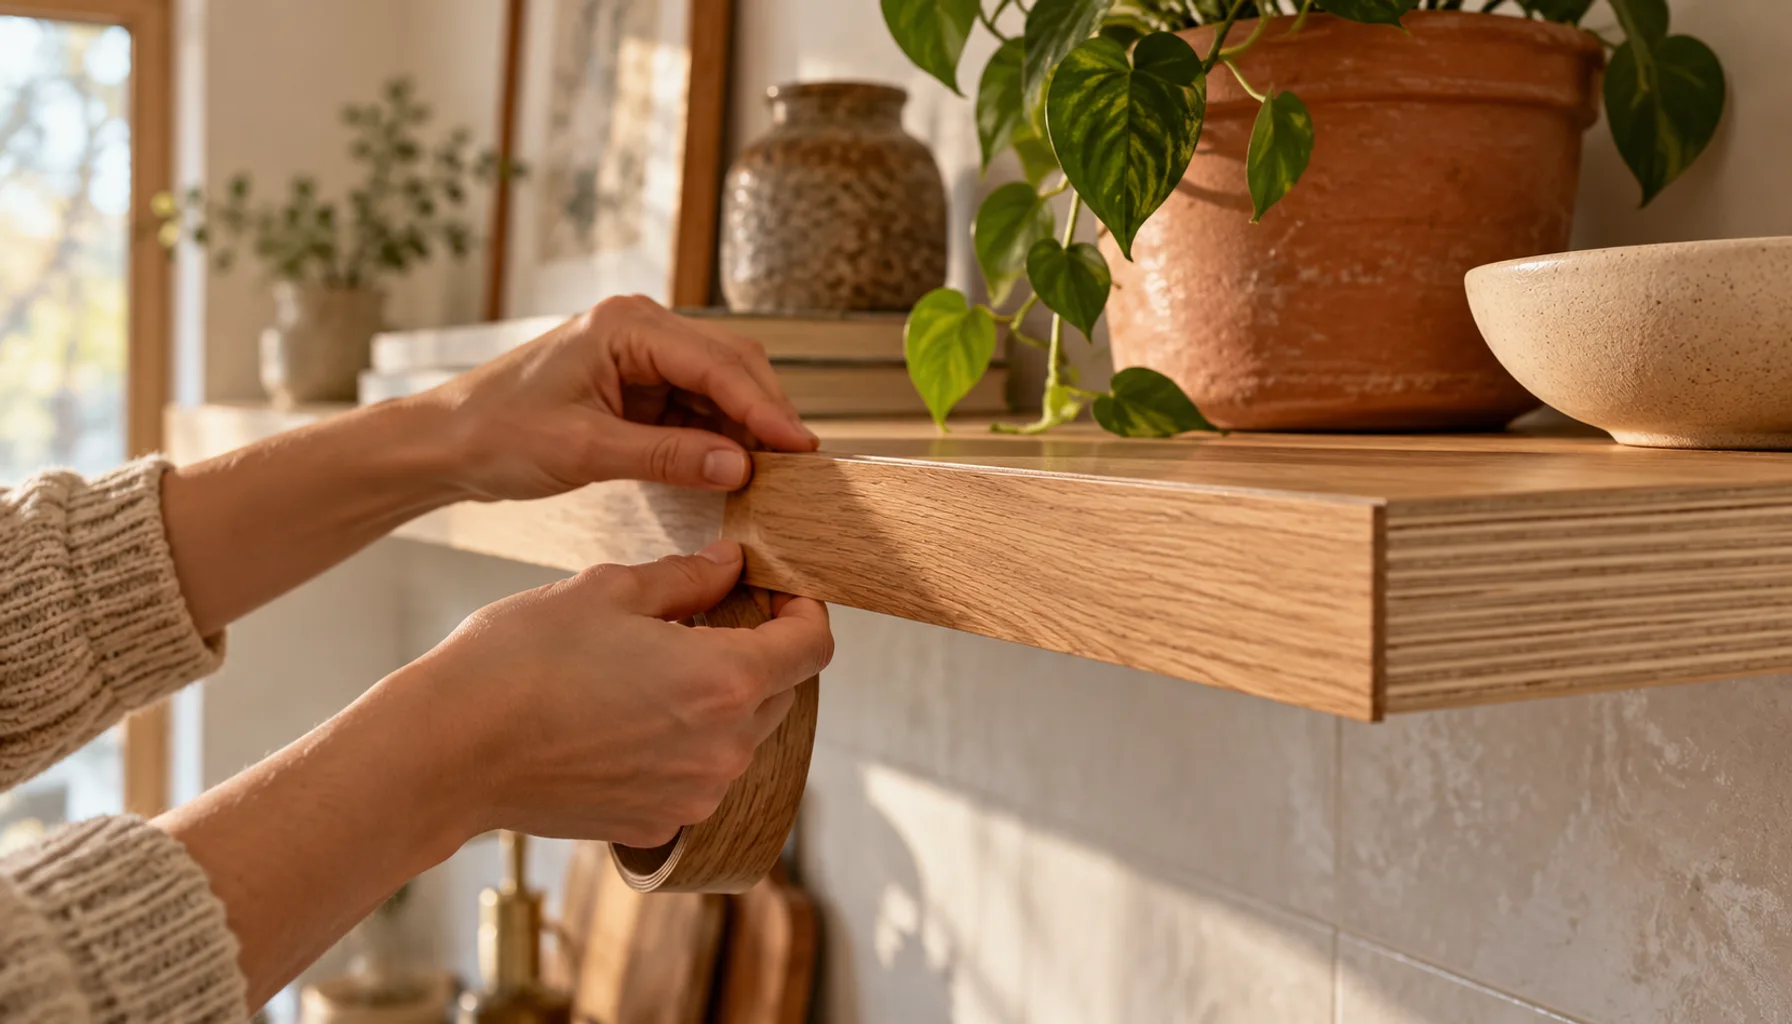
The edge is what the eye catches. Raw plywood shows its layers, and that signals "budget" immediately. Iron-on edge banding in a matching veneer is cheap and takes minutes with a household iron.
Another way is to glue a thin strip of solid wood to the front edge and sand it flush. For a painted shelf, fill the edge with wood filler before priming. Round the corners lightly with sandpaper. A rounded edge also forgives knocks, which matters in a hallway.
Idea 7: Mount Shelves in a Chosen Order, Not Randomly
Finding a stud is easier than it sounds. A stud finder works, and so does a small magnet that locates the screws in the drywall. Studs are commonly spaced at regular intervals, so once you find one, check for the next one along the wall, then confirm before drilling.
When there's no stud where you need one, use anchors rated well above the load, and keep the shelf light. Don't trust a plastic plug with a stack of books. Pre-drill pilot holes to stop the stud or the board from splitting, and use screws long enough to reach well into the stud beyond the drywall thickness. Check for hidden pipes and wires before drilling in a kitchen, a bathroom, or above an outlet, and when in doubt, use a detector or pick a different spot. If you're unsure of the wall type, such as plaster or masonry, look up the right fastener for that material before drilling.
Idea 8: Use Tension or Adhesive Options for Light Displays
For a renter who can't drill at all, there are adhesive strips and tension systems that carry light loads. They suit a small plant, a few frames, or a few candles. Always follow the maker's weight rating, then stay well under it.
Press firmly and wait the recommended time before loading. Don't place them on textured or freshly painted walls, which may peel off. Even then, think about what sits on the shelf: a few paperbacks or a small plant, not a box of tools or a glass vase near the edge. Strips also hold best on smooth, clean, flat paint, and they can fail in a steamy bathroom or a kitchen where grease is in the air. Our guide on hanging a heavy gallery wall without nails explains the strip method in detail, and peel-and-stick projects for a rental has more no-drill ideas.
Idea 9: Plan the Patch Before You Drill
Renters should think about the exit on day one. Small screw holes are easy to fill with spackle, sand smooth, and touch up with the original paint. Keep a small jar of the wall color, or note the shade name, so the patch blends in.
Take a photo of the wall before you start. Avoid large anchors if you can, because they leave bigger holes. Read your lease, since some landlords accept small holes and others don't. Our renter-friendly upgrades guide covers what's usually allowed.
Common Mistakes to Avoid
Overloading is the main failure. A shelf that holds a vase will not hold a row of hardcovers. Skipping the level is the second, because a slight tilt is visible across a room. Choosing a deep shelf for a narrow hallway is the third. Finally, don't put shelves above a bed or a seat without thinking about what could fall.
Expert Tips for a Better Result
Stain or paint the wood before mounting, since finishing overhead is messy. If you build two or three shelves for one room, use the same wood tone on all of them so they read as a set, and vary the heights of what sits on each.
For wider ideas on styling what you've built, see how to style open shelves without the clutter and our guide to when DIY beats buying new.
Frequently Asked Questions
How much weight can a DIY floating shelf hold?
It depends on the bracket, the board, and what the screws grip. Shelves mounted into studs hold far more than ones in drywall anchors. Use the hardware's stated rating, stay under it, and keep hollow box shelves for light decor.
Can renters install floating shelves?
Yes. Picture ledges and a few small screws are usually easy to patch. Adhesive options exist for light loads. Check your lease first, and plan to fill and touch up the holes when you leave.
What wood is best for floating shelves?
Pine is cheap and easy to work, plywood is stable and light, and hardwoods like oak look richer and hold more. For a painted finish, pine or plywood is plenty.
How deep should a floating shelf be?
For small rooms, shallow works best. A narrow shelf holds books and frames and doesn't crowd the space. Go deeper only where you need it, such as a kitchen or a plant display.
How far apart should floating shelves be?
Leave enough space for the tallest object on the lower shelf plus some breathing room. Staggering them looks lighter than lining them up.
Where to Start
Begin with a single picture ledge in a spot you walk past every day. It's cheap, quick, and teaches you how to find studs and mark a level line. Once you trust your measuring, move on to a hollow box shelf or a concealed bracket for something more substantial.
One useful home email a month
Real ideas to make your home work better. No spam, easy unsubscribe.