In this article
- Judge the Bones Before the Beauty
- Solid Wood vs Veneer: Know What You Are Holding
- Run Through a Fast Inspection Checklist
- Learn the Repairs That Are Actually Easy
- Recognize the Red Flags Worth Walking Away From
- Match the Piece to Your Space and Budget
- Have a Plan Before You Load the Car
- Bringing It All Together
Thrift Store Furniture: How to Spot Pieces Worth Flipping
Learn to shop thrift store furniture like a pro. Spot solid construction, real wood, and easy repairs while dodging the pieces that waste your money.

· 6 min read
Walking into a thrift store or estate sale can feel like a treasure hunt with no map. Some pieces are genuine steals waiting for a coat of paint, and others are money pits dressed up in nice lighting. Telling them apart is a skill anyone can build. Once you know what to touch, tilt, and sniff for, you can shop secondhand with confidence and leave the duds behind. Here is how to read a piece before you ever bring it home.
Judge the Bones Before the Beauty
The single most useful of all thrift store furniture tips is to judge structure before style. Paint, hardware, and dated finishes are all easy to change. A warped frame or a cracked joint is not.
Give the piece a gentle wobble. A sturdy chair, table, or dresser should feel planted, not rickety. Open every drawer and door to check that they glide and close square. If something racks side to side like a parallelogram, the joinery is failing.
Why it matters: you can spend a weekend repainting a dresser, but rebuilding its frame is a different project entirely. If you are still deciding whether a fix is worth your time at all, our guide on when a DIY project beats buying new is a helpful gut check.
Mistake to avoid: falling for a gorgeous finish on a shaky base. A beautiful veneer means nothing if the piece leans when you lean on it.
Solid Wood vs Veneer: Know What You Are Holding
Understanding solid wood vs veneer changes how you shop. Solid wood is milled from actual boards and can be sanded and refinished many times. Veneer is a thin decorative layer glued over a cheaper core like plywood or particleboard.
Neither is automatically bad. Vintage veneer over quality plywood can be gorgeous and stable. The problem is veneer over particleboard, which swells when wet and crumbles at the edges.
Quick ways to tell them apart
- Look at the edges and corners: solid wood shows continuous grain wrapping around, while veneer shows a seam or a paper-thin top layer.
- Check the underside and back panels: real wood feels and looks like wood everywhere, not just on the show surface.
- Tap it: solid wood sounds dense and dull; hollow particleboard sounds cheap and light.
- Feel the weight: solid pieces are reassuringly heavy for their size.
Tip: bring a small flashlight. Aiming raking light across a surface reveals patched veneer, bubbling, and repairs that overhead store lighting hides.
Run Through a Fast Inspection Checklist
Once the bones pass, do a quick head-to-toe pass so nothing surprises you later. Keep this list in your head as you walk the aisles.
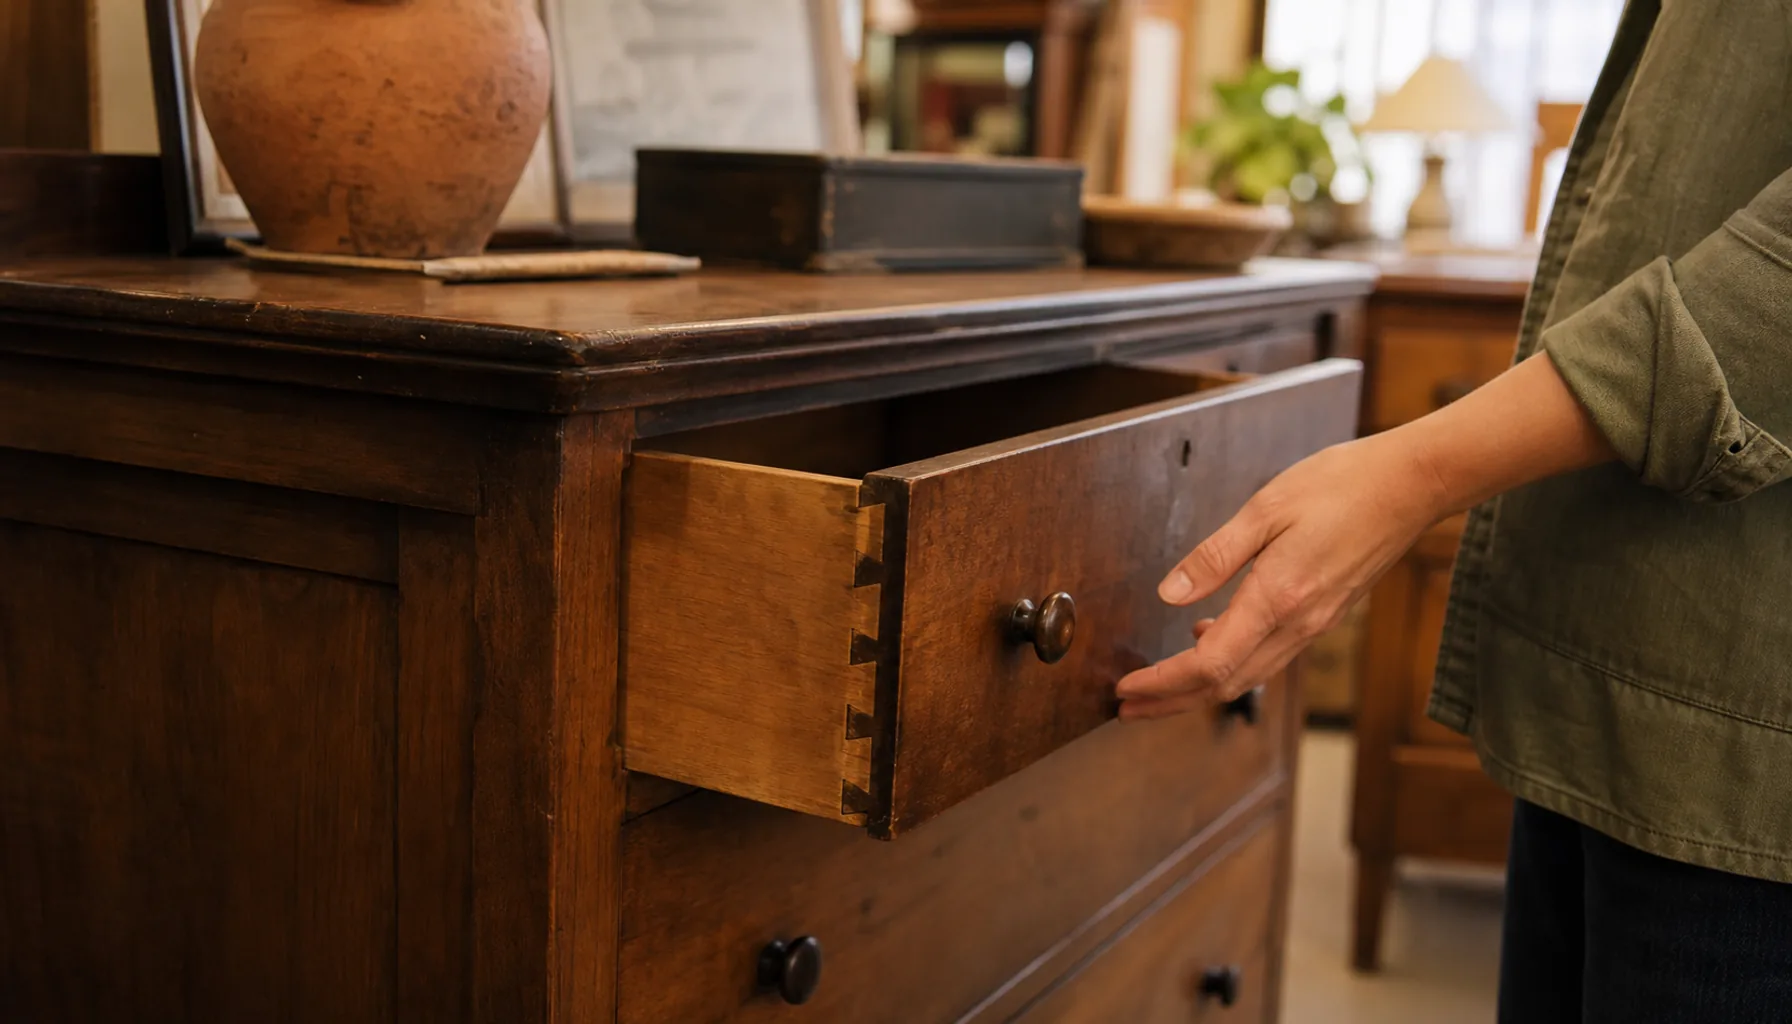
- Drawers: pull them fully out and look at the joints. Interlocking dovetail joints signal older, well-made construction.
- Smell: a strong musty or smoky odor can be nearly impossible to remove from upholstery and porous wood.
- Level: set it on a flat spot and press each corner. A rock means a warped base or uneven feet.
- Water damage: watch for swelling, white rings, or a soft spongy feel near the bottom.
- Hardware: missing knobs are fine and cheap to swap; stripped screw holes need a small fix.
- Bugs: tiny pinholes with fine powder can mean active wood-boring insects, which you never want to bring home.
Learn the Repairs That Are Actually Easy
Part of shopping smart is knowing which flaws are five-minute fixes. How to spot good used furniture often comes down to seeing past cosmetic damage to the easy win underneath.
Loose joints can usually be re-glued and clamped. Scratches and water rings sand out. Sticky drawers glide again with a rub of wax or a bar of soap on the runners. Dated brass pulls become instant upgrades with new hardware.
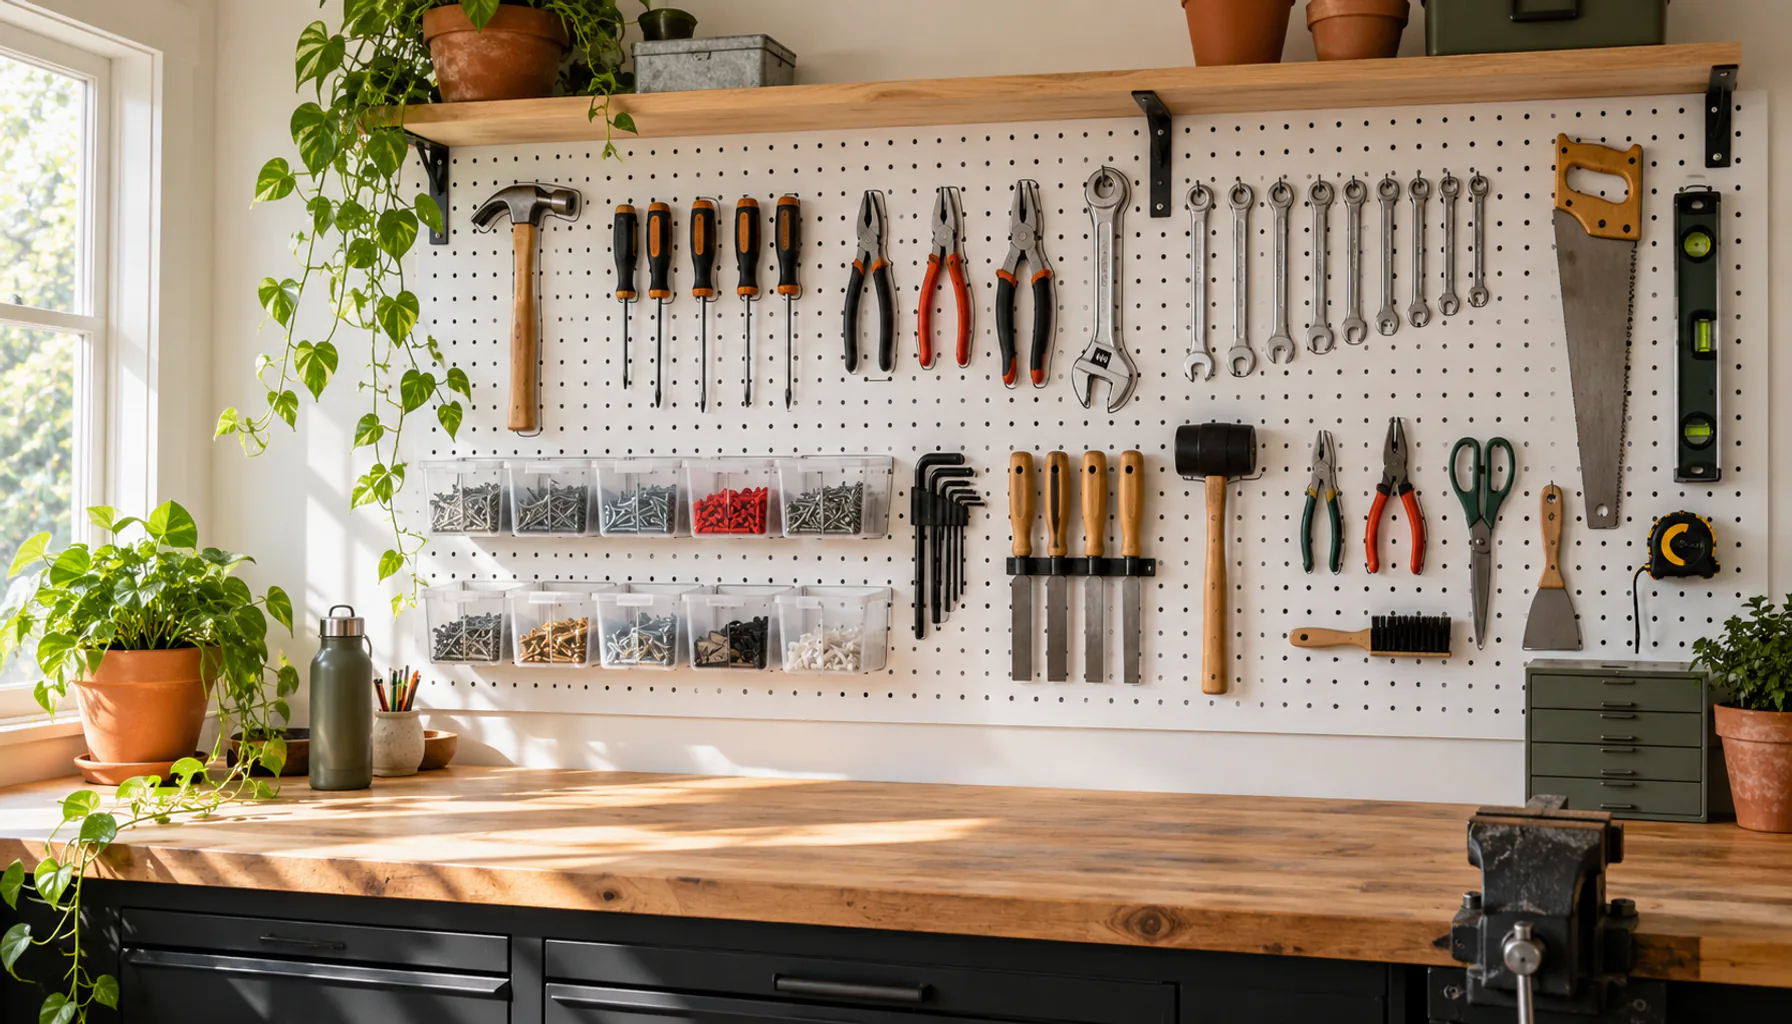
If you are just getting started, our overview of the tools and first projects worth trying will tell you exactly what to keep in your kit. Furniture flipping for beginners gets much less intimidating when you own a decent sander and a few clamps.
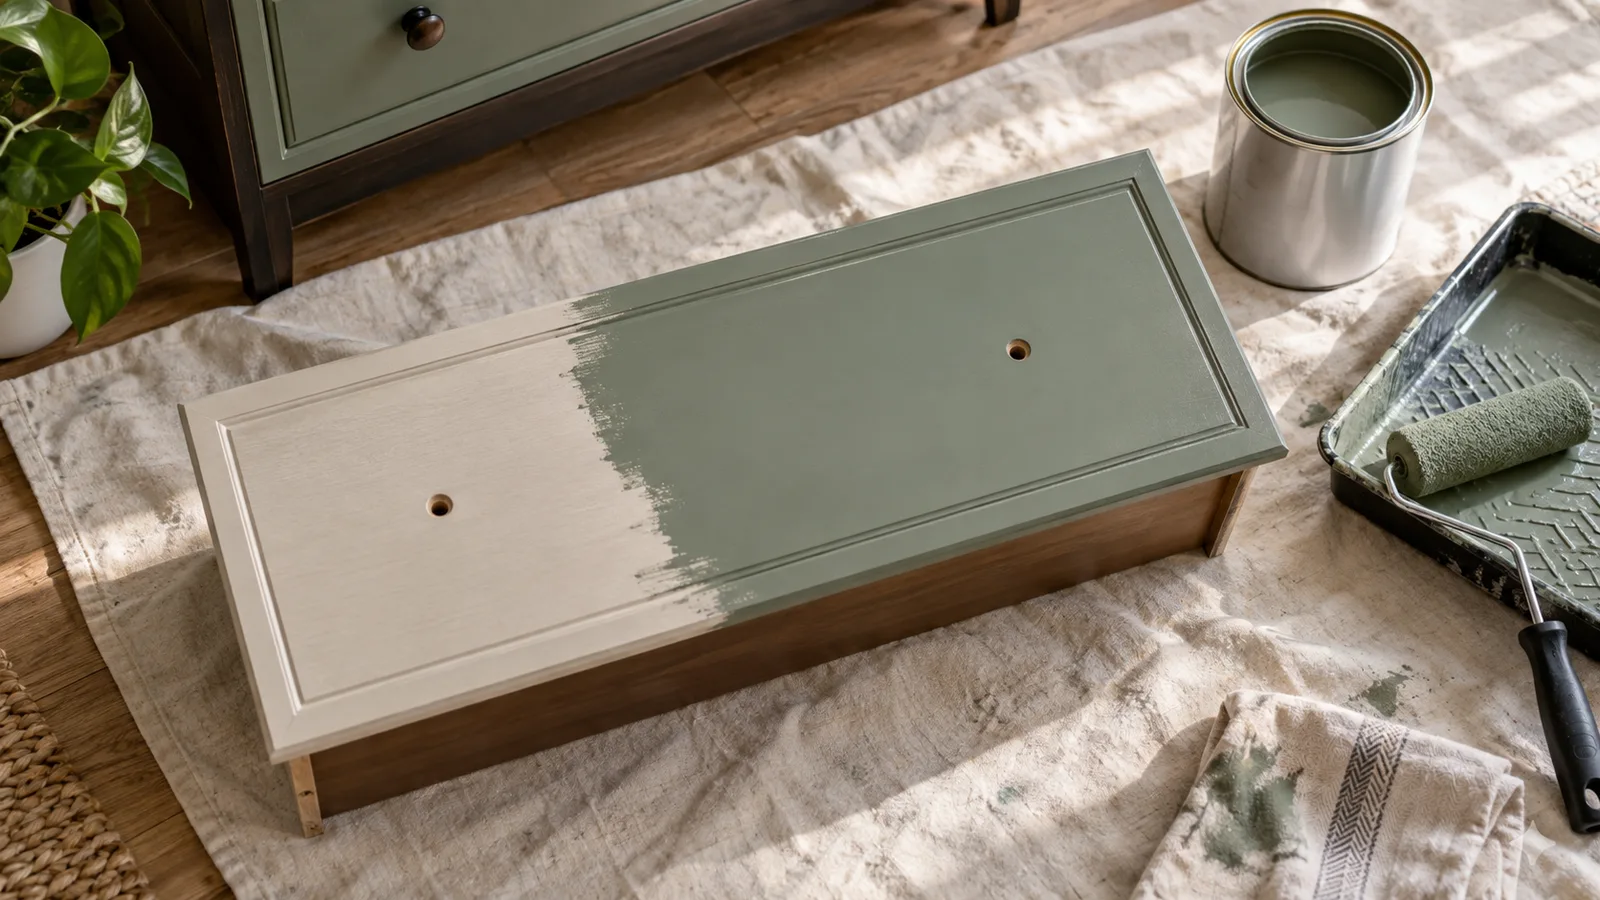
Example: a $20 nightstand with a scuffed top and ugly knobs might need only an hour of sanding, a coat of paint, and two new pulls to look like a boutique piece.
Recognize the Red Flags Worth Walking Away From
A secondhand furniture guide would not be complete without the pieces you should leave behind. Some damage costs more in time and materials than the furniture is worth.
- Deep structural cracks in legs or frames that bear weight.
- Extensive water swelling in particleboard, which cannot be sanded back to flat.
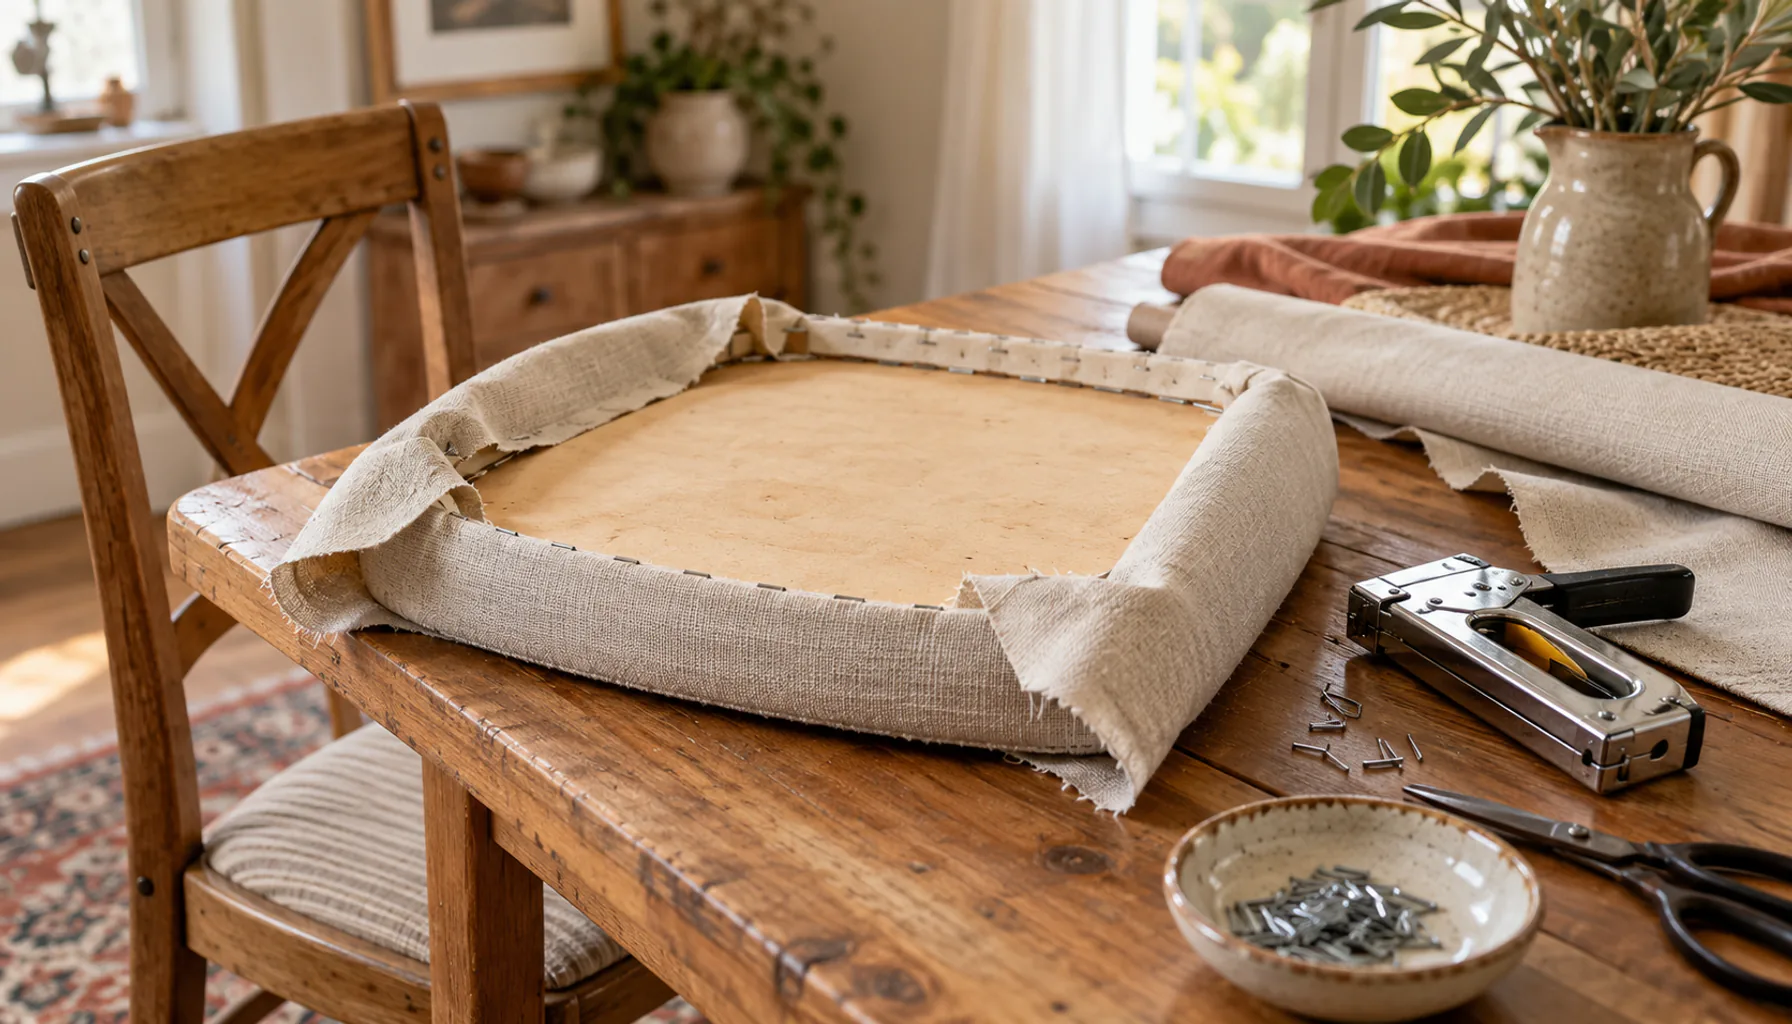
- Torn or stained upholstery with foam that has broken down, since reupholstering often costs more than a new chair.
- Heavy smoke or pet odor soaked into the material.
- Any sign of active pests.
Why it matters: your goal is a piece that rewards a little effort, not one that swallows your whole weekend and budget. When in doubt, walk away. There is always another sale.
Match the Piece to Your Space and Budget
The best find is one you will actually use. Measure your space before you shop and carry those numbers with you, because a stunning armoire is worthless if it blocks a doorway.
Set a ceiling for what you will spend, including materials. A cheap frame plus expensive paint, fabric, and new hardware can quietly cost more than buying something ready-made. If you are planning a fuller change, pairing a flip with something you build yourself, like one of these headboard ideas for any budget, stretches your money even further.
Mistake to avoid: buying on impulse because the price is low. Cheap is only a deal if the piece fits your room, your skills, and your timeline.
Have a Plan Before You Load the Car
Before you commit, picture the finished piece and the steps to get there. Knowing your plan keeps you from hauling home a project that stalls in the garage for a year.
Decide whether you are keeping it or reselling, what supplies you need, and roughly how long the work will take. A simple, realistic scope beats an ambitious one you never finish. For inspiration on tying a single flip into a whole-room result, see this room refresh built around a real plan.
Bringing It All Together
Shopping thrift store furniture well is really about slowing down. Check the bones, learn to read wood, run your quick inspection, and be honest about which repairs you will actually do. Do that, and you will start spotting the diamonds everyone else walks past.
Ready to see what your next project could cost? Map out your materials and set a smart ceiling with the Decor Budget Calculator before your next thrifting trip.
One useful home email a month
Real ideas to make your home work better. No spam, easy unsubscribe.