10 Small Kitchen Cabinet and Counter Organization Ideas
10 small kitchen cabinet and counter organization ideas: pull-out shelves, door-mounted racks, vertical dividers, and a clear counter that still works.

· 9 min read
In a small kitchen, the counter is the first thing to fill and the cabinet is the first thing to hide a problem. Pots stack unevenly, lids slide, and the back of every shelf becomes a place where things go to be forgotten. These ten ideas deal with the two surfaces you touch every day: the cabinets you open and the counter you work on. If you want to decide where things should live based on how you cook, start with our guide to kitchen zones, then use the ideas below to make each zone fit in a tight footprint.
Key Takeaways
- Use the cabinet's height, not just its floor. Most shelves have a lot of dead air above the items.
- Pull-out hardware beats deep shelves. Anything you have to kneel and reach for will end up unused.
- The inside of the door is free storage. Racks and rails there hold lids, wraps, and cleaning tools.
- Keep only daily tools on the counter. A short list, decided in advance, stops the slow creep of clutter.
- Vertical dividers store flat items on edge. Baking sheets, cutting boards, and trays slot in like files.
- Measure before you buy. Cabinet depth and door clearance decide whether an organizer fits.
- Group by task, not by type. Coffee things together, baking things together, even if the items differ.
10 Small Kitchen Cabinet and Counter Organization Ideas Worth Trying
Idea 1: Add Risers to Use the Dead Air Above Dishes
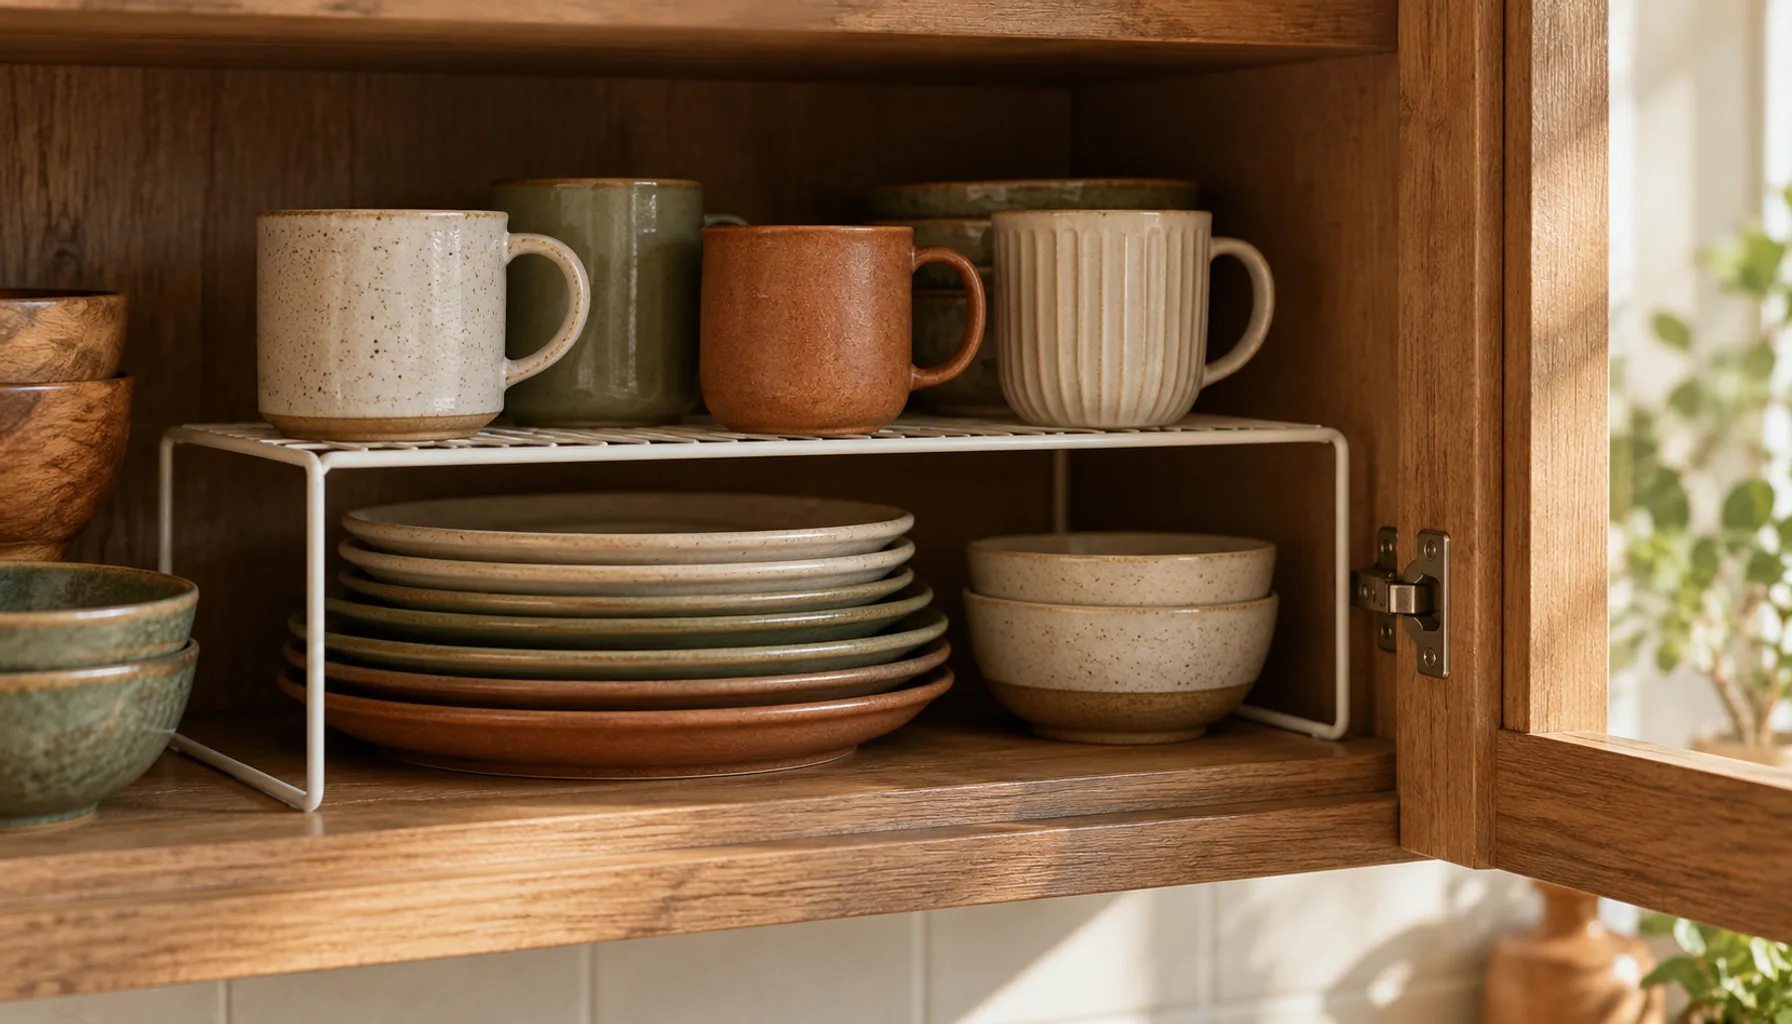
Open a cabinet and look at the gap between the top of your plates and the shelf above. That empty band is usually a few inches of wasted room, and in a small kitchen it adds up across every shelf.
A simple wire or wood riser lets you stack a second layer. Put bowls on the lower level and mugs or small plates on top. Choose a riser a little narrower than the shelf so you can slide it out. Avoid stacking heavy cast iron on a thin wire riser.
Idea 2: Install Pull-Out Shelves in Deep Lower Cabinets
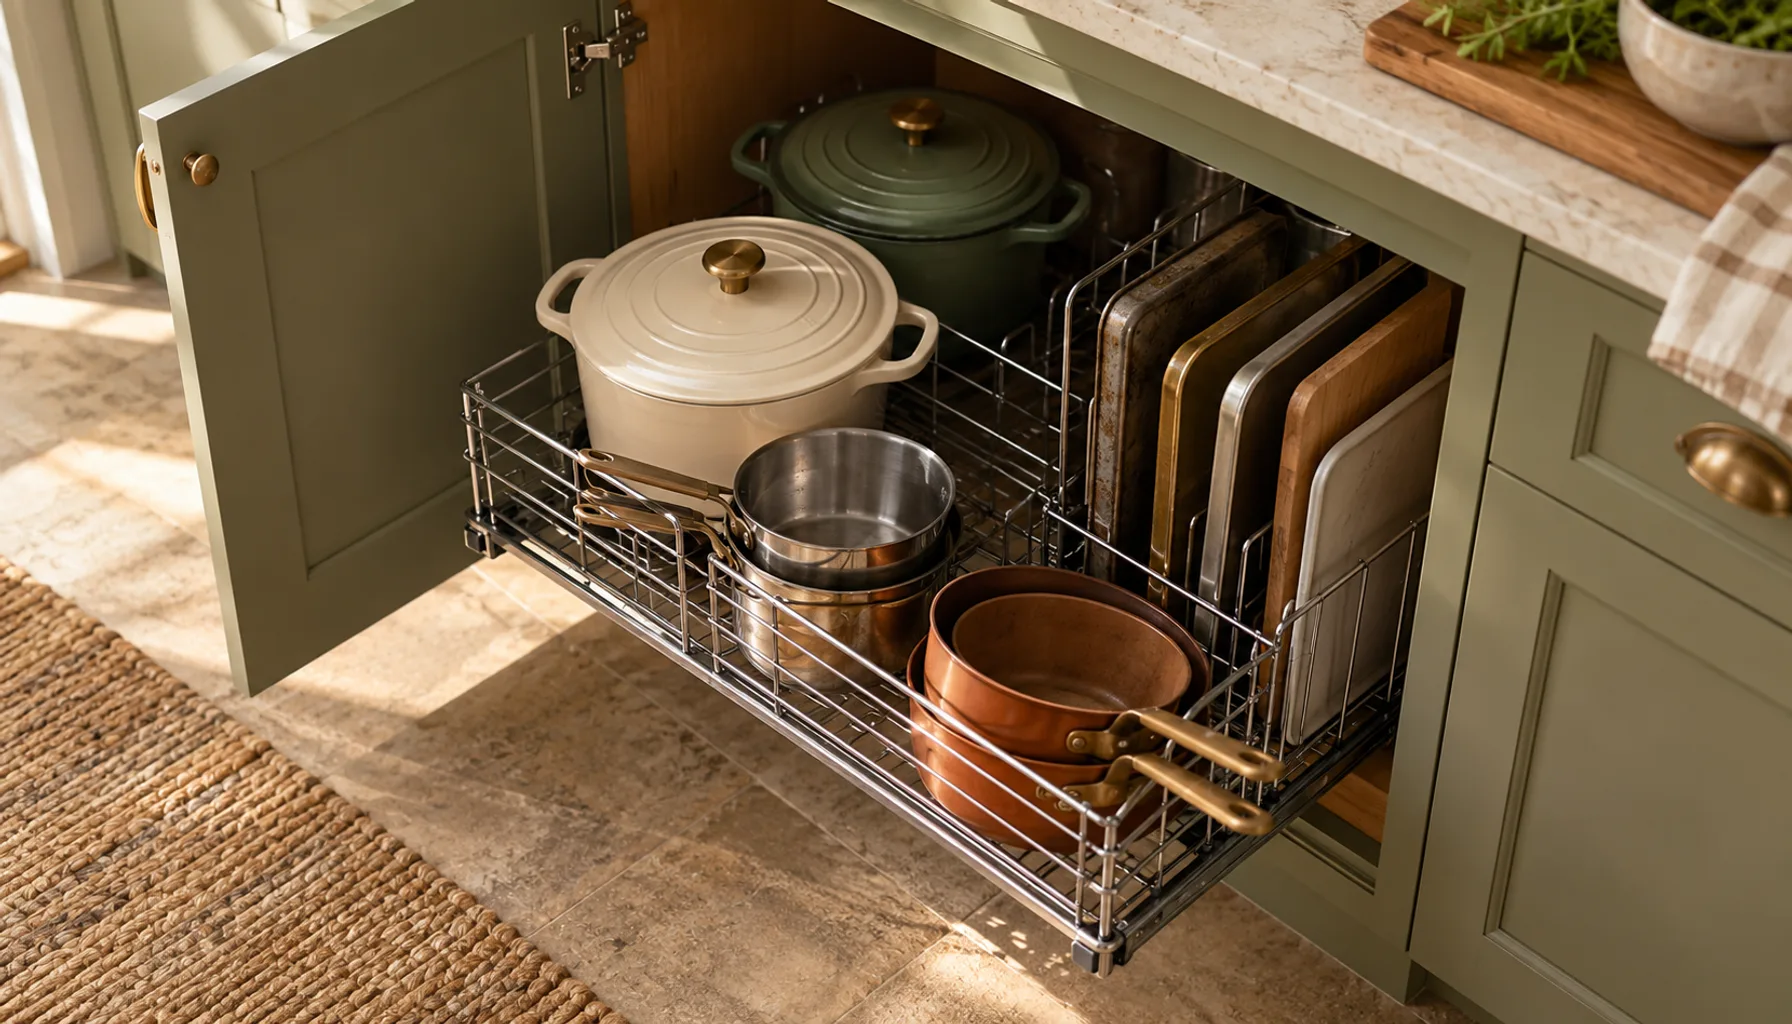
Deep base cabinets are where cookware goes to disappear. You reach in, lift three things, and still can't see the pan you want. A sliding shelf or wire basket brings the back of the cabinet to you.
Some are screwed into the cabinet floor and some clamp to the frame, so check your cabinet's construction. Measure the opening width, not the interior width, since the door frame can narrow it. For a renter, a freestanding rolling unit is a no-drill alternative.
Load the shelf with the heavy, frequently used items first: the Dutch oven, the big skillet, the mixing bowls. Light items like a colander can go behind them. Soft-close slides are worth the small extra cost in a family kitchen, because a fully loaded cookware drawer slammed shut a few hundred times will loosen cheap hardware. If your cabinet has a center stile or a face frame, pick a unit that clears it, or the shelf will catch on the way out.
Idea 3: Mount a Rack on the Inside of the Cabinet Door
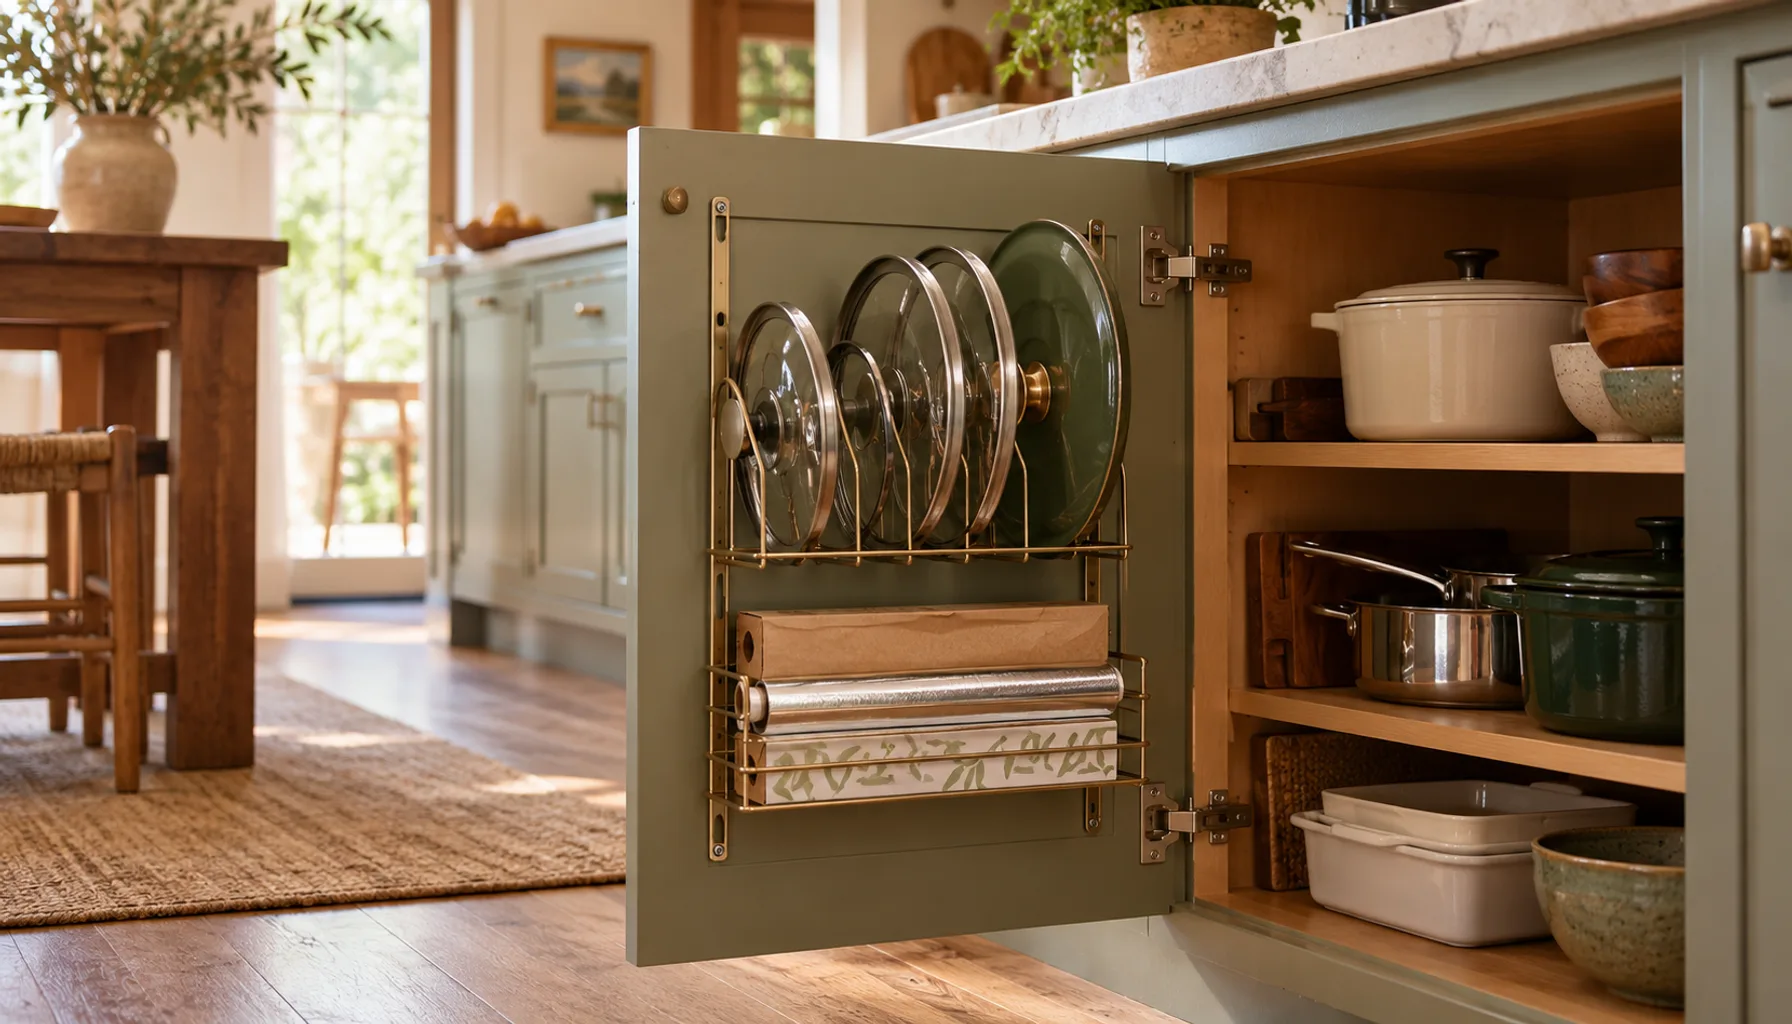
The back of a cabinet door is unused wall space that moves with you. A narrow rack or a rail with hooks holds pot lids, foil boxes, cutting boards, or spray bottles.
Check how much clearance the door has before you buy. A rack that's too thick will stop the door from closing or hit the shelf inside. Keep the heaviest items off the door, since hinges wear faster under weight. A thin rail with S-hooks is often the safest bet.
Lids are the classic target here, since a lid rack uses a few inches of door and frees an entire shelf zone. Mount the rack with screws if the door is solid wood, but check the door thickness first, since hollow or thin veneered doors can split under a long screw. In a rental, an over-the-door rack that hooks onto the frame works without any holes, though it needs enough gap for the door to close.
Idea 4: Store Baking Sheets and Boards on Edge
Flat items stacked flat make you lift everything to reach the one at the bottom. Standing them on edge between vertical dividers means you can pull out one without moving the rest.
Use a tension rod or a purpose-made divider in a narrow cabinet. A shelf above the oven or beside the refrigerator is a common spot, because that gap is usually slim but tall. Keep the divider spacing a little wider than the thickest tray so nothing jams.
Idea 5: Group Cabinet Contents by Task
An organizer can't rescue a cabinet that's arranged by item type. Plates, glasses, and mugs together make sense on paper, but your morning coffee is a task, and it needs mugs, beans, filters, and sugar within one arm's reach.
Set up a few stations: coffee, baking, weeknight cooking, lunch packing. A shallow tray or lazy susan in each keeps the small items from wandering. Once a task has its own home, nothing gets carried out and abandoned on the counter.
Idea 6: Choose a Short List for the Counter
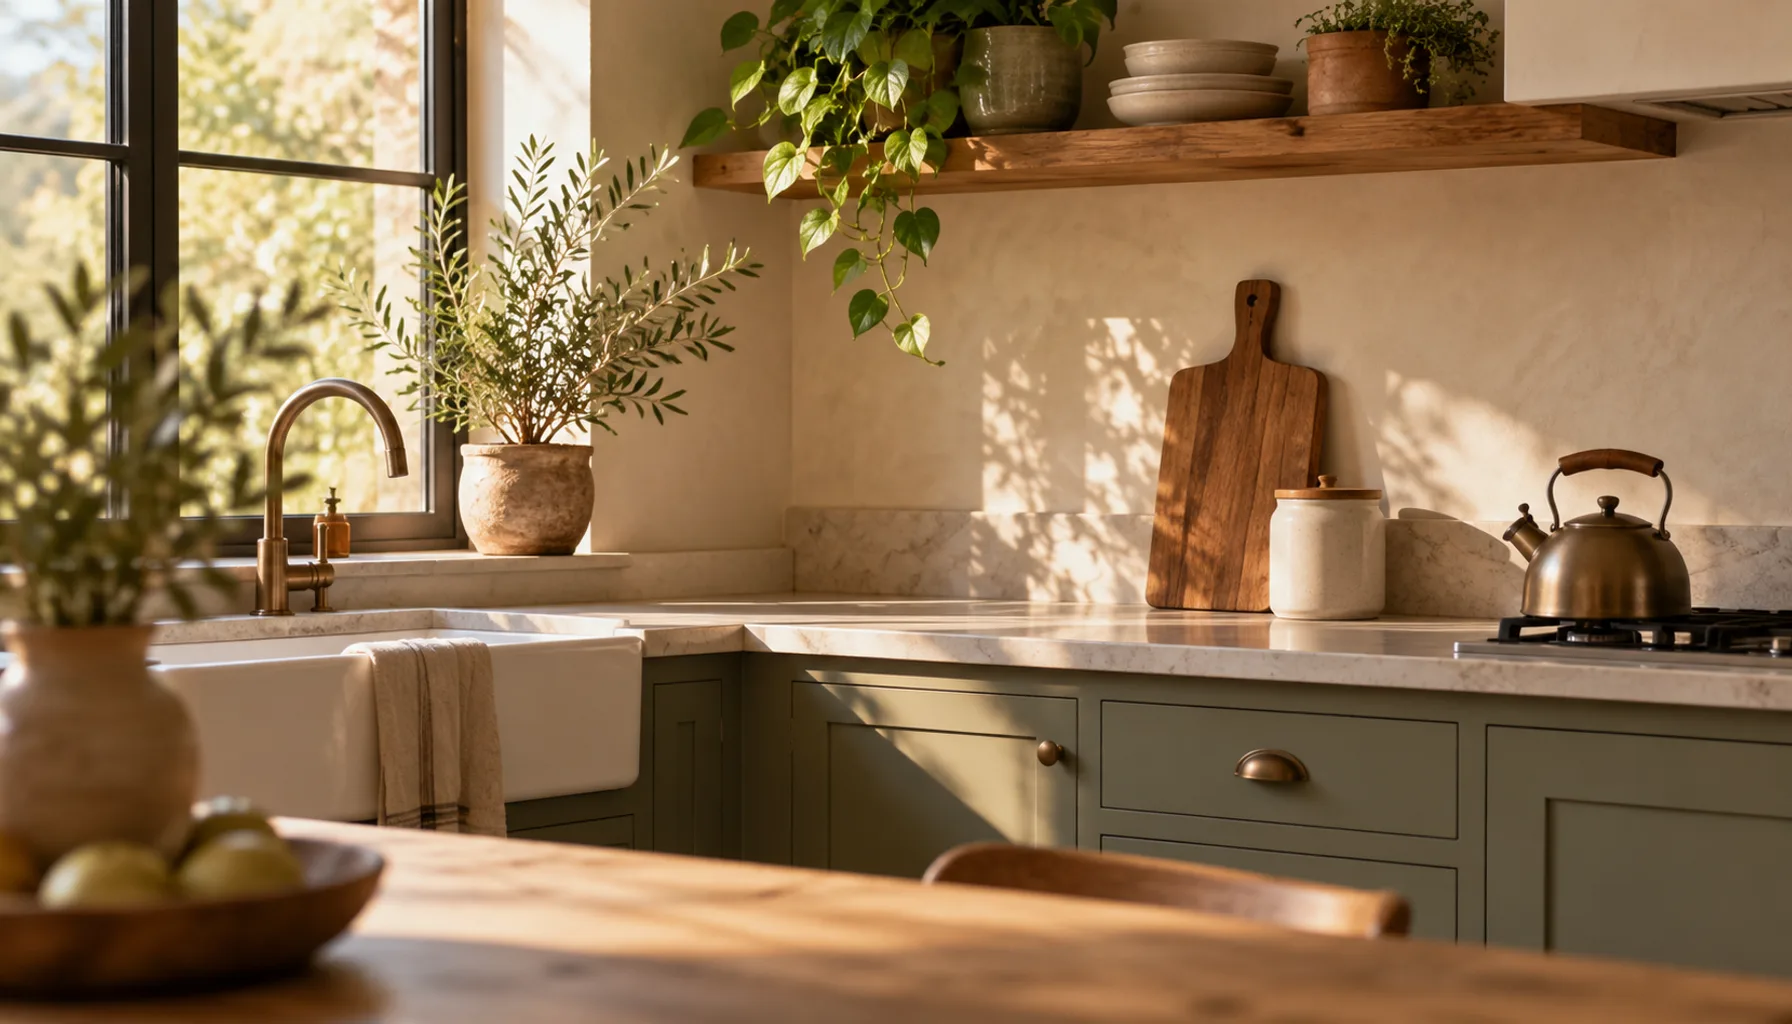
Counter clutter grows by one appliance at a time. Decide on a short daily list, such as a knife block, a cutting board, a kettle, and a single canister set, and everything else goes away.
If you use an appliance fewer than once a week, it belongs in a cabinet. A good test is whether you'd miss it if it sat in a cupboard for a month. Tall items, like a stand mixer, can live at the end of the counter or on a rolling cart.
Think in zones, too. The kettle and mugs belong near the sink or outlet, while oil, salt, and a pepper mill earn their spot beside the stove. A small tray under frequently used bottles contains drips and makes wiping the counter a single move. If the counter is also a work surface, keep the strip right beside the stove completely clear, since that's where hot pans land.
Idea 7: Tuck Utensils Into Shallow Drawer Dividers
An unsorted utensil drawer wastes space because each item tangles with the next. Adjustable dividers let you give spatulas, whisks, and measuring spoons their own lanes.
Choose a divider with adjustable width, since your tools won't match a fixed template. Keep the most used tools at the front of the drawer. Measure the drawer's interior height, not only its width, because a deep whisk or a tall ladle can stop the drawer from closing on a shallow insert. A non-slip liner under the dividers keeps lanes from shifting when you yank the drawer open. Anything you reach for once a month, like a cheese grater or a pastry cutter, can move to a second drawer or a lower cabinet. For tall crocks, avoid keeping many tools beside the stove if heat or splashes are a problem, and keep knives in a block or a magnetic strip rather than loose.
Idea 8: Hang a Rail Under the Upper Cabinets
The strip of wall between the counter and the upper cabinets usually holds nothing but a backsplash. A rail with hooks there can carry mugs, measuring cups, and light utensils at arm's reach without using any counter.
Mount it so items hang clear of the backsplash and any outlets. For a rental, adhesive rails work for light items only, and you should respect their weight rating. A rail under the cabinet also frees a drawer, since the items you hang up no longer need one.
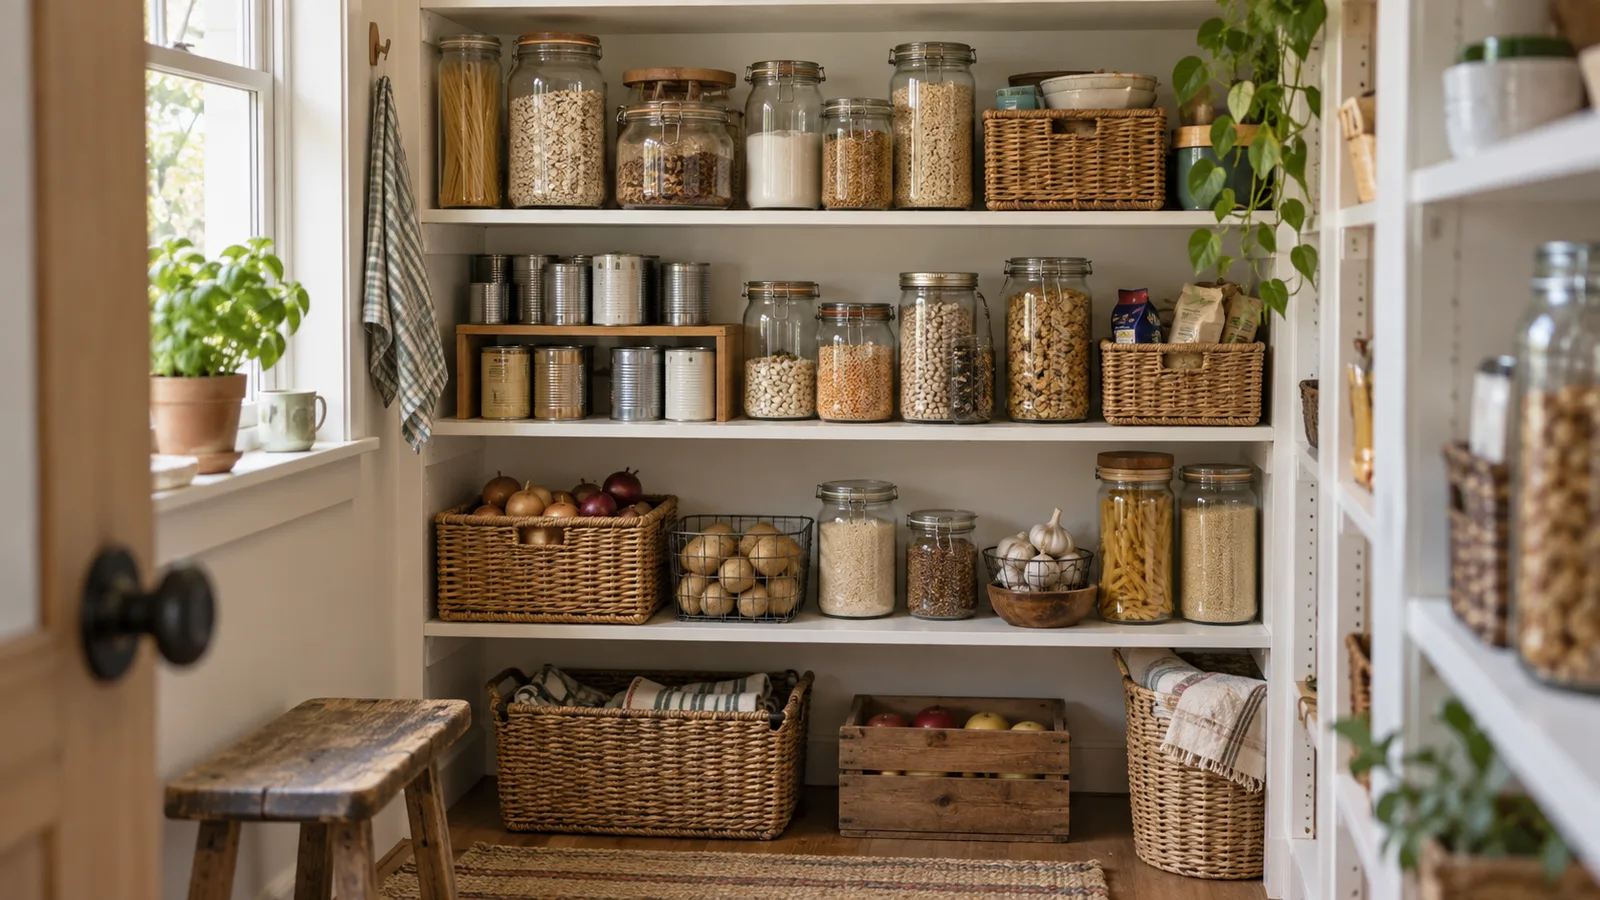
Idea 9: Use Baskets for Packaged Goods
Pouches and boxes slump and spill when they're loose on a shelf. A basket or bin gives them a boundary and slides out like a drawer.
Match the basket to the category: snacks, baking supplies, tea. Label the front so anyone in the house can put things back. Keep the baskets slightly shorter than the shelf height so they come out without bumping. For pantry-style storage on a budget, see our pantry organization ideas.
Idea 10: Reserve One Cabinet for the Things You Don't Use Often
Every kitchen has a few items used a few times a year, such as a roasting pan, a punch bowl, or a fondue set. Give them one high or low cabinet and keep daily items in the easy-to-reach ones.
This keeps prime shelves clear. If a rarely used item hasn't left its spot in a year, consider whether it should stay. The method pairs well with the 15-minute declutter method and the wider tips in small apartment storage ideas that actually work.
Common Mistakes to Avoid
Buying organizers before measuring is the most common mistake. A basket that's an inch too wide won't fit, and a rack that's too thick will block the door. Another mistake is filling every inch. A cabinet packed to the edge is hard to use, and you'll stop putting things back.
Don't store heavy items on high shelves, and keep chemicals away from food and out of reach of children.
Expert Tips for a Kitchen That Stays Tidy
Work in order: empty the cabinet, sort, clean, measure, and only then buy. Store things next to where you use them, and leave a little of each shelf empty so a new purchase has somewhere to land.
For wider layout thinking, see how open shelving can be styled without clutter.
Frequently Asked Questions
How do I organize a small kitchen with very little counter space?
Keep only a short daily list on the counter and move everything else into cabinets. Use risers, door racks, and an under-cabinet rail to free the surface.
What are the best organizers for deep kitchen cabinets?
Pull-out shelves or wire baskets work best, since they bring the back of the cabinet forward. Renters can use freestanding rolling units.
How can I store pots and pans in a small kitchen?
Use a pull-out shelf or a vertical divider, and hang lids on the inside of the door. A hanging rail can hold the pans you use most.
Should I keep appliances on the counter?
Only the ones you use nearly every day. Anything used weekly or less is better in a cabinet or on a cart.
How do I stop a kitchen from getting messy again?
Give every item a home, group by task, and leave a little spare room on each shelf. A weekly five-minute reset helps.
Where to Start
Choose one cabinet, the one that annoys you most, and empty it completely. Sort what stays, measure the space, and add one organizer that solves the specific problem you found. Once it works, move to the counter and apply the short list rule.
One useful home email a month
Real ideas to make your home work better. No spam, easy unsubscribe.