7 Anthropologie Home Decor Knockoffs You Can DIY This Weekend for Under $20
Get the Anthropologie home decor DIY look for less with 7 easy dupes you can make this weekend for under $20 each. Simple steps, real materials, no logos.

· 12 min read
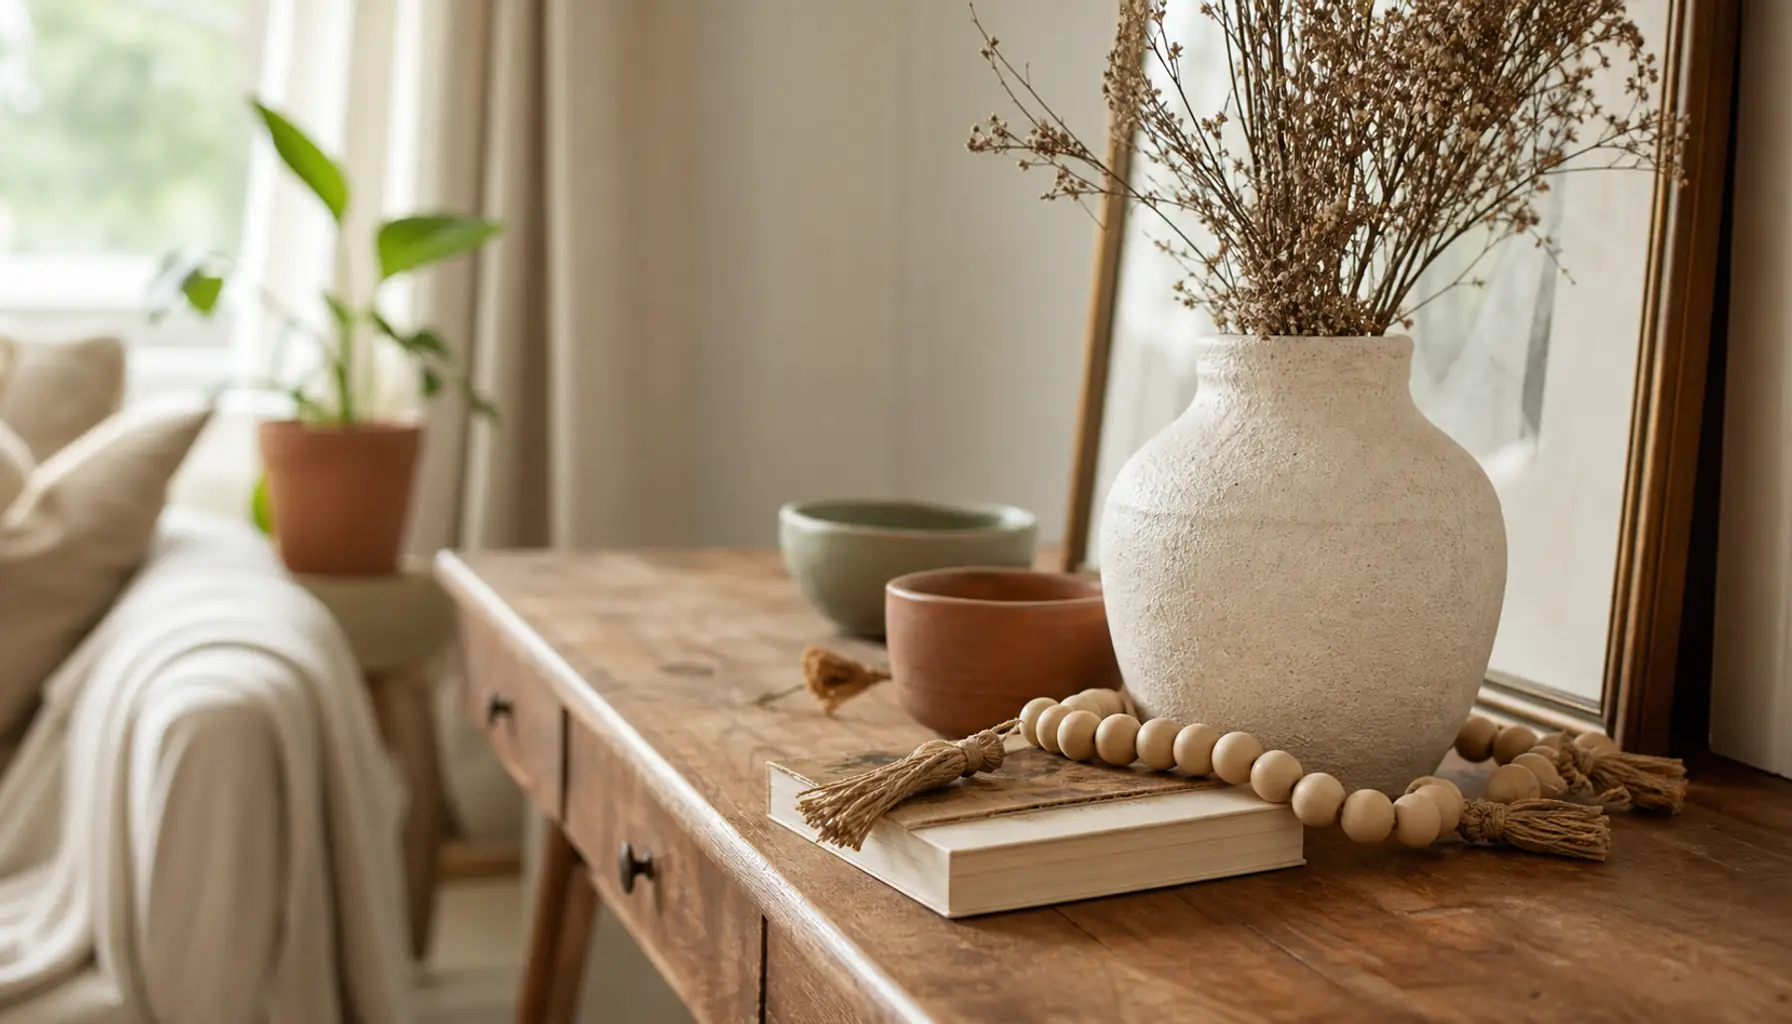
The Anthropologie home decor DIY look is easier to fake than you'd think, and you don't need a big budget to pull it off. I've spent years staring at those dreamy displays, all texture and warmth and hand-touched charm. Then I'd flip the price tag and put the thing right back down. So I started making my own versions at home in Brooklyn. Turns out you can get that high-end look on a budget with a few cheap supplies and one free Saturday.
Below are 7 DIY dupes you can finish this weekend, each for under $20. No sewing machine required. No fancy tools. Just the eclectic, textured, artisanal vibe you love, made by your own two hands. Let's get into it.
Key Takeaways
- You can recreate the Anthropologie aesthetic at home for a fraction of the cost using paint, texture, and natural materials.
- Every project here costs under $20 in real materials, and most take a couple of hours.
- Texture matters more than any single expensive item. Layer it and the whole room reads more polished.
- Warm neutrals like cream, sand, and terracotta do the heavy lifting for this boho-modern style.
- Small handmade details, like a bead garland or a painted pot, add the artisanal feel without the artisanal price.
- Cheap materials look expensive when your finish is clean, so slow down on the details.
- Mixing a few of these dupes together looks better than one perfect piece standing alone.
What the Anthropologie Look Really Is (and How to Fake It Cheap)
Strip away the price tags and the look comes down to a few things. Warm, earthy colors. Lots of natural texture. A slightly imperfect, hand-made feel. Whimsical little touches that make you smile. It's boho, but grown-up and calm, not busy.
The good news? Those are all things you can copy with dollar-store and craft-store finds. Raw wood, air-dry clay, cheap terracotta, plain cotton, dried stems. None of it costs much. The magic is in how you finish it and how you group it.
If you want the exact color story, lean into cream, sand, sage green, and terracotta. I break this palette down more in Terracotta & Neutrals: Styling a Warm Home, and it's the backbone of almost every project here. And before you buy anything new, it's worth reading Before You Buy: When DIY Beats New, because half the time you already own the raw material.
The 7 DIY Projects
Here they are. Work through them in any order. Pick two or three to start, then add more as you go.
1. Wooden Bead Garland
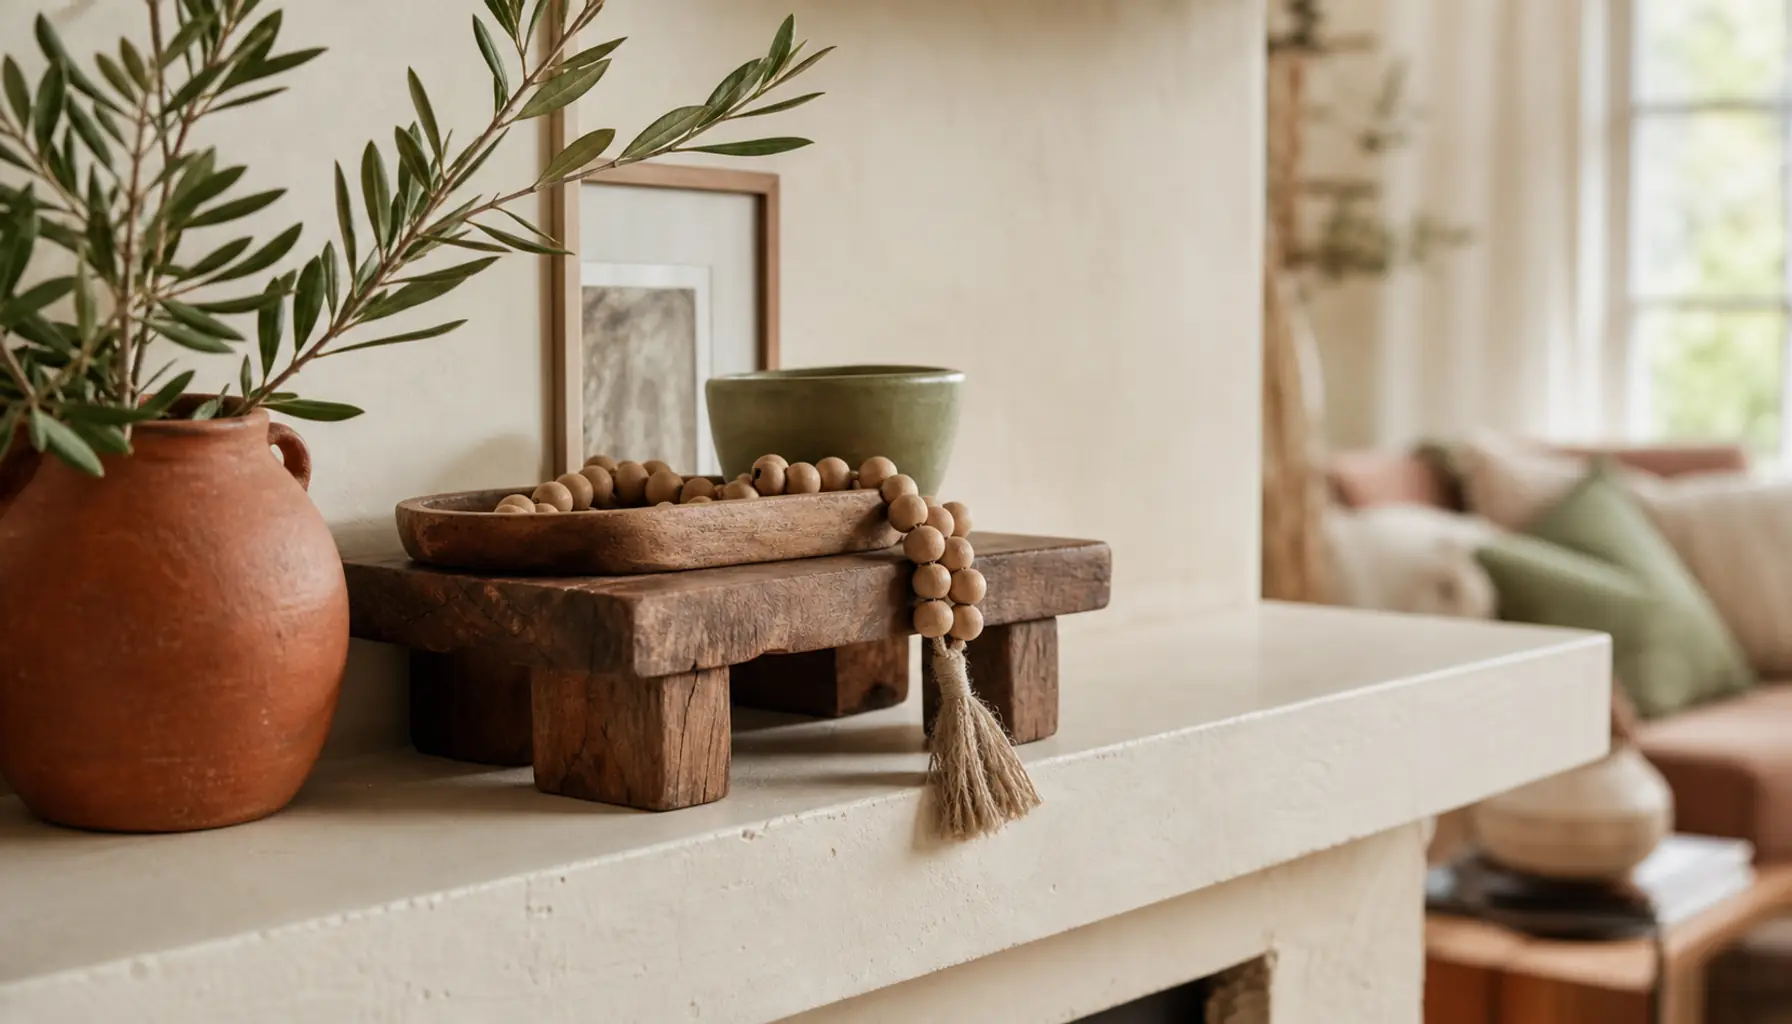
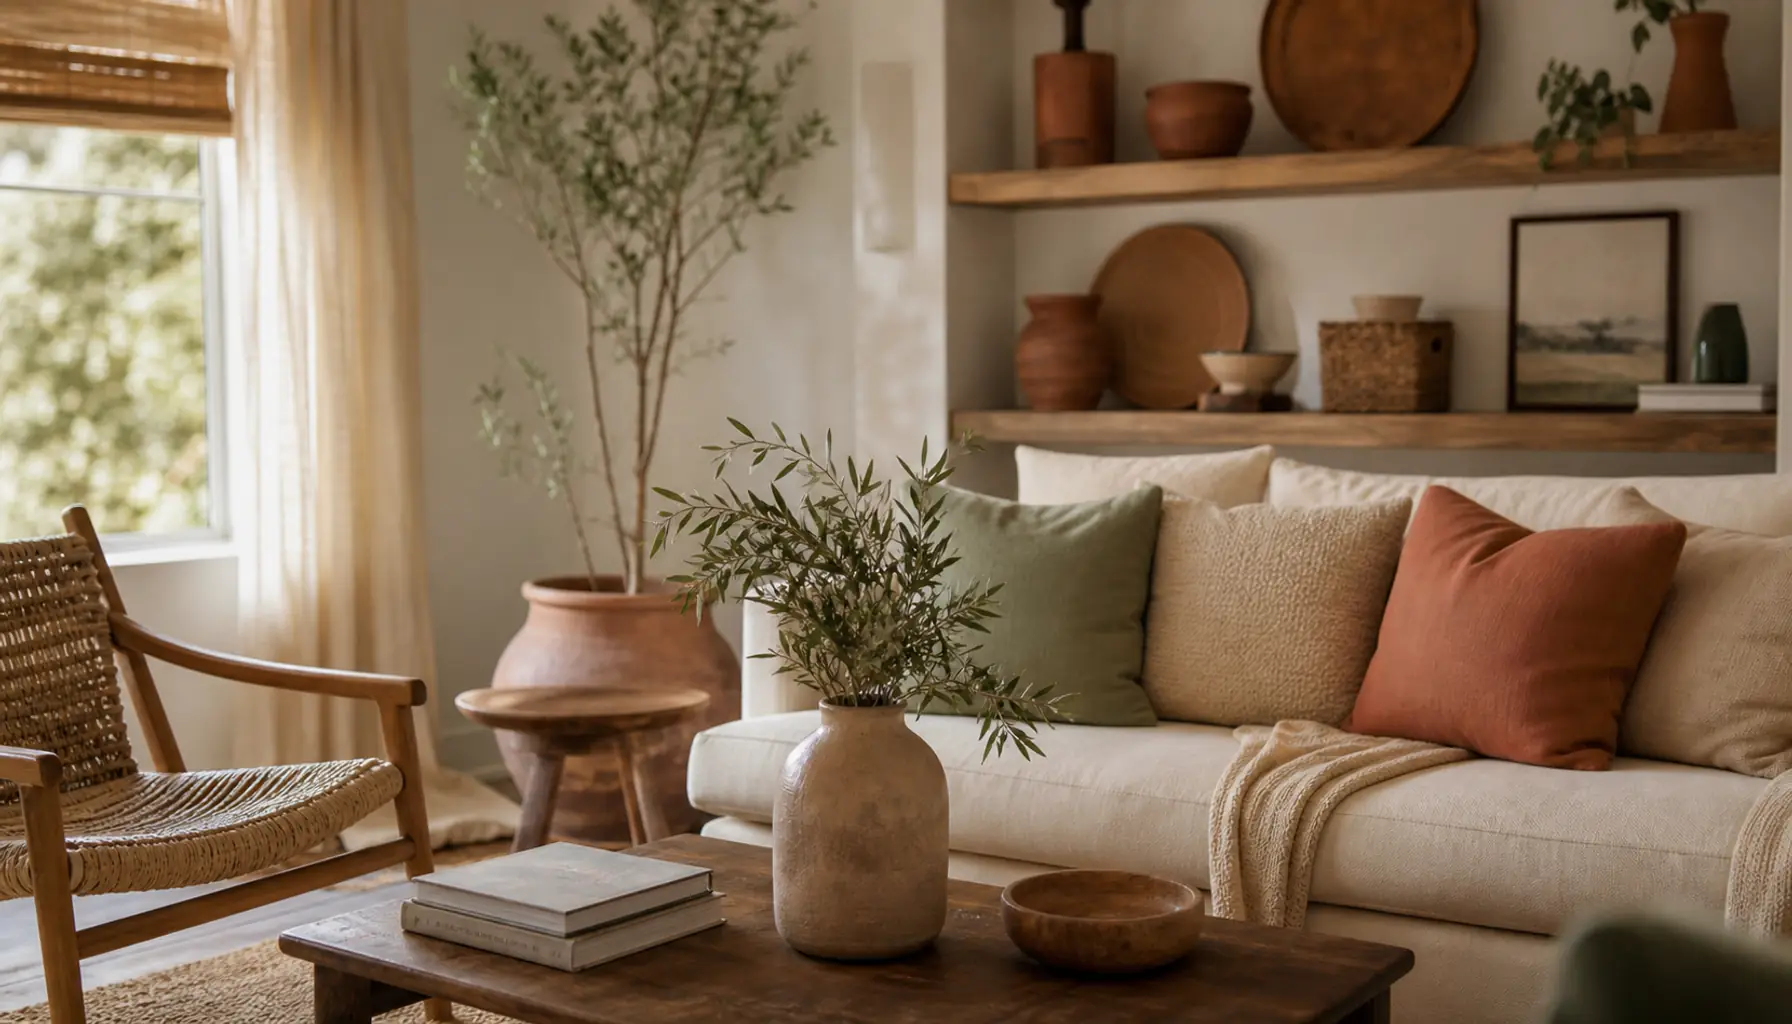
This is the classic dupe, and it's the one people ask me about most. A chunky wooden bead garland draped over a stack of books or a tray looks like it cost $40. It didn't.
Materials (about $10 to $14):
- One bag of unfinished wooden beads, mixed sizes
- Cotton twine or jute cord
- A wood tassel or a scrap of leather for the end
- Optional: a wood stain pen or watered-down brown paint
How to make it:
- Cut about 2 feet of twine. Tie a big knot at one end so beads don't slide off.
- String the beads on, mixing big and small so it looks organic.
- If your beads are too orange, wipe them with watered-down paint or a stain pen, then let them dry.
- Tie the tassel or leather scrap to the bottom. Knot the top into a loop for hanging.
Styling tip: Don't lay it flat and straight. Let it pool and curve a little. Imperfect is the whole point.
2. Textured Vase with Baking-Soda Paint
Those chalky, stone-look vases are pure Anthropologie. You can turn any smooth glass jar or thrifted vase into one with a trick most people don't know.
Materials (about $6 to $9):
- A glass jar or old vase
- Craft paint in cream, sand, or clay
- Baking soda
- A cheap chip brush
How to make it:
- Mix a few spoonfuls of baking soda into your paint until it's thick and gritty.
- Brush it onto the vase in uneven strokes. Let some texture build up.
- Let it dry fully, then add a second coat if you can still see through it.
- Once dry, rub gently with a dry rag to knock down any sharp bits.
Styling tip: Group three of these in different sizes and one color family. Odd numbers always look more collected.
3. Woven Wall Hanging
A soft, fringed wall hanging adds warmth to any bare wall. Store versions run high. This no-loom version costs almost nothing.
Materials (about $8 to $15):
- A wooden dowel or a foraged branch
- A bundle of chunky cotton or wool-blend yarn
- Scissors
How to make it:
- Cut lots of equal lengths of yarn, about twice as long as you want the finished piece.
- Fold each strand in half, loop it over the dowel, and pull the ends through. That's a lark's head knot, and it's the only knot you need.
- Keep adding strands across the dowel until it's full.
- Trim the bottom into a straight line, a V, or a soft curve.
Styling tip: Hang it above a bed or a small console. This pairs beautifully with a headboard project, and I've got a whole list in DIY Headboard Ideas for Any Budget.
4. Scalloped Mirror
The scalloped edge is such a sweet, whimsical detail. You can add it to a plain round mirror with cardboard and paint.
Materials (about $12 to $18):
- A cheap round mirror
- Thick cardboard or a sheet of craft wood
- A glass or lid to trace scallops
- Paint and strong craft glue
How to make it:
- Trace and cut half-circles from your cardboard to make a scalloped ring wider than the mirror.
- Paint the ring in cream or terracotta. Two thin coats beat one thick one.
- Glue the mirror to the center of the ring once everything is dry.
- Add a hanging tab on the back with more cardboard and glue.
Styling tip: Lean it on a shelf instead of hanging it. Casual placement reads more expensive here, oddly enough.
5. Dried-Flower Arrangement
Dried stems are everywhere in the Anthropologie world, all soft browns and pampas fluff. A big arrangement can cost a fortune. Yours won't.
Materials (about $10 to $16):
- Dried stems, pampas, or grasses (or forage and dry your own)
- A vase or the textured jar from project 2
- Floral foam or a handful of pebbles
How to make it:
- If you're drying your own, hang stems upside down in a dry spot for two weeks.
- Add foam or pebbles to your vase so stems stay put.
- Build the arrangement tallest in the back, shorter in the front.
- Fluff and spread. Full and loose looks better than tight and stiff.
Styling tip: Less color, more texture. Stick to two or three natural tones so it feels calm, not craft-fair busy.
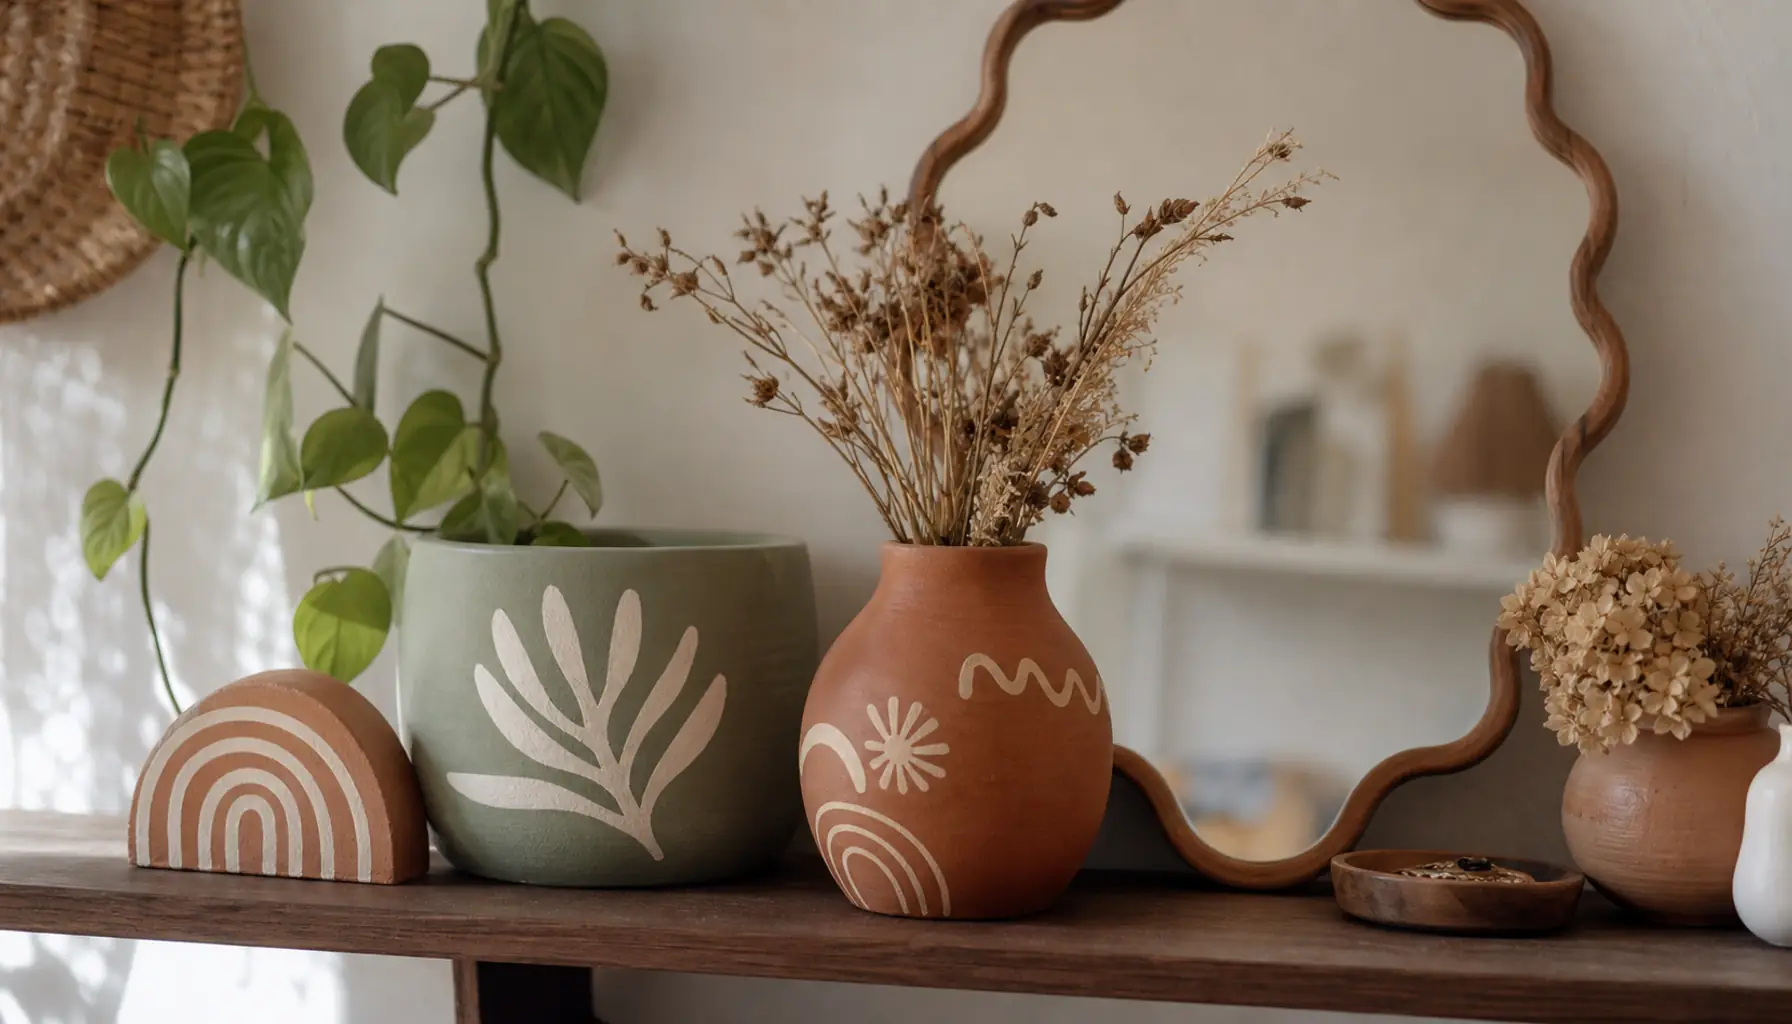
6. Painted Terracotta Pots
Plain terracotta pots are dirt cheap. A little paint turns them into the earthy, artisanal planters you've been eyeing.
Materials (about $5 to $12):
- A few plain terracotta pots
- Craft paint in warm neutrals
- Painter's tape for clean lines
- Optional: a bit of the baking-soda mix for texture
How to make it:
- Wipe the pots clean and let them dry.
- Tape off a stripe or a dipped-bottom look. Paint inside the lines.
- Peel the tape while the paint is still a little wet for the crispest edge.
- Seal with a clear coat if the pots live outside.
Styling tip: A cluster of these on a shelf ties a whole room together. If your shelves feel cluttered, How to Style Open Shelves Without the Clutter will help you space them out right.
7. No-Sew Cushion Cover
New throw pillows in that textured, nubby style are pricey. You can wrap a plain pillow in fabric with zero stitches.
Materials (about $8 to $16):
- A plain pillow insert or an old pillow
- About half a yard of textured cotton, linen, or a remnant
- Fabric glue or iron-on hem tape
How to make it:
- Lay the fabric flat, wrong side up. Center the pillow on it.
- Fold the fabric over like you're wrapping a gift. Hem tape or glue the flaps down.
- Tuck the side corners in neatly, like hospital corners on a bed.
- Fluff and flip so the seams sit at the back.
Styling tip: Mix one nubby texture with one smooth. That contrast is a core boho-modern trick, and I go deeper on it in Mixing Textures: A Beginner's Guide.
Common Mistakes
I've made every one of these, so learn from my flops.
- Rushing the drying time. Wet paint smears and peels. Walk away and let it cure. Patience is free.
- Buying everything new. Check your junk drawer and the thrift store first. A great base vase or mirror is often already yours. Thrift Store Furniture: How to Spot Pieces Worth Flipping applies to small decor too.
- Going too matchy. The Anthropologie look is collected, not coordinated. If everything is the same shade, it falls flat.
- Skipping texture. Flat color reads cheap. The baking-soda trick and natural fibers are what sell the high-end feel.
- Overloading a surface. One crowded shelf undoes all your good work. Leave breathing room.
- Sloppy edges. Cheap materials look fine. Sloppy finishes don't. Slow down on the details that show.
Expert Tips
A few things I wish someone had told me sooner.
- Work in one color story per room. Cream, sand, terracotta, and sage almost never miss. Not sure what suits you? The style finder is a quick way to lock in your palette.
- Buy paint in sample sizes. A $4 tester jar covers several of these projects and saves you from a full can you'll never finish.
- Group your dupes. Three handmade pieces together look intentional. One alone can look like a craft project.
- Repurpose before you buy. A tired dresser can anchor the whole vibe once you refinish it, and Upcycling Furniture: Tools & First Projects walks you through the basics.
- Paint is your cheapest upgrade. If you only do one thing, paint something. Paint Tricks That Change a Room Completely is full of ideas.
- Set a budget before you start so the project stays a dupe, not a splurge. The budget calculator keeps you honest.
Frequently Asked Questions
How much does it really cost to DIY the Anthropologie look?
Each project here lands under $20 in materials, and many come in under $10. If you already own a few basics like paint, twine, or a spare vase, you can knock out several dupes for the price of one store-bought piece. Buying supplies in bulk drops the per-project cost even more.
Do I need any special tools?
No. Most projects need only scissors, a brush, and glue or hem tape. There's no sewing machine, no power tools, and no loom. The wall hanging uses one simple knot you'll learn in about a minute. If you can wrap a gift, you can do the cushion cover.
What if my wooden beads look too orange or shiny?
That's common with cheap beads. Wipe them with watered-down brown or cream paint, then buff with a dry rag. A stain pen works too. This tones down the orange and adds an aged, artisanal look that reads far more high-end than the raw bead does.
Can renters do these projects?
Yes, and they're perfect for rentals since nothing is permanent. Nothing here damages walls or fixtures. If you want more rental-safe upgrades, Peel-and-Stick Projects That Transform a Rental in a Weekend pairs really well with this list.
How do I make cheap materials look expensive?
Two things: texture and clean finishes. The baking-soda paint trick adds that stony, high-end feel, and natural fibers beat plastic every time. Then take your time on any edge that shows. A crisp line on a cheap pot beats a messy line on a pricey one.
Which project should I start with?
Start with the painted terracotta pots or the bead garland. Both are forgiving, fast, and hard to mess up. Once you feel the rhythm, move on to the textured vase and the wall hanging. Save the scalloped mirror for when you've got a steady hand and a spare afternoon.
How do I tie all these pieces into a room I already have?
Pick a small area first, like a shelf or a console. Add two or three dupes in your color story and space them out. If you want a full plan, Room Refresh Under $150: A Real Plan shows how to layer these makes into a whole space without going over budget.
Start With One This Weekend
The Anthropologie home decor DIY look isn't about money. It's about texture, warm color, and a few handmade touches that feel like you. Every project here proves you can get that high-end look on a budget, one cheap supply run at a time.
So pick one. Just one. Grab the terracotta pots or string a bead garland tonight, and see how it feels to make the thing instead of buying it. Then come back for the next. Your home, and your wallet, will thank you.