5 Beginner Scrap Wood Projects That Look Like High-End Studio Decor
Turn leftover offcuts into decor that looks expensive. 5 beginner scrap wood projects with real steps, tiny budgets, and styling tips for a warm home.

· 12 min read
Scrap wood projects are the fastest way I know to make a room feel custom without spending real money. You already have the material. It's the pile of offcuts in the garage, the pieces left over from a shelf install, the busted crate you kept for no reason. In the next few minutes I'll show you five beginner projects you can finish this weekend, most of them for under $10, that read like something from a small design studio.
I'm Isabella, and I've made every one of these in my Brooklyn apartment. None of them need a full workshop. A saw, some sandpaper, and a little patience get you most of the way. The trick isn't fancy tools. It's clean edges, a warm finish, and knowing why a simple wood object looks expensive when you style it right. Let's get into it.
Key Takeaways
- Most scrap wood decor costs almost nothing because you're using offcuts you already own.
- You only need a few basic tools to start beginner woodworking, and a handsaw covers most cuts.
- Sanding is the single biggest factor in whether a piece looks cheap or high-end.
- A warm oil or a soft matte finish makes raw offcuts look intentional and studio-made.
- Styling matters as much as building, so pair your pieces with texture and neutral tones.
- Start with the wood bead garland or coaster set if you're nervous, then work up to the shelf.
- Simple shapes and honest wood grain always look more expensive than fussy details.
Tools and Scraps You Need
You don't need much. For scrap wood decor, gather a handsaw or a small circular saw, sandpaper in a few grits (80, 120, 220), wood glue, and a tape measure. A drill helps for two of these projects but isn't required for all. Add a cheap foam brush and a small can of finishing oil or a leftover stain.
For material, raid your own scrap pile first. Pine offcuts, plywood ends, old crate slats, and dowel stubs all work. If you buy anything, a single pine board or a bag of unfinished wood beads runs a few dollars. If you're weighing what to buy versus what to reuse, my post on when DIY beats buying new walks through that call. And if you want to map the whole budget first, the budget calculator keeps you honest.
The 5 Projects
Here are five genuine beginner scrap wood projects, ordered from easiest to a little more involved. Each one uses wood you likely already have. I've noted a realistic cost, the steps, the skill and time, and a styling note so you know why it looks high-end.
1. Wood Bead Garland
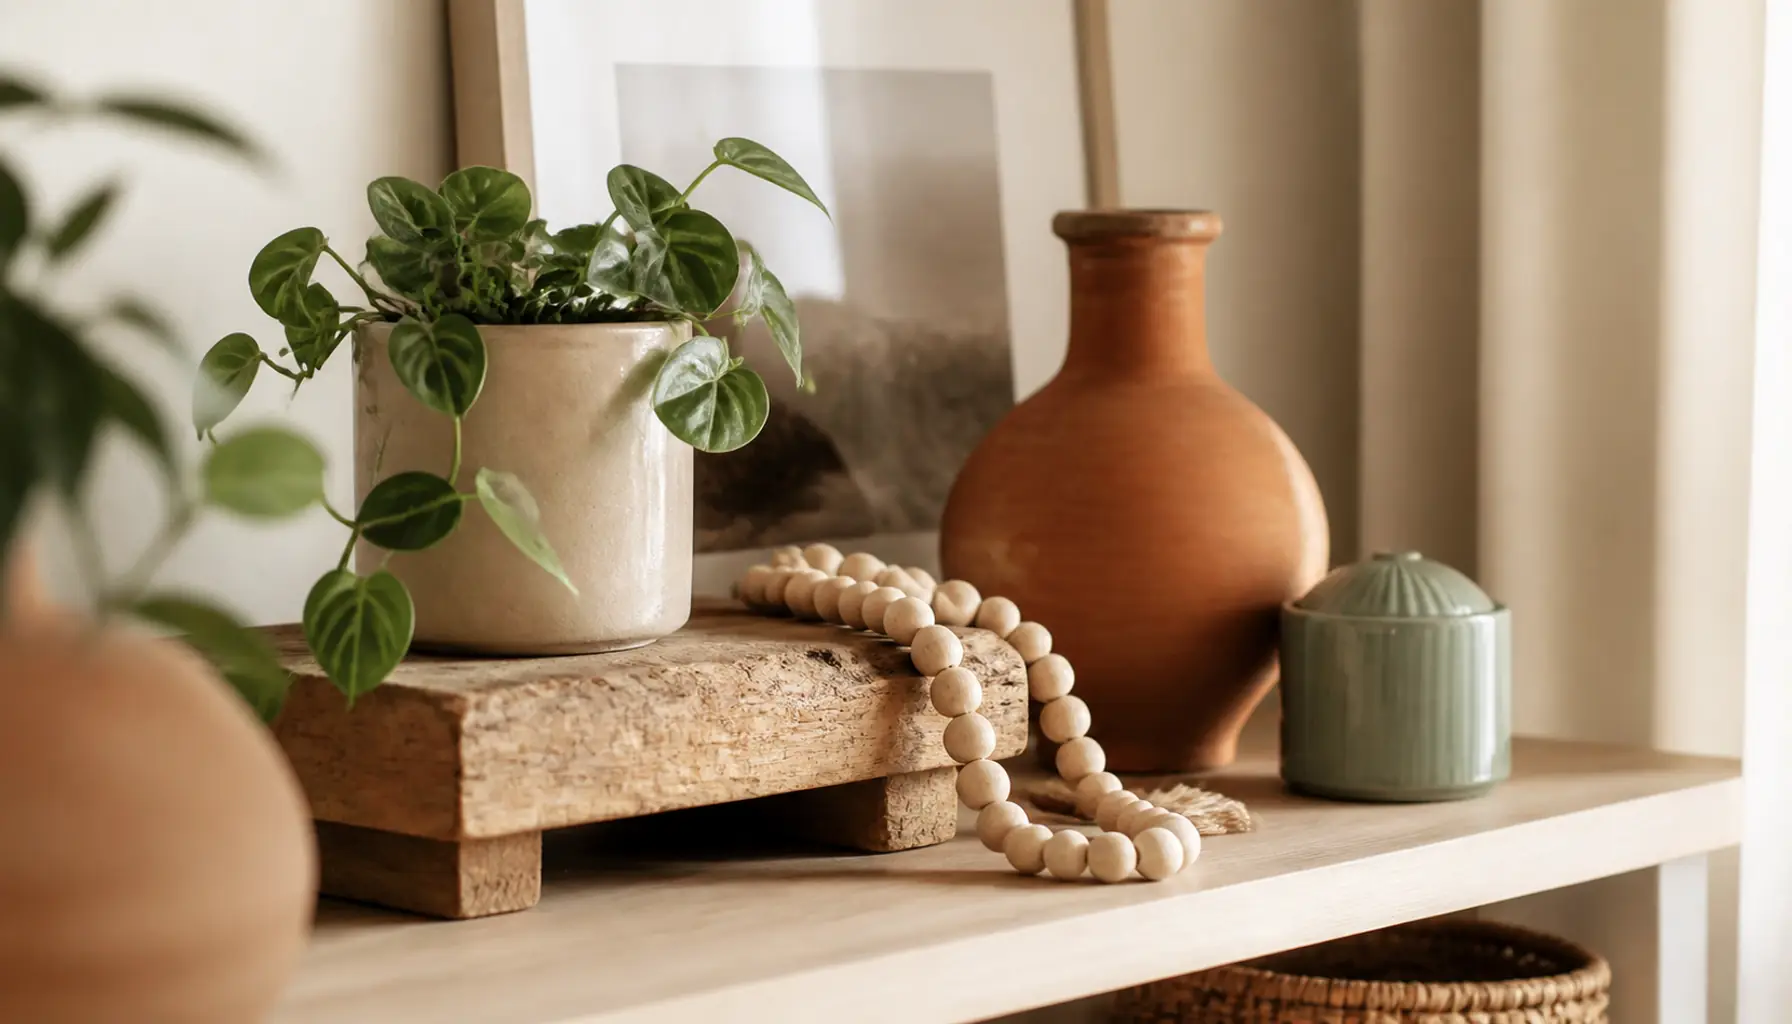
What you need: A bag of unfinished wood beads ($4 to $8) or beads you salvage from a broken curtain, plus a length of cotton cord or jute twine you already own. Total cost is often under $6.
The steps: Cut your cord to about 18 inches. Tie a knot at one end. Thread beads on in whatever pattern you like, mixing sizes if you have them. Leave a little cord showing between clusters for a relaxed look. Tie off the top into a loop so you can hang it. If your beads are raw, rub them with a bit of finishing oil first to warm the tone.
Skill and time: True beginner. 20 to 30 minutes.
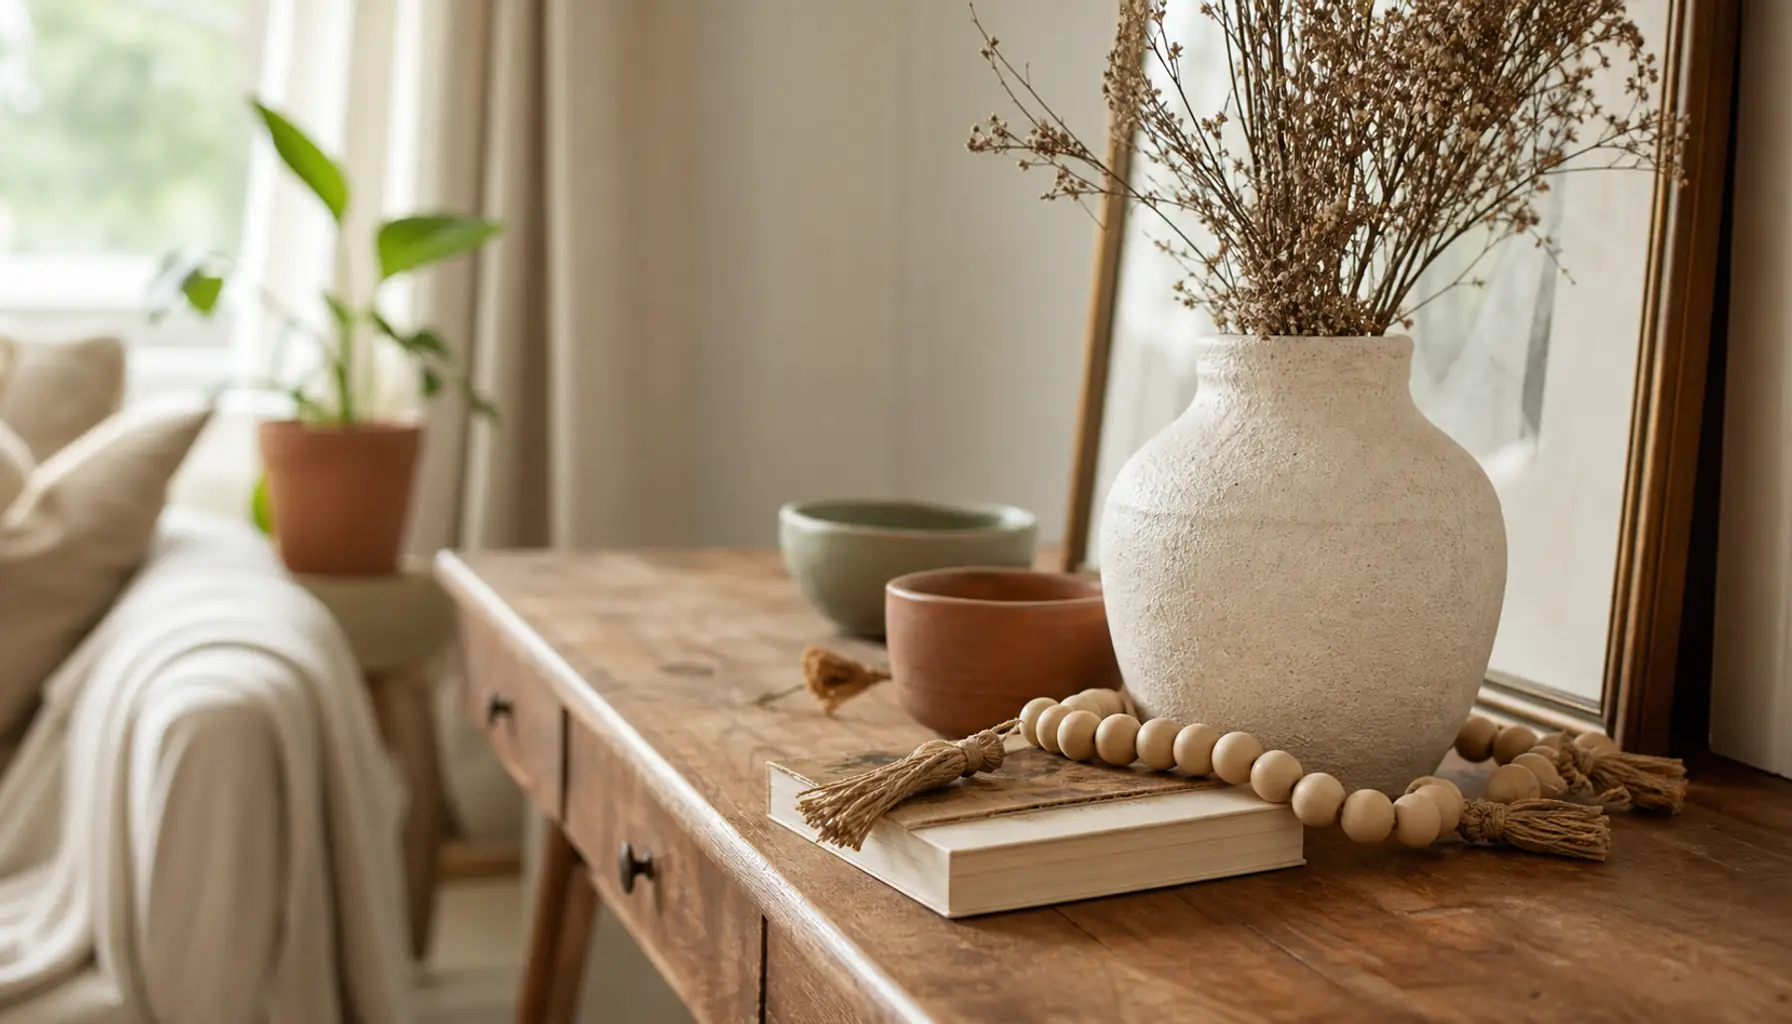
Styling note: Drape it over a stack of books, a tray, or a doorknob. The reason this reads high-end is restraint. Neutral wood beads on natural cord look like a boutique detail, not a craft-store kit. It pairs beautifully with the warm palette I cover in Terracotta and Neutrals.
2. Scrap Wood Coaster Set
What you need: Flat offcuts at least 4 inches wide, like plywood or a wide pine board. Cost is basically zero if you have the wood. Add felt pads if you want ($3).
The steps: Mark four squares, roughly 4 by 4 inches. Cut them with a handsaw. Sand every face and, most importantly, every edge until it's smooth to the touch. Round the corners slightly with sandpaper so they feel finished. Wipe on a coat of oil. Let it dry, then add felt or cork to the bottom so they don't scratch.
Skill and time: Beginner. About an hour for four, most of it sanding.
Styling note: A matched set of clean wood coasters looks like something you'd buy at a design shop. If you want a checkerboard version, alternate light and dark scraps or lightly stain half of them. The honest grain does the work here.
3. Small Riser or Pedestal
What you need: A chunky offcut, a thick piece of 4x4 post, or a stack of glued plywood squares. Free from your scrap pile. Maybe $2 for felt feet.
The steps: Decide on a height, usually 2 to 4 inches. Cut your block square and flat. If you're stacking thinner pieces, glue them and clamp overnight, or weigh them down with books. Sand the whole thing smooth, easing the top edges. Finish with oil or a soft white paint for a plaster-like look. Add felt to the base.
Skill and time: Beginner to easy-intermediate if you're gluing layers. 30 minutes plus glue drying time.
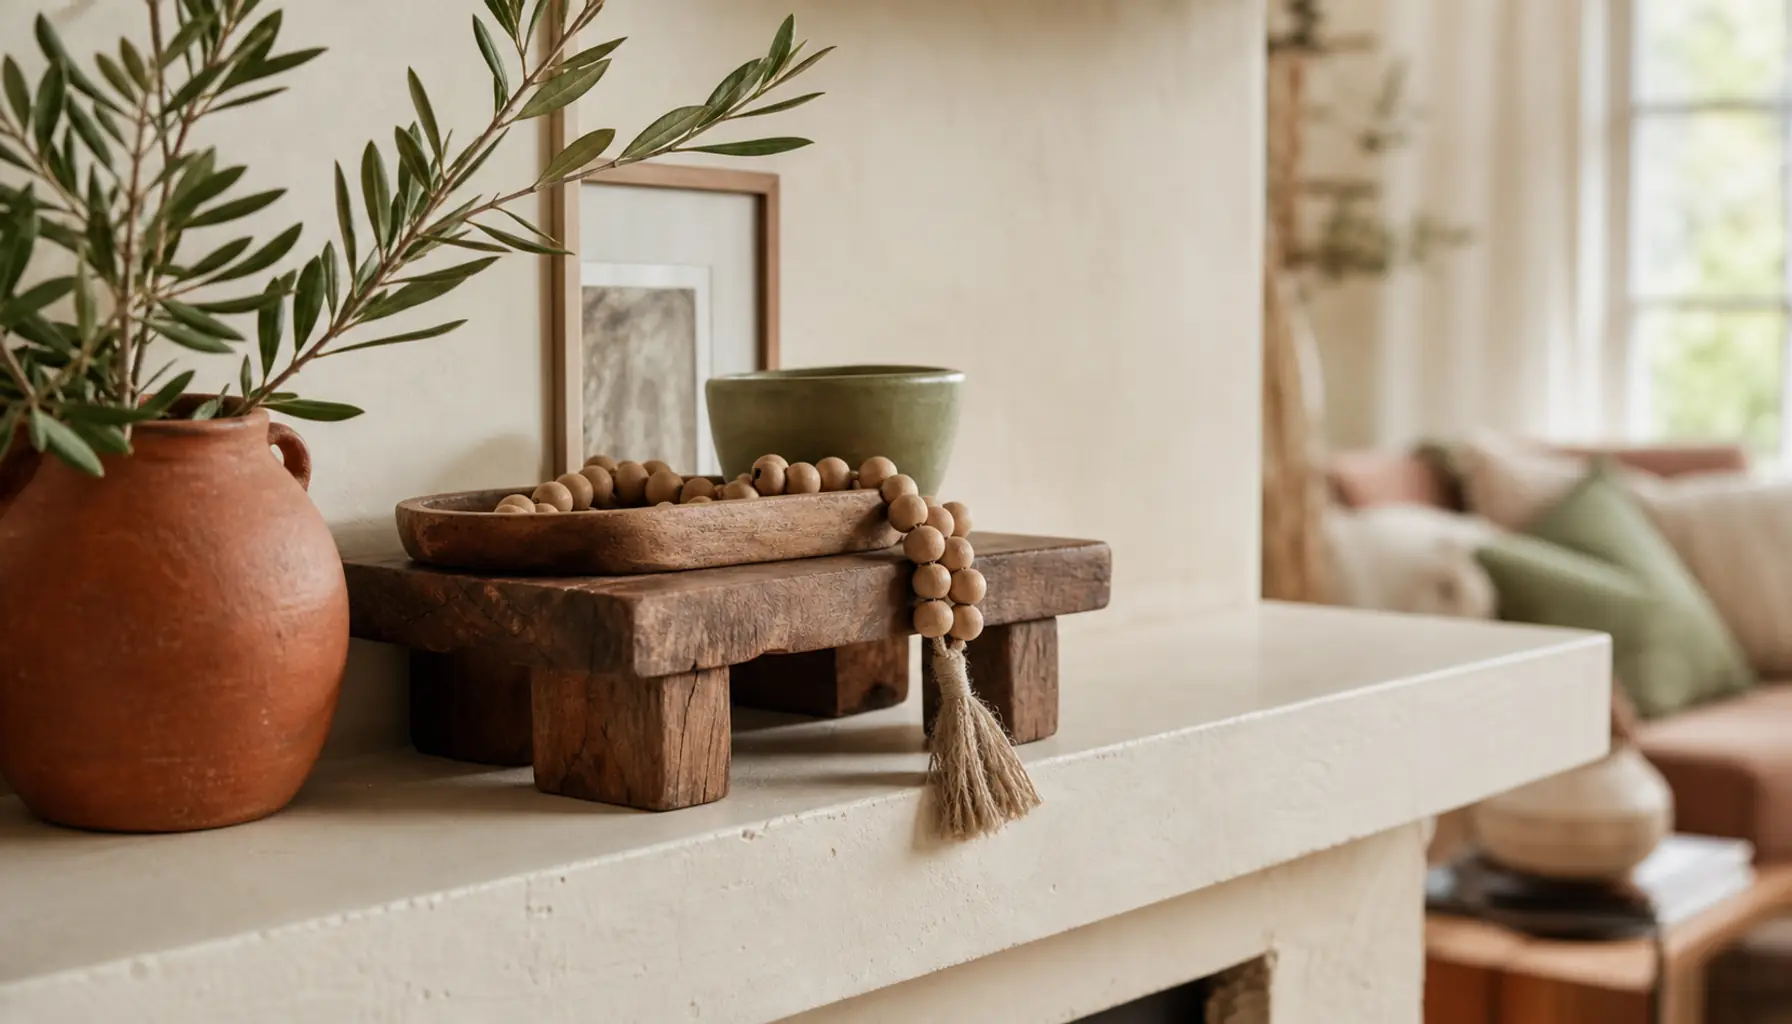
Styling note: Risers are a designer secret. Set a candle, a small plant, or a ceramic dish on top and it instantly looks curated. Height creates hierarchy on a shelf or counter. This is the same trick I use in How to Style Open Shelves Without the Clutter.
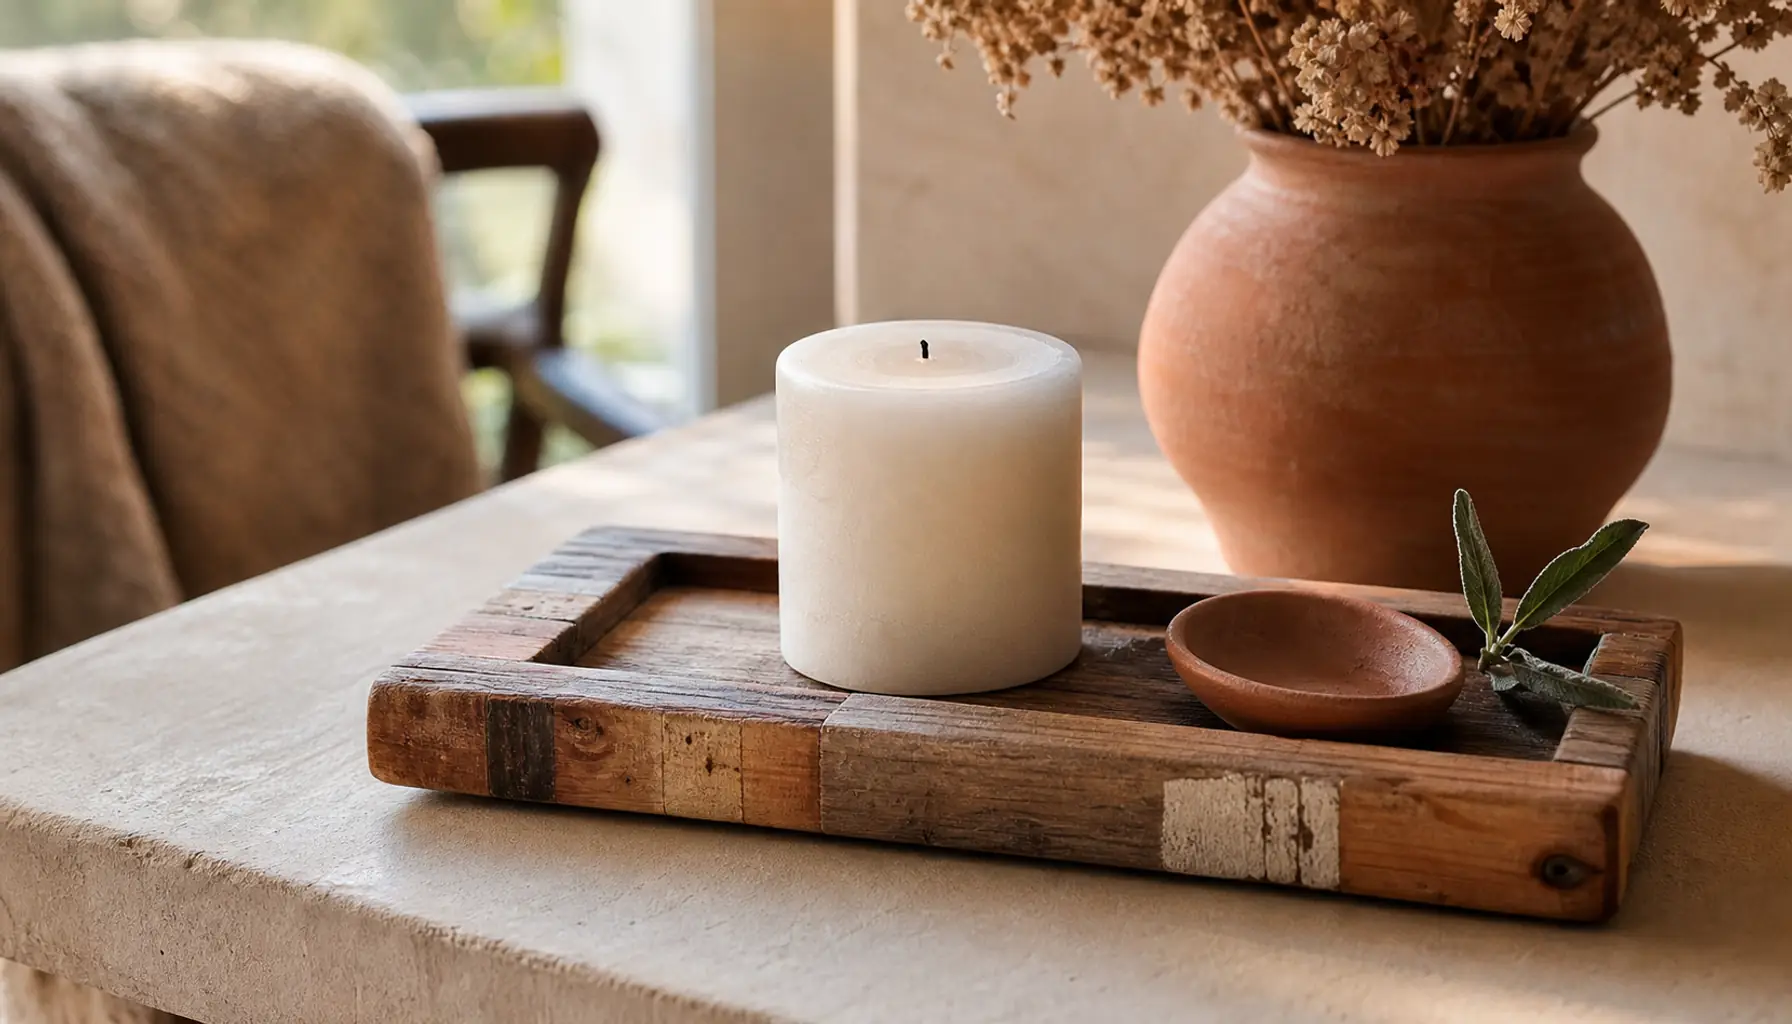
4. Candle Tray
What you need: A rectangular offcut for the base and four short strips for the sides, all from scraps. Wood glue. Cost near zero.
The steps: Cut a base to your size, something like 6 by 10 inches. Cut four thin strips for low walls, about half an inch tall. Sand everything first, it's much easier before assembly. Glue the strips around the edge of the base, mitering the corners if you can, or just butt them together for a simpler look. Clamp or tape until dry. Finish with oil.
Skill and time: Easy-intermediate. About 45 minutes plus drying.
Styling note: A little tray corrals candles, matches, and a sprig of greenery into one intentional moment. Grouping objects on a tray is what makes a tabletop look styled instead of scattered. Warm wood against a matte candle is a classic studio combination.
5. Geometric Peg Rail or Small Shelf
What you need: A length of pine board or a sturdy plank offcut, a few dowel stubs for pegs, wood glue, a drill, and two screws for mounting. Cost is $5 to $12 depending on what you have.
The steps: Cut your board to length, maybe 18 to 24 inches. Sand it well. For a peg rail, mark evenly spaced points, drill holes sized to your dowels, add a dab of glue, and tap the dowels in. For a small shelf, keep it as a single clean plank and add a simple bracket or mount it with hidden hardware. Finish with oil or stain. Mount it into studs or use proper anchors.
Skill and time: Easy-intermediate. About an hour, plus drying.
Styling note: A slim wood rail with a couple of pegs looks Scandinavian and calm. Hang a small basket, a linen towel, or a bundle of dried stems. Simple geometry and clean wood always read expensive. If this gives you a taste for bigger builds, my guide to upcycling furniture tools and first projects is the natural next step.
Common Mistakes
The biggest mistake with scrap wood projects is rushing the sanding. Raw offcuts have splinters, mill marks, and rough edges. If you skip grits or stop too soon, the piece feels cheap no matter how nice the design is. Work through 80, then 120, then 220, and always ease the sharp edges.
Second, people over-design. Beginners add extra cuts, decorative angles, and busy details thinking it looks more custom. It doesn't. Simple shapes with honest grain always look more expensive. Let the wood be the star.
Third, mismatched finishes. If half your pieces are glossy and half are matte, the set looks accidental. Pick one finish and stick with it across a project. And don't glue before you sand, it's much harder to smooth an assembled piece than a flat one.
Finally, ignoring the base. Unfinished bottoms scratch tables and floors. Felt pads are cheap and make everything feel considered. For more on making budget pieces look pulled-together, see Room Refresh Under $150.
Expert Tips
Sanding is where high-end happens. Sand with the grain, never across it, and use a sanding block on flat faces so you don't round them by accident. On edges, a few light passes soften the sharpness and catch the light nicely. Wipe the dust off with a slightly damp cloth before you finish, or the finish will feel gritty.
On stain versus oil, here's my honest take. Oil, like a simple finishing oil or even food-safe mineral oil for coasters, brings out the natural grain and gives a soft, warm glow. It's the easiest way to make cheap pine look rich. Stain changes the color, which is great when your scraps don't match. If your offcuts are a jumble of tones, a light stain unifies them. For a painted look, a matte white or a muted clay color turns a riser into something that looks like stone or plaster.
A quick word on wood choice. Softwoods like pine sand fast and take oil well, perfect for beginners. Plywood needs its edges filled or sanded extra smooth since the layers show. Old crate wood has character but check for staples and hidden nails first. If you like the idea of mixing warm and cool tones across your pieces, Mixing Textures will help you build a room that feels layered. And a coat of paint can transform even the plainest board, as I show in Paint Tricks That Change a Room Completely.
Frequently Asked Questions
What are the easiest scrap wood projects for a total beginner?
Start with the wood bead garland or the coaster set. Neither needs a drill, both use small offcuts, and you can finish them in under an hour. They teach you the two skills every other project relies on, clean cutting and thorough sanding, without any pressure. Once those feel easy, move up to the riser and tray.
What tools do I really need to get started?
Very little. A handsaw, sandpaper in three grits, wood glue, and a foam brush cover four of these five projects. A drill only becomes necessary for the peg rail. You don't need a workshop or power tools to start beginner woodworking. Borrow a saw if you have to, and build from there as your confidence grows.
How do I make cheap pine look expensive?
Two things. First, sand it properly through 220 grit so it's silky smooth, including the edges. Second, finish it with oil to deepen the grain. Simple shapes and a warm finish do more for the look than any expensive material. Restraint reads as luxury. Avoid fussy details and let the wood speak.
Where do I get scrap wood if I don't have any?
Check your own garage, closet, and that box of leftovers first. After that, ask at a local hardware store or lumberyard for offcuts, which they often give away or sell cheap. Furniture being tossed on the curb is another source. My post on thrift store furniture worth flipping covers spotting good wood in the wild.
Do I need to stain or can I leave the wood raw?
You can leave it raw, but I don't recommend it. Bare wood absorbs stains, dries out, and looks unfinished up close. A single coat of oil takes five minutes, protects the surface, and makes the piece look intentional. Stain is optional and mainly useful when your scraps are different colors and you want them to match.
How long do these projects take?
Most take under an hour of hands-on work. The bead garland is 20 minutes. Coasters and a riser are around 30 to 60 minutes. The tray and shelf run closer to an hour, plus drying time for glue and finish. You can knock out two or three in a single weekend afternoon, easily.
Are these projects safe to make with kids?
The sanding, oiling, and threading beads are all great for kids with supervision. Save the cutting and drilling for an adult. The coaster set and bead garland are the most kid-friendly, since children can help sand and finish while you handle the saw. It's a nice way to make something together for the home.
Start With What You Already Own
The best thing about scrap wood projects is that you can start today with the offcuts already sitting in your home. Pick one project, the garland if you want an easy win, and give yourself an hour. Sand it well, finish it warm, and style it simply. That's the whole formula for decor that looks like it came from a studio.
Once you've made one, you'll see offcuts differently. That pile in the garage becomes a shelf, a tray, a riser for your favorite plant. If you're ready to try something bigger, my DIY headboard ideas for any budget will stretch these same skills into a statement piece. Grab a saw, and let's make your home feel a little more yours.