How to Frame a Builder-Grade Bathroom Mirror With Scrap Trim in 4 Steps
Learn how to frame a bathroom mirror using scrap trim in 4 easy steps. Renter-friendly and permanent options for that plain builder-grade mirror.

· 13 min read
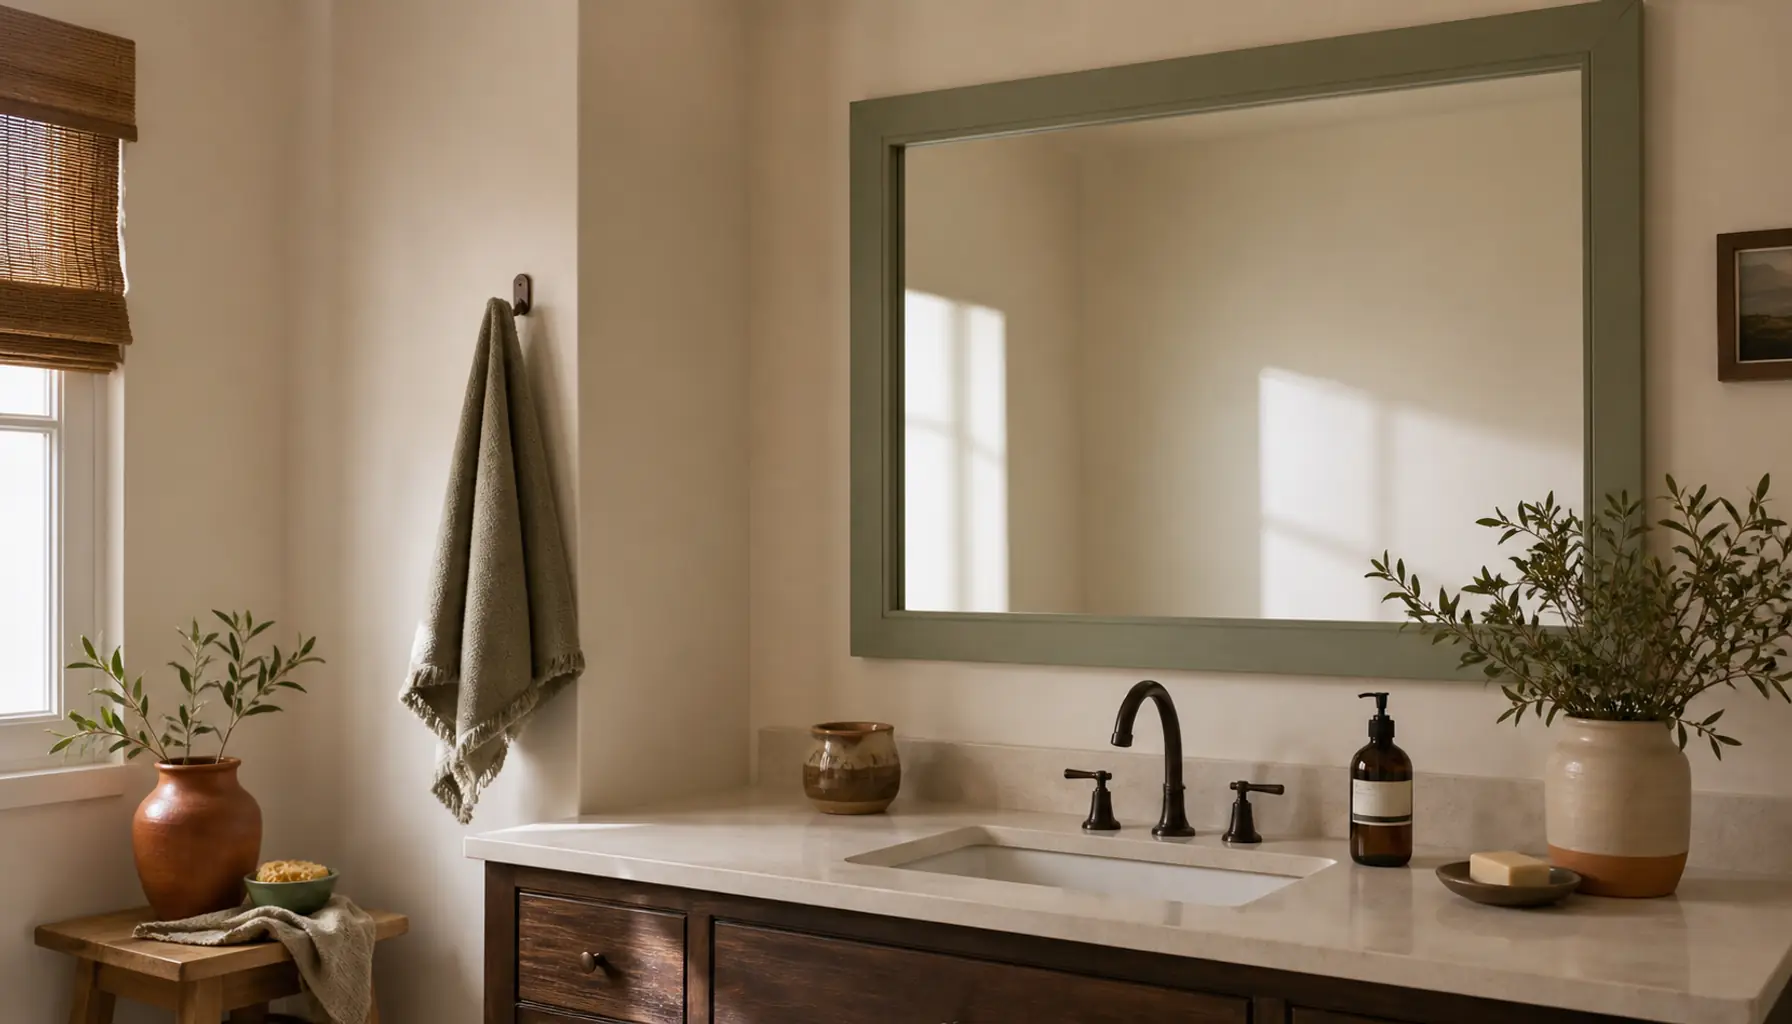
You can frame a bathroom mirror in an afternoon, and it costs less than a takeout dinner. That big plain sheet of glass glued to your wall is the builder-grade special. Builders love it because it's cheap and fast. You probably don't love it because it looks like every rental and starter home in the country. The good news is you don't have to pry it off the wall or call anyone. You add trim around the edge, right over the glass, and suddenly it looks like a real framed mirror.
I did this in my own Brooklyn bathroom with a pile of leftover trim from a bookshelf project. It took me about two hours, and most of that was waiting for paint to dry. My landlord never noticed, and honestly it made the whole room feel finished.
This guide walks you through the whole thing. You'll measure, cut, finish, and attach lightweight trim to the edge of your mirror. I'll show you the permanent way with construction adhesive and the renter-friendly way with mirror-safe tape. I'll also cover how to deal with those little metal clips at the bottom, and how to pick joints that hide gaps. Let's get into it.
Key Takeaways
- You can frame a builder-grade mirror without removing it, so there's no risk of cracked glass or damaged drywall.
- Lightweight trim works best. Think screen molding, lattice, or thin lattice strips that won't strain the adhesive.
- Renters can use mirror-safe double-sided tape and pull it off later. Homeowners can go permanent with construction adhesive.
- Butt joints are the easiest for beginners. Miter joints look sharper but need a bit more patience.
- Paint or stain the trim before you attach it, so you don't get color on the glass.
- Mirror clips are not a dealbreaker. You either build the frame to hide them or notch the trim around them.
- The total cost usually lands between $15 and $40 if you buy trim, or close to nothing if you use scraps.
What You Need
Here's the short list. None of this is fancy, and you may already have most of it.
Materials:
- Lightweight trim, like screen molding, lattice strips, or thin base cap. Figure $8 to $25 for enough to go around a standard mirror. Scrap trim from another project is free and works great.
- Construction adhesive rated for mirrors and metal, around $5 to $9 a tube. Check the label to make sure it says mirror-safe.
- Or mirror-safe double-sided mounting tape for renters, around $6 to $12 a roll.
- Paint or wood stain, plus a small brush. A sample-size paint jar runs $4 to $6 and covers this easily.
- Wood filler for miter gaps, optional, about $4.
- Painter's tape, a couple bucks.
Tools:
- A miter box and hand saw, or a miter saw if you have one. A cheap miter box costs $10 to $15 and is plenty for trim this thin.
- A tape measure.
- A pencil.
- A sanding block or a sheet of medium sandpaper.
- A caulk gun if your adhesive comes in a tube.
- A damp rag and some rubbing alcohol for cleaning the glass edge.
That's it. If you're weighing whether to buy new trim or use what you have, my post on when DIY beats buying new might help you decide. And if you want to keep the whole bathroom project on budget, run your numbers through the budget calculator before you shop.
How to Frame the Mirror in 4 Steps
This is the core of the whole project. Four steps, start to finish. Read all four before you cut anything, because measuring twice really does save you money here.
Step 1: Measure the mirror and plan your joints
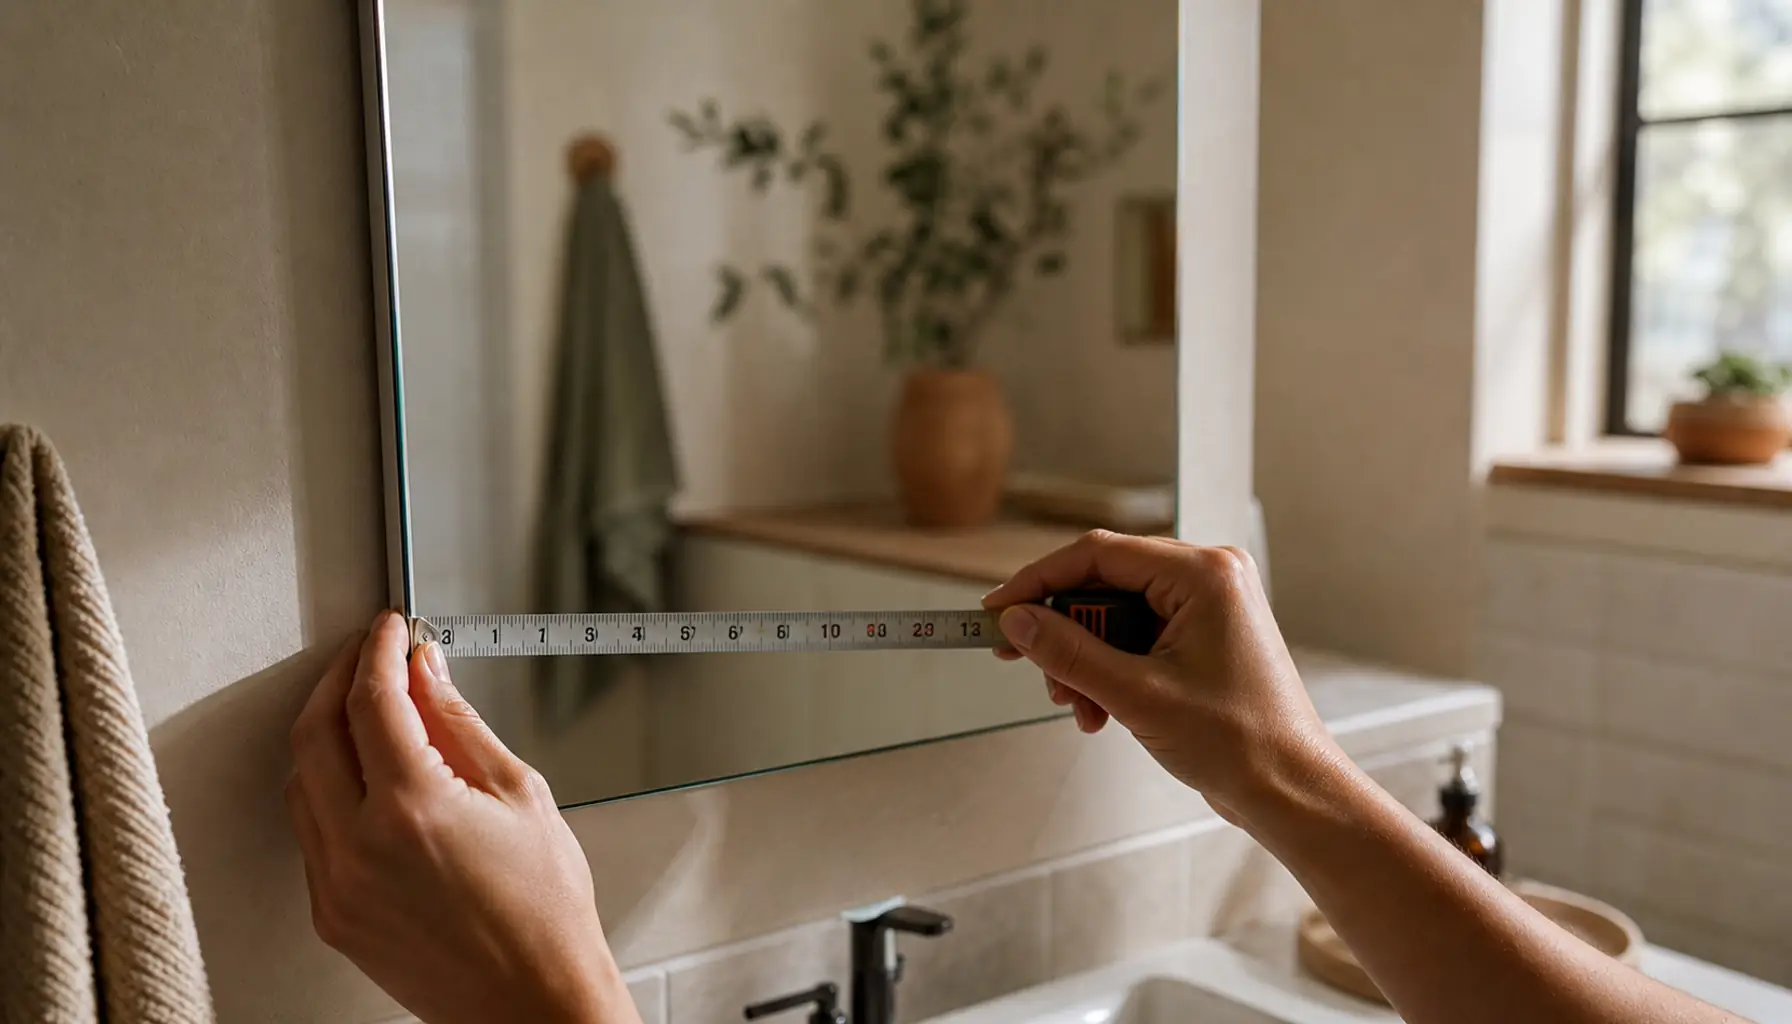
Grab your tape measure and measure the mirror at the edge of the glass, not the wall. Measure the width across the top and the bottom, then the height on both sides. Old mirrors are rarely perfect squares, so write down all four numbers. If the top and bottom differ by a little, use the larger number and trim to fit later.
Now decide on your joints. You've got two choices, and this is where you frame a mirror the smart way instead of the frustrating way.
Butt joints mean the trim pieces meet at square ends. One piece runs the full length, and the next piece butts up against it. These are dead simple to cut. You just cut straight across. The downside is you can see the end grain a little, but paint hides that fine.
Miter joints mean each corner is cut at a 45-degree angle, like a picture frame. They look cleaner and more custom. But they're less forgiving. If your angle is off by even a couple degrees, you get a gap at the corner.
My honest advice for a first try is to go with butt joints. You can always miter your next project once you trust your saw. Whichever you pick, sketch it out on paper so you know which pieces cover which edges.
Step 2: Cut the trim to size
Take your measurements to the miter box. If you're doing butt joints, plan for two pieces to run the full width and two pieces to fit between them, or the other way around. Just be consistent so the corners line up.
Cut the two long pieces first. Set them against the mirror to check the fit before you cut the shorter pieces. Trim is cheap, but it's still annoying to run out.
If you're mitering, set your miter box to 45 degrees and cut each corner so the pieces angle inward. Cut slow. A sharp saw and a steady hand beat speed every time. Dry-fit all four pieces against the mirror and hold them in place with a strip of painter's tape. Look at the corners. If a miter gaps, sand the high spot down a hair and check again.
Once everything fits, lightly sand the cut ends and the front face so paint or stain grabs better. Wipe off the dust. This is the same careful cutting habit that pays off in bigger builds, like the ones in my upcycling furniture guide.
Step 3: Paint or stain the trim
Finish the trim now, before it touches the mirror. This one rule saves you so much cleanup. It's a lot easier to paint a loose strip of wood on a drop cloth than to cut in around glass.
Lay your pieces on newspaper or a scrap of cardboard. If you're painting, one thin coat, let it dry, then a second thin coat. Thin coats look smoother and drip less. If you want a warm neutral to match a cozy bathroom, a soft cream or a muted sage picks up nicely against a mirror. For color ideas, my post on paint tricks that change a room has combinations I keep coming back to.
If you're staining, wipe the stain on with a rag, let it sit a minute, then wipe the excess off. Follow the wood grain. Let it cure fully, which usually means overnight for stain, before you handle the pieces.
Don't forget to finish the cut ends and, if you can see them, the inside edges. Once the finish is dry to the touch and no longer tacky, you're ready to hang them.
Step 4: Attach the trim to the mirror
Clean the outer edge of the glass where the trim will sit. Wipe it with rubbing alcohol and let it dry. Adhesive and tape both stick better to clean glass.
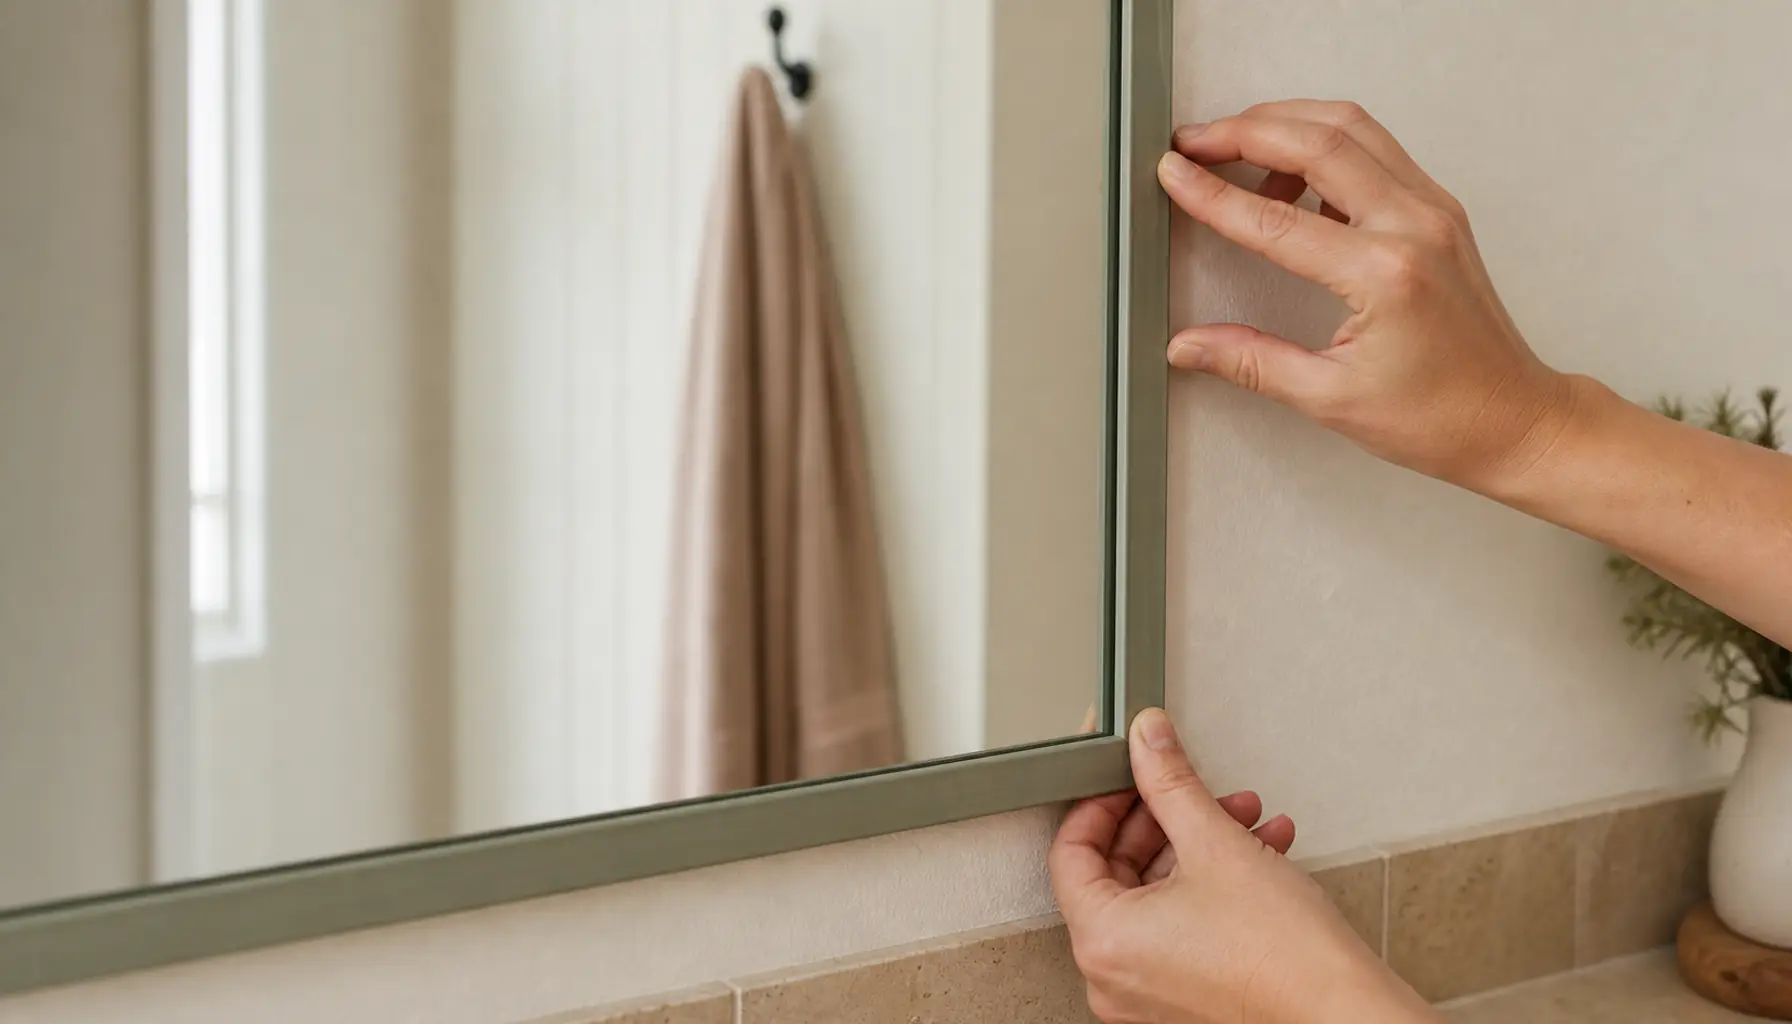
For the permanent method, load your mirror-safe construction adhesive into the caulk gun. Run a thin zigzag bead down the back of one trim piece. Keep the adhesive toward the wall side of the trim, away from the visible glass, so nothing squeezes out onto the mirror. Press the piece into place along the edge. Hold it for a minute, or use painter's tape to brace it while it sets. Work your way around, piece by piece. Let the whole thing cure for 24 hours before you touch it.
For the renter-friendly method, run strips of mirror-safe double-sided tape along the back of each trim piece. Peel the backing, line the piece up, and press firmly for 30 seconds. Tape holds lightweight trim well, and when you move out you can peel it off without wrecking anything. This is the same take-it-with-you thinking behind my renter-friendly upgrades post.
Step back and look. If a corner lifts, add a dab of adhesive or a fresh strip of tape. That's it. You framed your mirror.
Common Mistakes
A few small slip-ups trip up almost everyone the first time. Here's how to dodge them.
Measuring the wall instead of the glass. The frame sits on the glass edge, so your numbers need to come from the glass. Measure the mirror itself, all four sides, because it's probably not perfectly square.
Ignoring the mirror clips. Most builder mirrors are held by adhesive plus little plastic or metal clips along the bottom, and sometimes the top. People forget the clips exist until the trim won't lie flat. Plan for them in Step 1. You can build the trim thick enough to hide the clips underneath, or notch a small gap in the back of the trim so it sits over them.
Getting adhesive on the glass. Squeeze-out onto the mirror is a pain to clean and can smear. Keep your adhesive bead thin and toward the wall side of the trim. If a little escapes, wipe it right away with a rag before it skins over.
Skipping the finish step. Painting the trim after it's on the mirror means taping off all that glass and cutting in a clean line. Finish the pieces loose, every time.
Using heavy trim. Chunky, solid molding is beautiful, but it strains the tape and can pull off the glass over time. Stick with lightweight profiles. Small, tidy details go a long way, the same lesson from bathroom organization for small spaces.
Expert Tips
Once you've framed one mirror, these tricks make the next one even better.
Match your trim to your fixtures. If your faucet and towel bar are warm brass, a stained wood tone plays nicely. If everything's chrome or matte black, a crisp painted frame in cream or sage reads clean and modern.
Caulk the inner seam for a built-in look. After the trim is set, run a tiny line of paintable caulk where the trim meets the glass, then smooth it with a damp finger. It hides any small gap and makes the frame look like it grew there.
Fill miter gaps with wood filler. If a mitered corner opened up a hair, press a little filler in, let it dry, sand it smooth, and touch up the paint. Nobody will ever know.
Think about the room, not just the mirror. A framed mirror pulls the whole space together, but it works even better next to warm light. If your bathroom feels flat, check my post on lighting mistakes that make rooms feel cold. Warm bulbs and a framed mirror are a great pair.
Buy a little extra trim. An extra piece costs a couple dollars and saves a second trip when one cut goes sideways.
Frequently Asked Questions
Can I frame a bathroom mirror without removing it?
Yes, and that's the whole point of this method. You build the frame right onto the front edge of the existing glass with adhesive or tape. The mirror stays glued to the wall the entire time. This avoids the real risk of cracking the glass or tearing up drywall when you try to pry an old builder mirror off.
What kind of adhesive is safe for mirrors?
Use a construction adhesive that's specifically labeled mirror-safe or safe for mirrors and metal. Some regular adhesives contain chemicals that can eat through the reflective backing over time and leave dark spots. Read the tube. If it says it works on mirrors, you're good. Mirror-safe double-sided mounting tape is the other solid choice, especially for renters.
Should I use miter joints or butt joints?
Butt joints are easier and very forgiving, so they're the best pick for a first project. You just cut straight across and let the pieces meet at square corners. Miter joints, cut at 45 degrees, look more like a store-bought frame but demand precise cuts. If your saw skills are still growing, start with butt joints and save miters for later.
How do I deal with the mirror clips at the bottom?
Plan around them from the start. The clips hold the bottom edge, so your trim needs to either cover them or clear them. If your trim is thick enough, it can sit right over the clips and hide them. If not, cut a small notch in the back of the trim so it fits over each clip and still lies flat against the glass.
Can renters do this without losing their deposit?
Absolutely. Skip the construction adhesive and use mirror-safe double-sided mounting tape instead. It holds lightweight trim securely, and when you move out you peel the frame off the glass. The glass is unharmed and the wall never gets touched. It's one of the easiest reversible upgrades, right up there with peel-and-stick projects for rentals.
How long does the adhesive take to dry?
Most mirror-safe construction adhesives set enough to hold in an hour or two, but they need a full 24 hours to cure completely. Brace the trim with painter's tape during that first hour so nothing slides. Don't lean on the frame or hang anything from it until the day is up. Tape-mounted trim holds right away, though pressing firmly for 30 seconds helps it grab.
What if my mirror isn't perfectly square?
Very few builder mirrors are. That's why you measure all four sides separately in Step 1. Cut your trim to match the actual edges, not one guessed number. A thin bead of paintable caulk along the inner seam hides any small gap between the trim and a slightly crooked edge, so the finished frame still looks straight and clean.
Ready to Give That Plain Mirror a Frame?
There's a lot of payoff in this little project. You can frame a builder-grade mirror in an afternoon, spend almost nothing, and completely change how your bathroom feels. Whether you go permanent with adhesive or renter-friendly with tape, the method is the same four steps: measure, cut, finish, attach.
Start with the mirror you look at every morning. Measure it tonight, grab some trim this weekend, and give it the frame it should have come with. If this got you in a DIY mood, my room refresh under $150 plan and DIY headboard ideas are great next stops. Happy building.