12 Built-In Cabinet Ideas for Living Room Alcoves and Walls
Twelve built-in cabinet ideas for the living room, from chimney alcoves to media walls, with real budget tiers, DIY routes and the build mistakes to avoid.

· 13 min read
Built-in cabinets do two jobs at once. They swallow the clutter a living room generates, and they give a flat, featureless wall some actual architecture.
The catch is that built-ins are permanent. The difference between a run that reads as part of the house and one that reads as a bookcase shoved against a wall comes down to a short list of decisions: how high it goes, how much of it is doors, what color it gets painted, and how tight the gap is where the cabinet meets the wall.
Below are 12 built-in cabinet ideas for the living room, organized by the kind of wall you're working with. For each one you'll find which parts a confident DIYer can handle, and where it's smarter to hand the job to a carpenter.
Key Takeaways
- Height is the first decision, not the last. Floor-to-ceiling reads as architecture. A half-height run reads as furniture.
- Closed doors low, open shelves at eye level keeps the mess out of sight and the good pieces where you look.
- Painting cabinets the same color as the wall is the cheapest way to make a DIY build look built-in.
- Reveals and shelf thickness give away amateur joinery faster than joint quality does.
- Flat-pack carcasses behind a custom plywood face frame get you most of the way to a joiner's result.
- Run the cables before the boxes close. Retrofitting a cable route into finished joinery is miserable.
12 Built-In Cabinet Ideas Worth Building
Idea 1: Fill the Alcoves Either Side of a Chimney Breast
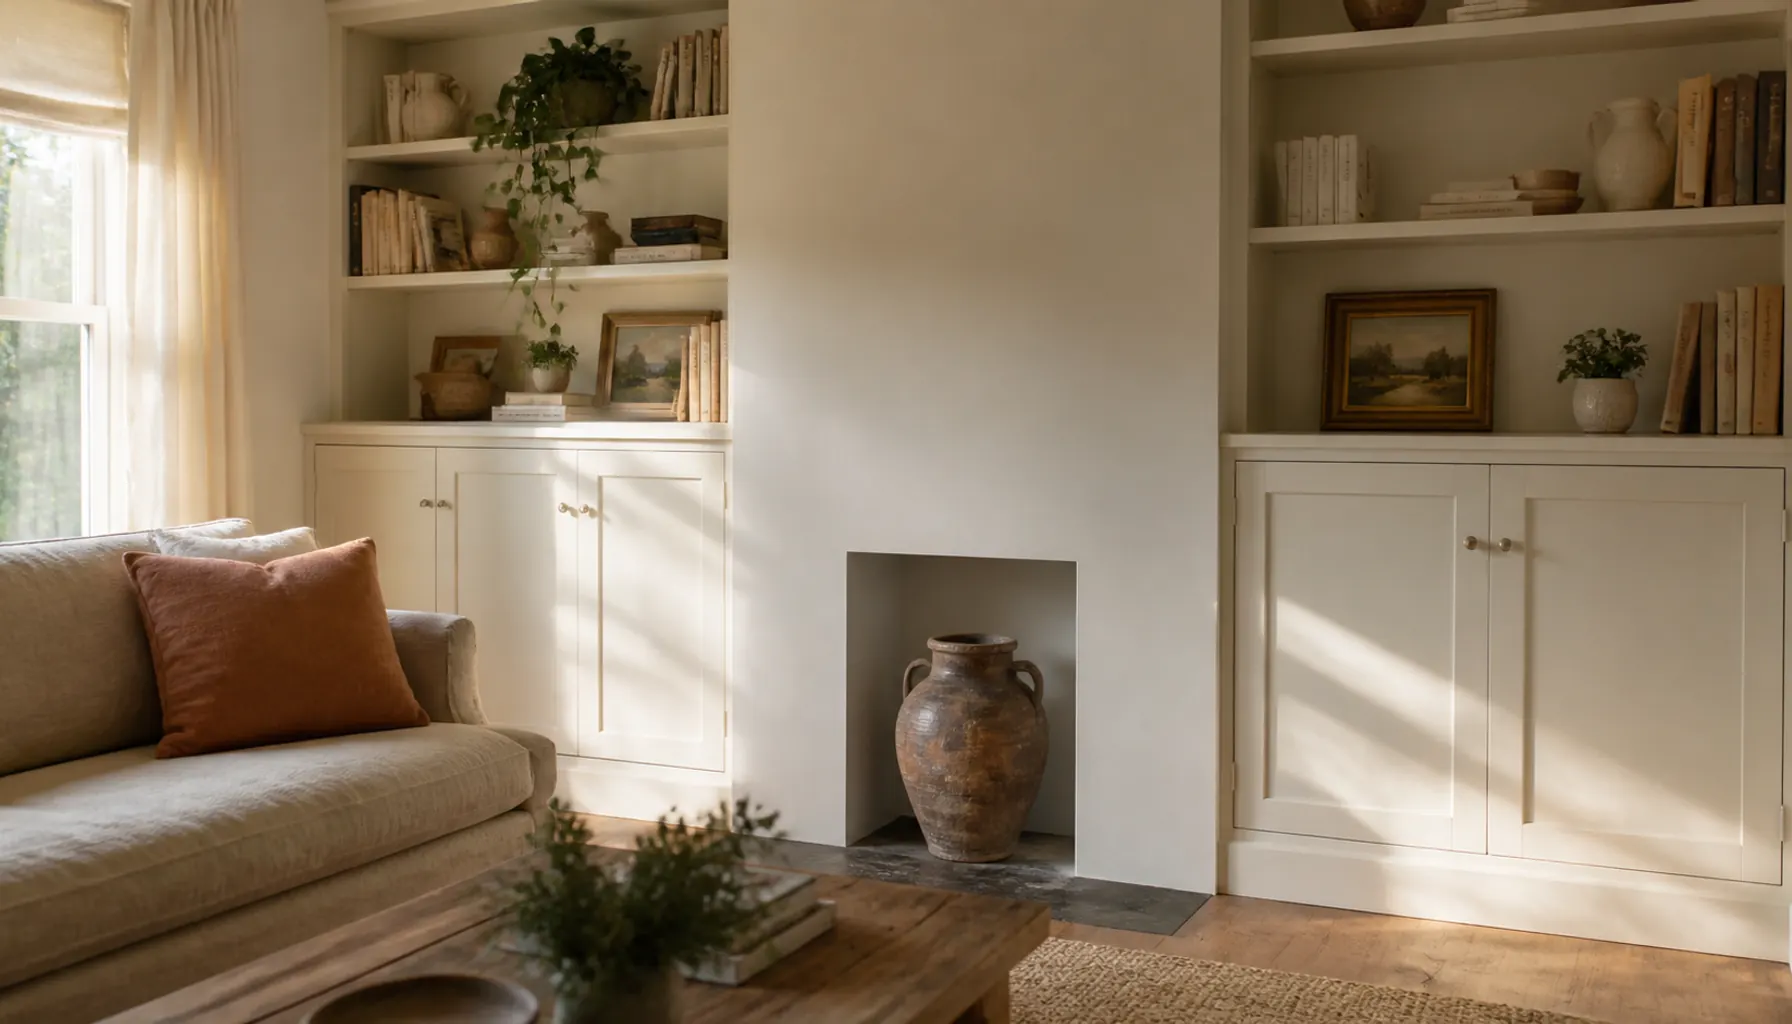
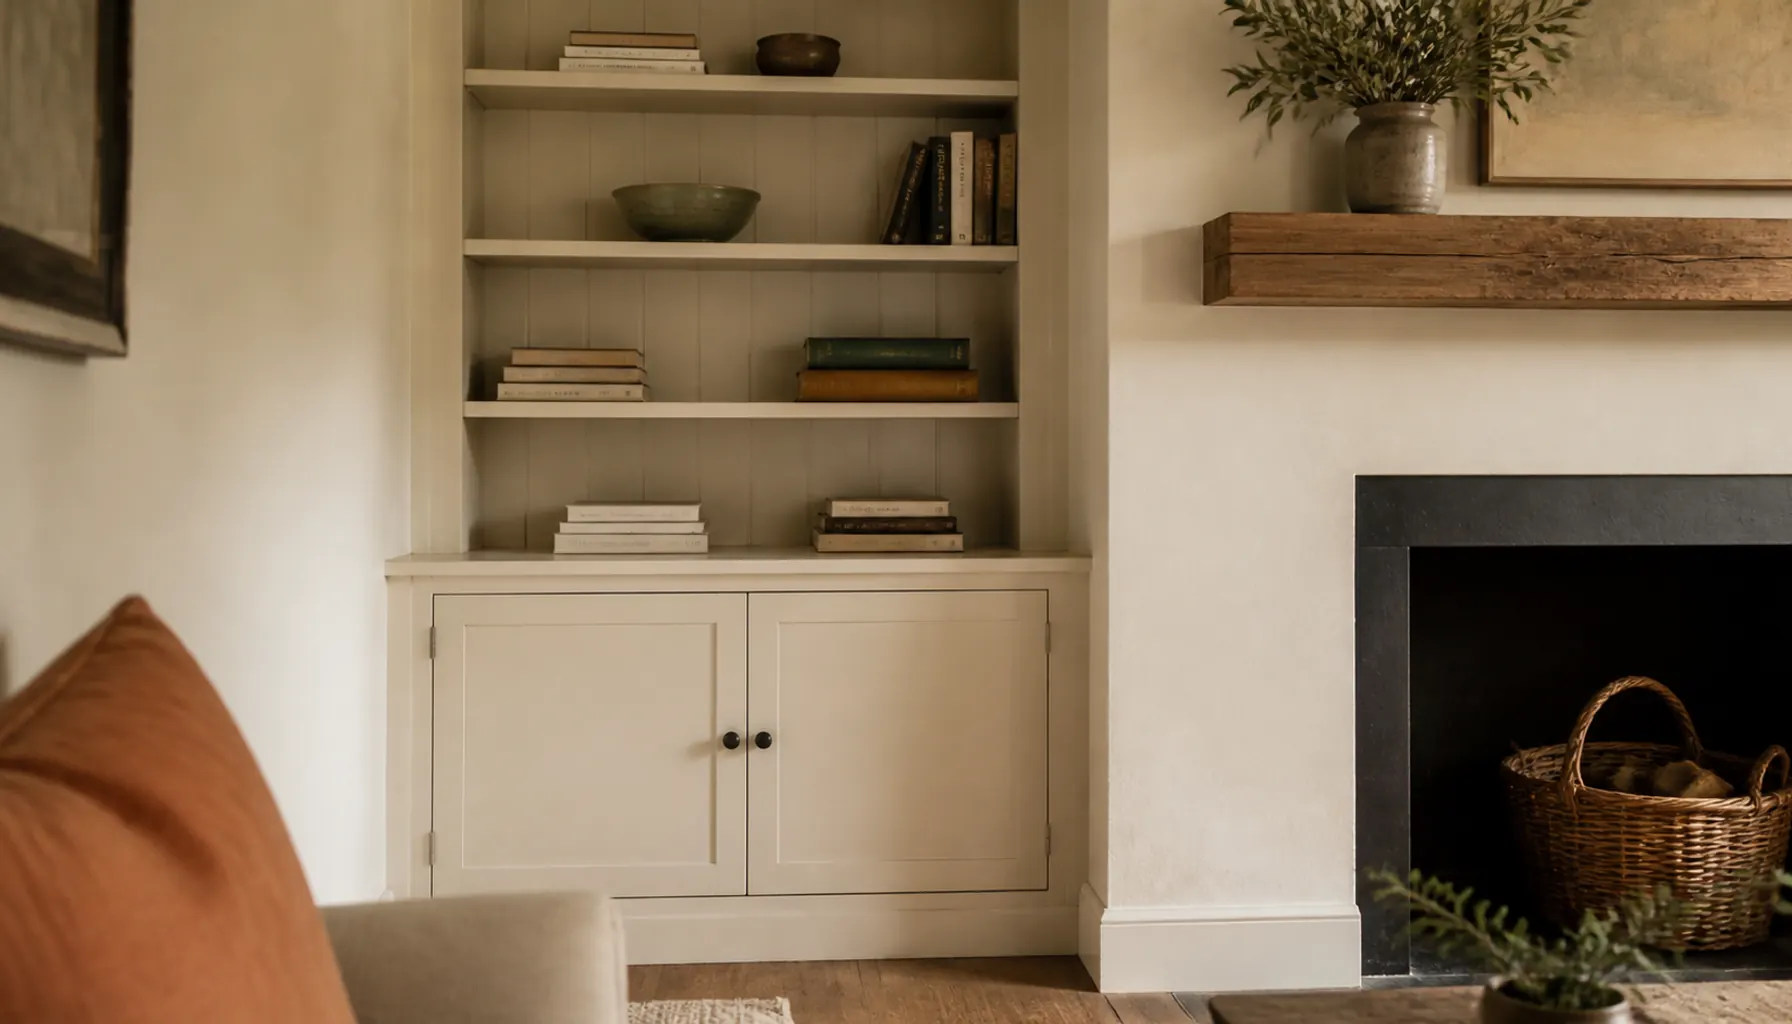
Those two dead recesses beside a fireplace are the best first built-in project in any house. They're already three-sided, so you're building a face and some shelves rather than a whole box.
Measure the width at floor level, at mid-height and near the ceiling. Old alcoves are rarely the same width top to bottom, and building to one measurement gives you a wedge-shaped gap. The fix is a scribe fillet: build the carcass about half an inch narrower than the tightest point, then cover the gap with a thin strip of timber you shape to follow the wall.
Doors on the bottom third, open shelves above. Around 12 inches of depth handles books and baskets without bulging past the chimney breast.
Idea 2: Build a Recessed Niche Into a Full Media Wall
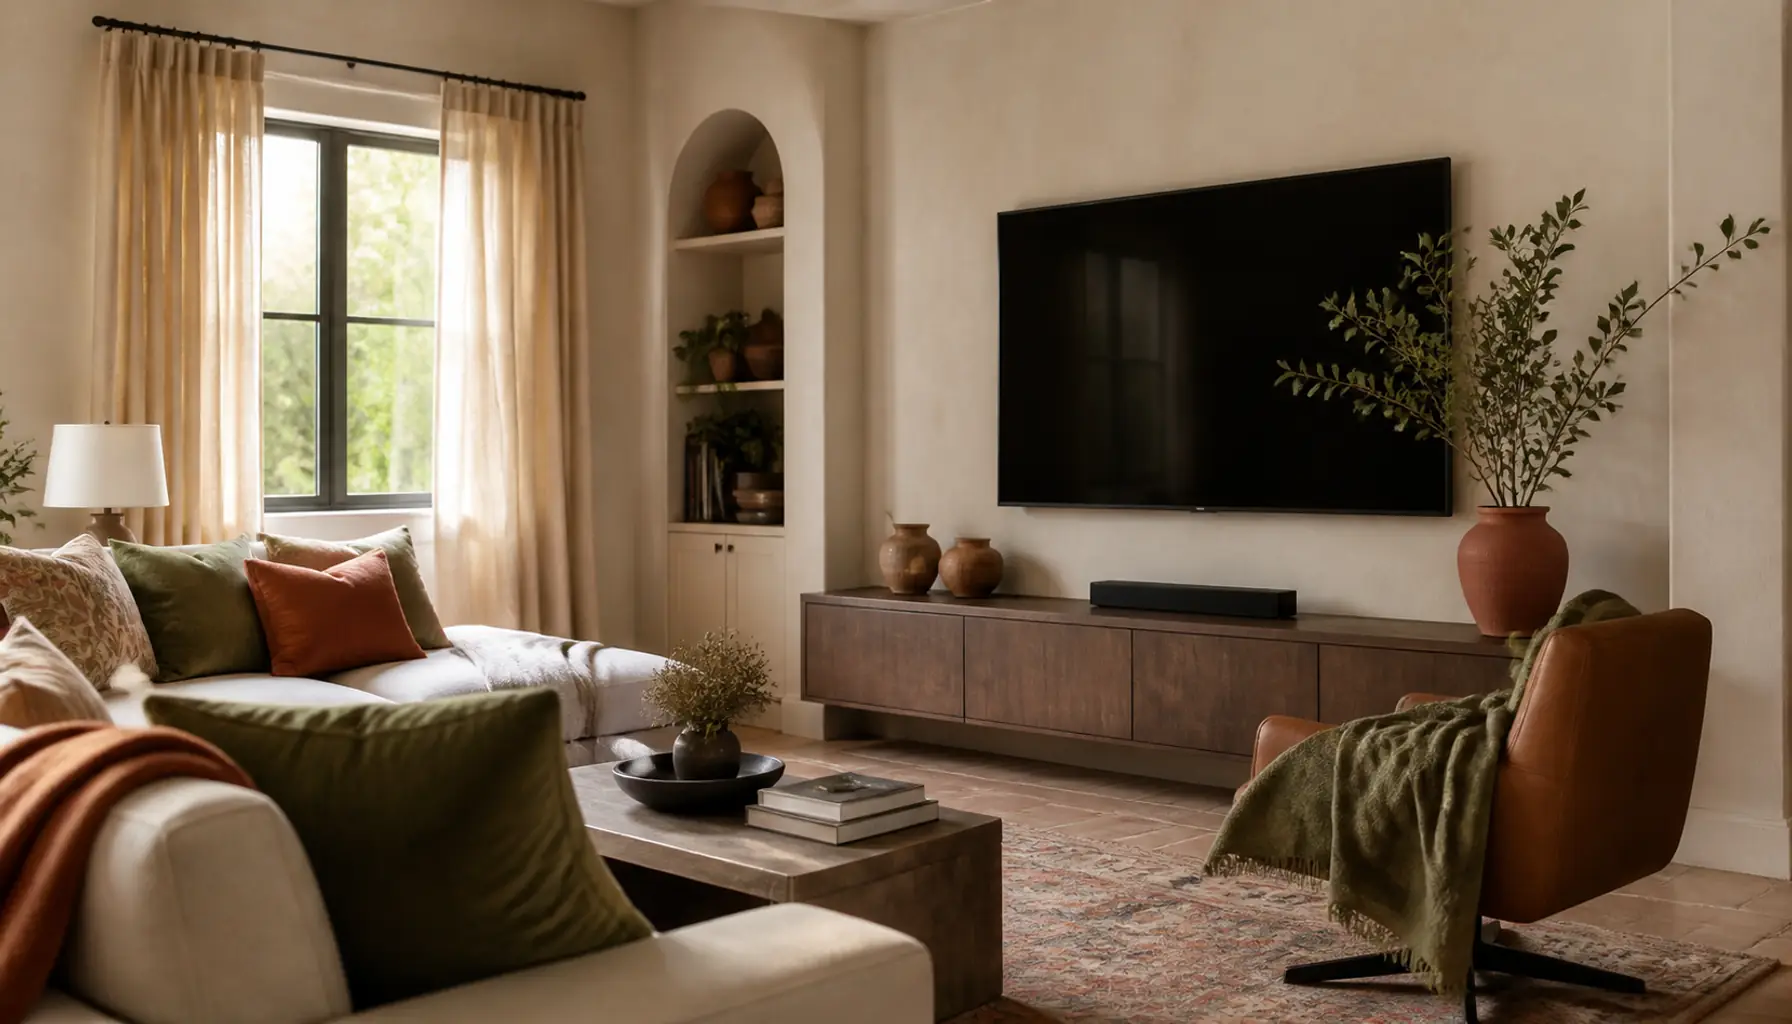
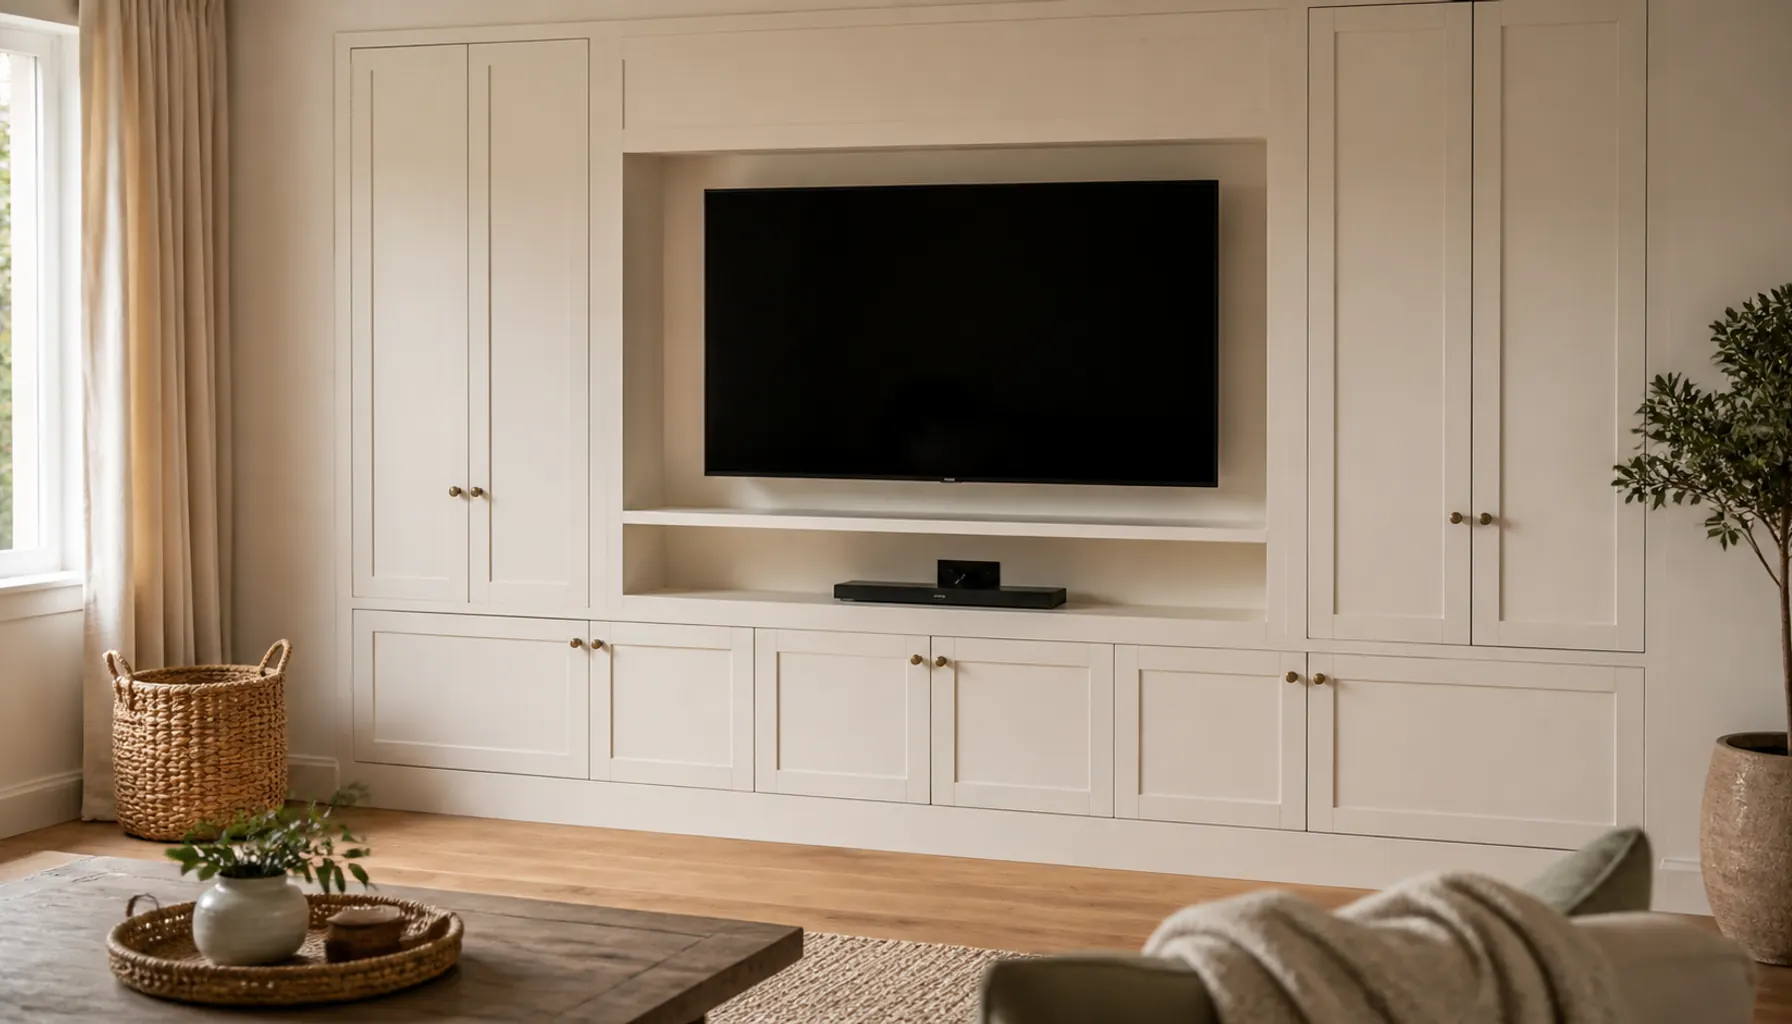
Rather than hanging the TV and hiding a console below it, build the wall around the screen. A shallow recess with cabinets running down both sides makes the TV read as one panel in a wall of joinery.
Two build notes matter. Leave the niche a couple of inches wider and taller than the screen, because a tight recess looks precise on paper and looks like a mistake once the TV sits slightly off center. And don't seal the cavity: amplifiers and streaming boxes throw off real heat, so leave the back open or cut a vent.
Screen height matters more than the cabinetry. Our notes on where to put the TV in a long narrow living room cover seated eye level and viewing distance.
Idea 3: Flank a Window With Towers and a Bench Between Them
Where a window sits centered on a wall, two tall cabinets either side plus a low bench underneath turn an awkward wall into a window seat with storage. The towers stop at the top of the window trim or carry on to the ceiling.
The bench is the part worth thinking about. A hinged lid is cheap to build and annoying to live with, because everything on the cushion has to come off before you can open it. Drawers on full-extension runners cost more and get used daily.
Keep the seat height close to a dining chair so it works without a stack of cushions, and check the bench doesn't cover a radiator or a vent.
Idea 4: Stop at Half Height and Cap It With a Deep Ledge
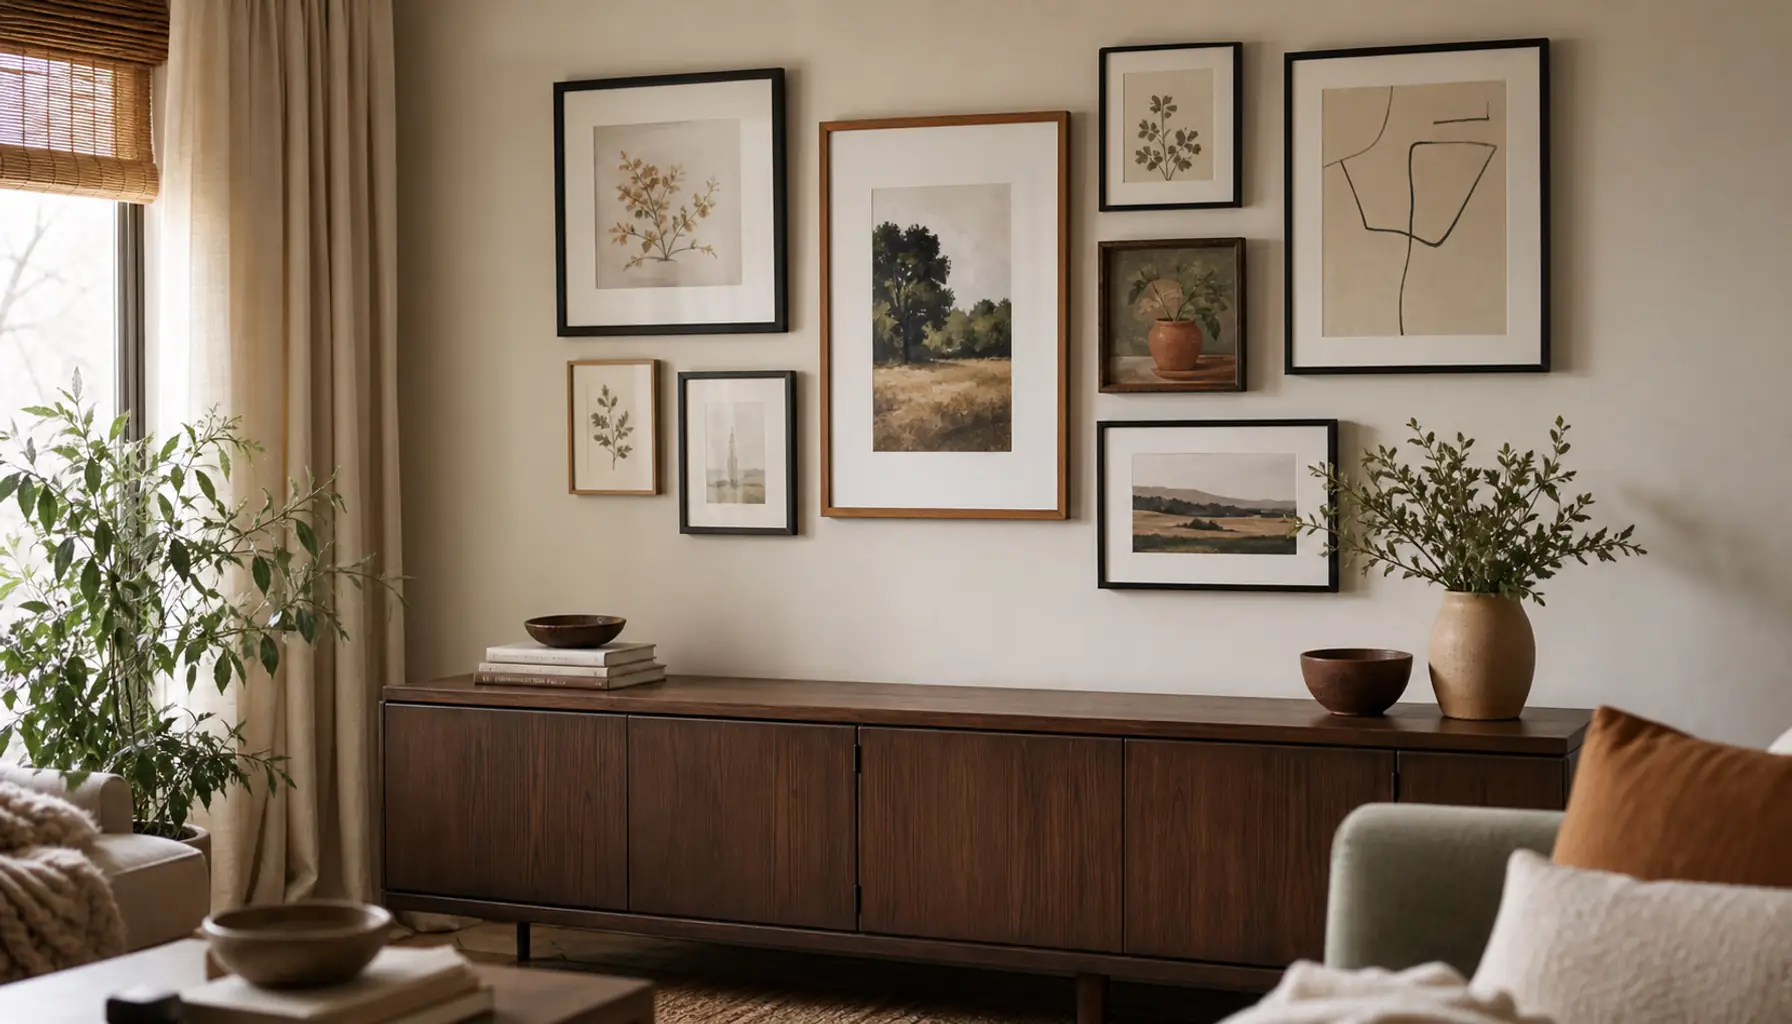
Not every wall wants floor-to-ceiling. A run of closed cabinets around counter height, capped with a wide timber or stone top, gives you a long horizontal line that keeps a low-ceilinged room feeling wide.
The top surface is the reason to build it this way. Make it an inch deeper than the doors below and you get a shadow line under the front edge plus a usable ledge for lamps, a tray and leaning artwork. Two lamps on a run like this light the room at seated height, which is the layer most rooms are missing. If your evenings feel gray, these lighting mistakes that make rooms feel cold explain why.
Idea 5: Take a Full Wall Up and Build a Doorway Through It
On a wall with a door in it, most people stop the cabinets short and leave a stub of bare plaster beside the frame. Building right up to and over the opening looks far better: cabinets on both sides, a bridging section above the door, and the doorway becomes a cased opening inside the joinery.
This is where a DIY build gets ambitious. The bridge over the door has to carry its own weight without sagging, so it needs a proper carcass, not a shelf on cleats. If the wall is load-bearing or the opening needs widening, that's a builder's job, not a weekend.
Idea 6: Mix Open Shelves and Closed Doors on Purpose
The best-looking built-ins run roughly two thirds closed, one third open. Chargers, board games, paperwork and kids' plastic go behind doors low down. The open section sits at standing eye level with books, a couple of ceramics and a plant.
Flip that ratio and the run becomes a display problem. All-open shelving needs constant editing, and if you want it anyway, the rules in our guide to styling open shelves without the clutter will keep it calm.
Drill two rows of shelf-pin holes with a cheap jig while the carcass is still on its back. Fixed shelves at book height become useless the day you own a taller vase.
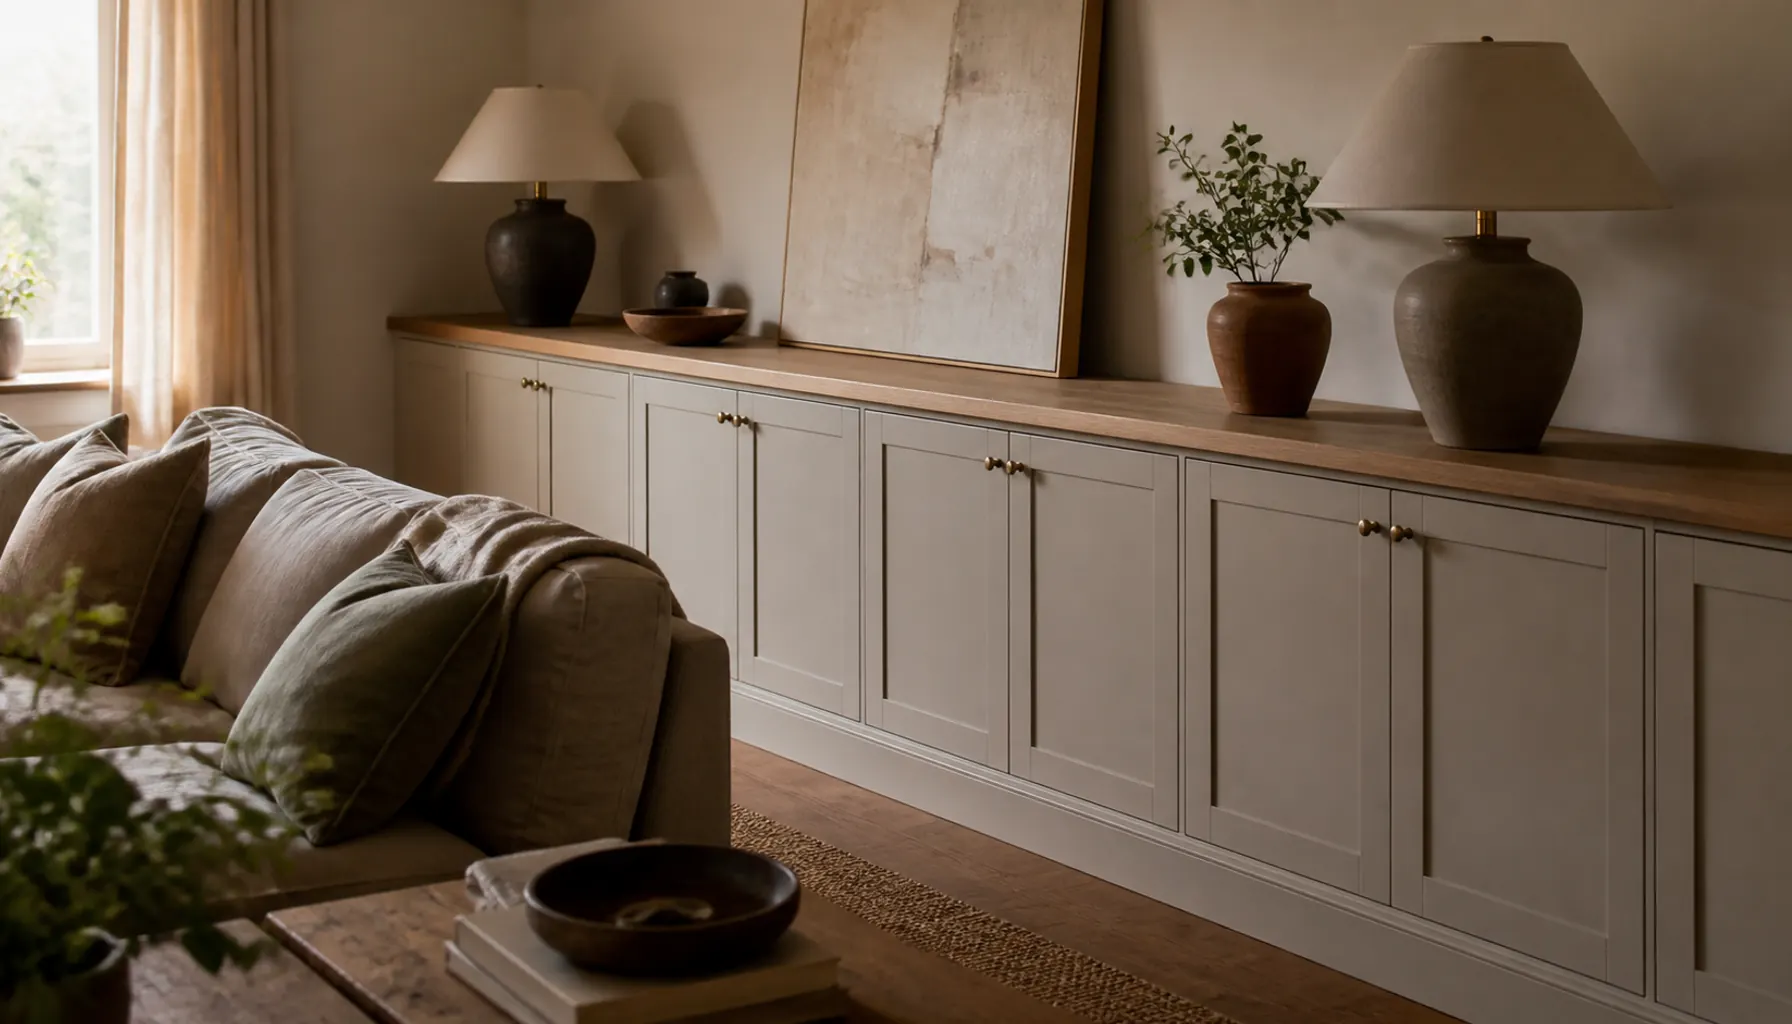
Idea 7: Paint the Cabinets the Same Color as the Wall
Match the joinery to the wall color and the run stops reading as furniture. The eye sees one continuous plane with shelves in it, which is why paint-matched built-ins look bespoke even when the boxes came flat-packed.
Same color, different finish. Walls in flat or matte, cabinets in eggshell or satin, both mixed from one base. The sheen difference defines the joinery in raking daylight while the color keeps it quiet. Warm off-whites, mushroom and soft sage all work; cool blue-grays tend to look cold across a big area of doors.
Prime bare plywood edges twice, because end grain drinks paint and dries patchy. More on this in these paint tricks that change a room completely.
Idea 8: Or Commit to Contrast and Let the Run Anchor the Room
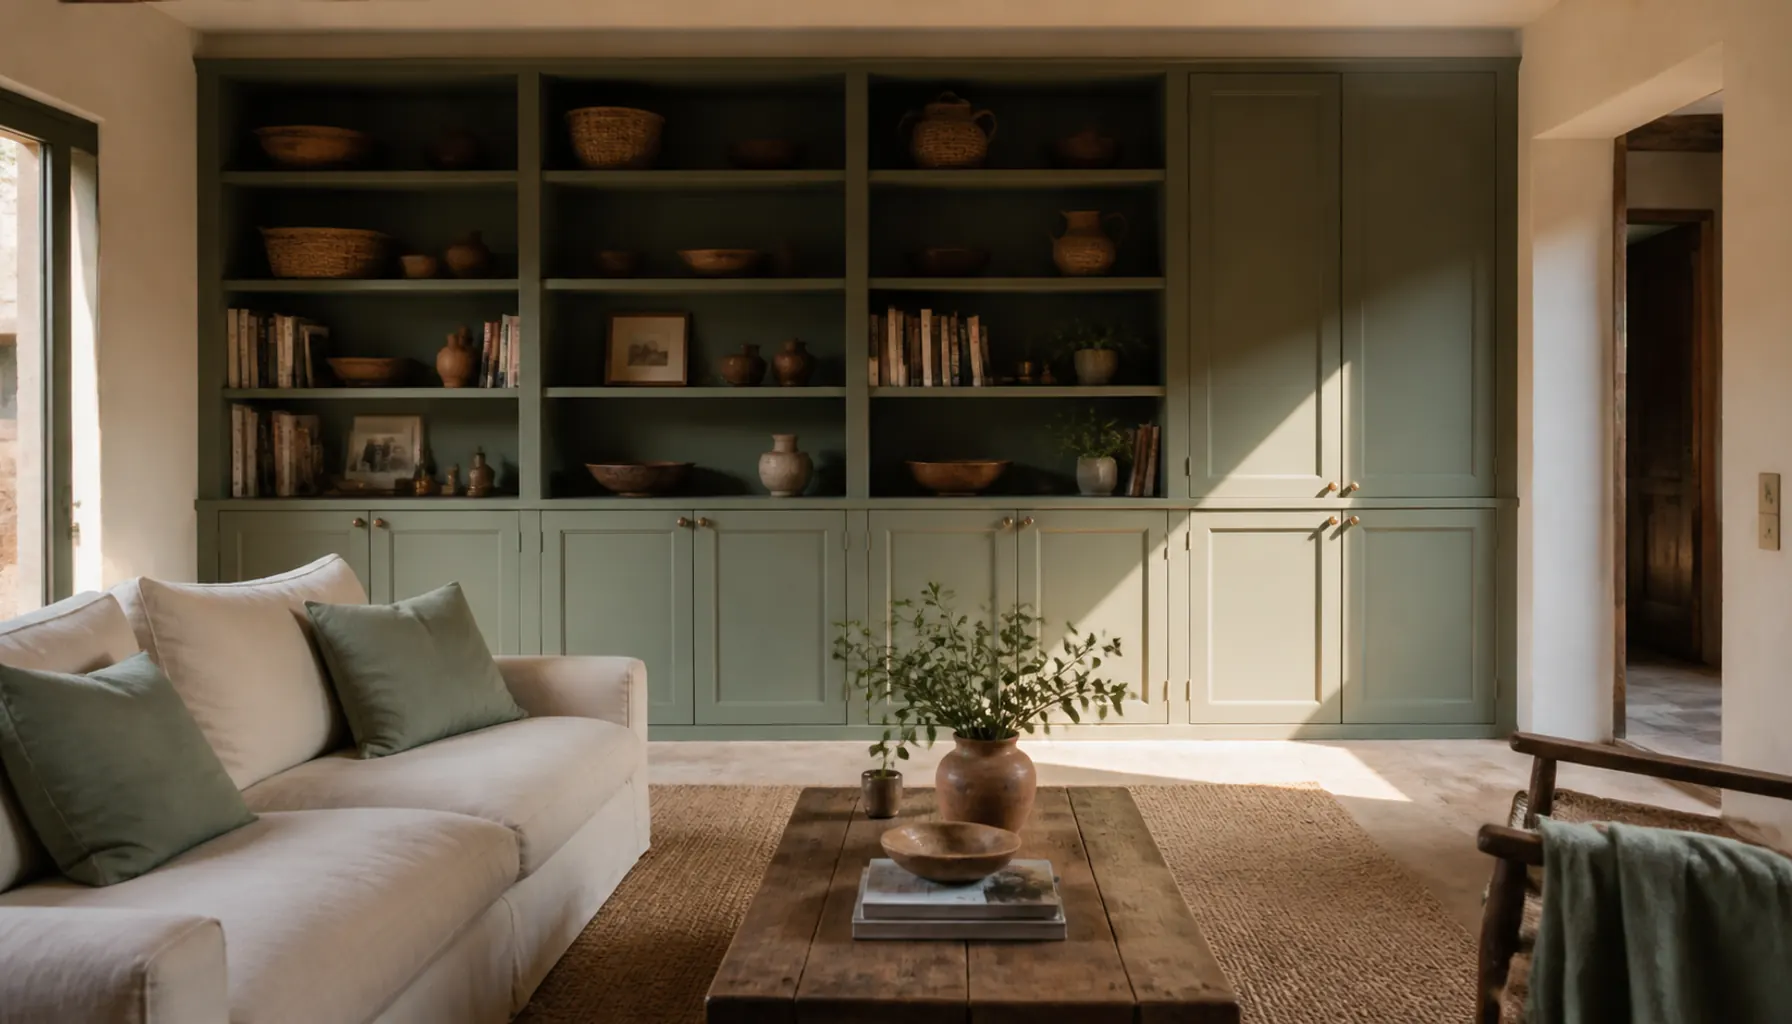
The opposite approach works too: a deep, saturated cabinet color against pale walls, so the built-in is what you notice walking in. Olive, charcoal, dusty sage and a browned-off terracotta all age better than a trend blue.
Contrast needs support or it looks stranded. Repeat the cabinet color in two smaller places, a cushion pair, a lampshade or nearby frames, and the run reads as part of a scheme. Paint the shelf interiors the same dark color rather than white, since a pale back panel chops dark shelves into stripes.
In a small or north-facing room, put the dark run on the wall you look at. Our guide to choosing a color palette for a small living room covers how much dark a space can carry.
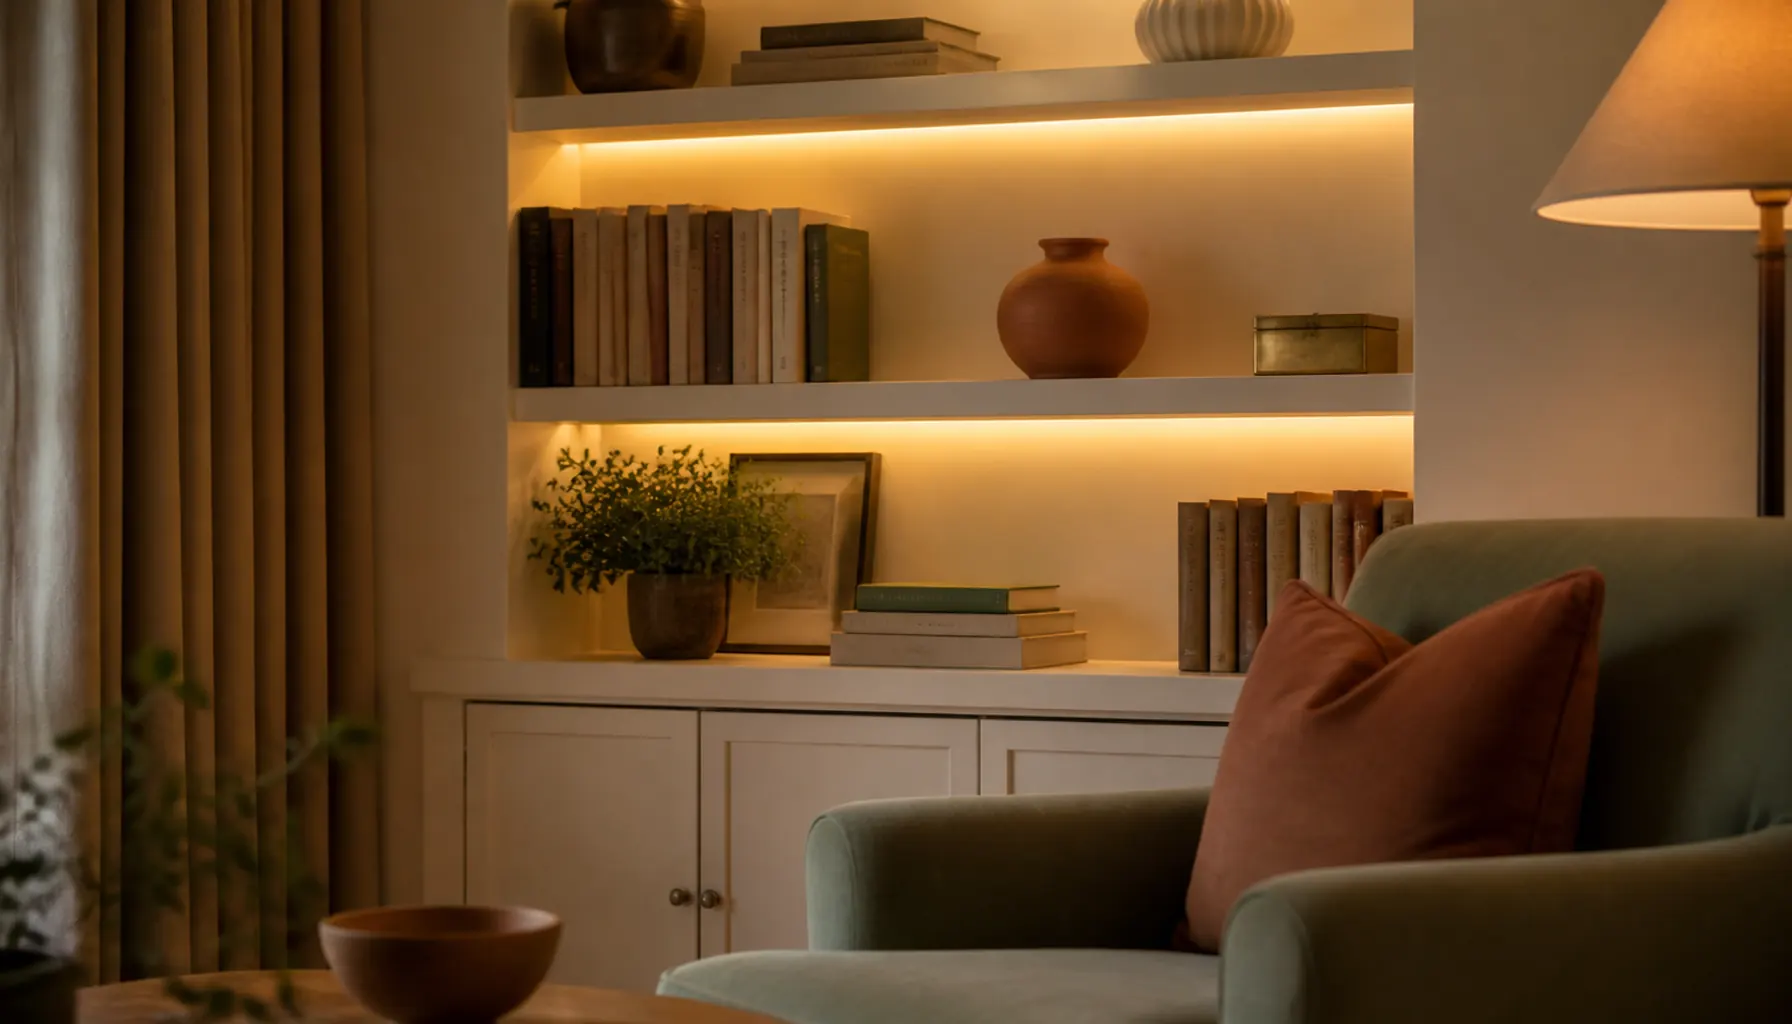
Idea 9: Wire Lighting Into the Shelves While the Boxes Are Open
Lighting inside a built-in is what makes it look installed rather than assembled. A continuous LED strip in an aluminum channel routed into the front underside of each shelf washes light down over the objects below. Small recessed puck lights give pooled light instead, which suits pottery and framed pieces.
Buy warm strip around 2700K. Cool white makes cream paint look gray and wood look dead. Get a dimmable driver and put it somewhere you can reach, because drivers fail long before the LEDs do.
Low-voltage strip is DIY territory. A new outlet or a wall switch belongs to a licensed electrician, and it's cheap to add while the wall is open.
Idea 10: Get the Reveals and Shelf Thickness Right
This detail separates joinery from carpentry, and almost nobody thinks about it until the build is finished.
Shelf thickness: 3/4 inch plywood spans roughly 30 inches before it sags under books. Go wider and you need a thicker shelf, a mid support, or a hardwood lip glued to the front edge, which stiffens the shelf and lets it read thicker than it is.
Door gaps: keep every gap around and between doors identical. Inconsistent gaps are the first thing the eye picks up, more than a slightly out-of-square frame.
The wall junction: never butt a painted panel against old plaster and caulk the line. Scribe the panel or leave a deliberate shadow gap. Caulk cracks within one heating season.
Idea 11: Start With Flat-Pack Carcasses and Add a Custom Face
The most cost-effective route to a built-in look is flat-pack boxes hidden behind custom joinery. Buy standard carcasses, level and fix them to the wall, then build a plywood face frame across the whole run and add a plinth below and a filler panel above. Six separate boxes start reading as one fitted unit.
Fronts are where the money should go. Plywood slab doors with a solid edge, shaker frames, or cane panels set into a simple frame all lift the build past its parts. Fluted trim glued onto flat doors and painted out costs mostly time.
Weighing this against buying a finished unit? The tradeoffs in when DIY beats buying new apply directly.
Idea 12: Plan the Cables Before You Close the Boxes
Decide where every cable goes before the carcasses are fixed. Once the back panels are on and the face frame is glued up, adding a route means drilling blind through your own finished work.
Cut a vertical chase at the back of the run so cables drop from the TV recess to the shelf holding the AV kit. Fit brush-plate grommets where cables pass through a shelf, and leave slack: a cable pulled tight to length can't be moved when you swap a box out.
Gear behind solid doors needs an IR repeater or wifi control. Where cables still cross open wall, these DIY cord covers that hide cables handle the last stretch.
What Built-Ins Actually Cost
Lumber prices and local labor rates move these numbers a lot, so treat them as planning brackets and get a quote before committing.
- DIY alcove build: roughly $250 to $700 per alcove. Two or three sheets of 3/4 inch plywood, hardwood for edging, shelf pins, primer and paint. It climbs if you buy doors instead of making them.
- Flat-pack carcasses with custom fronts: roughly $1,200 to $3,000 for a full wall. Most of that is boxes, hinges, runners and fronts.
- Made-to-measure joinery: from around $3,000 per wall, often well beyond. You're paying for a template survey, a sprayed finish and someone else's mistakes.
If the budget is tight, spend on hardware and fronts. Cheap hinges sag and cheap runners rattle, and both get touched daily. Building the room up in stages? The staged approach in this room refresh on a real budget pairs well with a built-in project.
Common Mistakes to Avoid
Building too deep. A 24 inch deep run steals real floor area and turns the shelves into a place things go to be forgotten. Around 12 inches suits books and display; 16 to 18 inches is plenty for AV gear and baskets.
Ignoring the baseboard. Cabinets butted over existing baseboard sit forward of the wall and the gap shows. Cut the baseboard out where the run lands, or scribe the plinth around it.
Fixing to plaster only. Tall built-ins must be screwed back into studs, or into masonry with proper fixings. A loaded bookcase is heavy, and tipping is a genuine hazard around children.
Forgetting the ugly things still need a home. A built-in full of styled ceramics doesn't solve the actual problem. Give one closed section over to real clutter, and pair it with these small apartment storage ideas that actually work if space is tight.
Frequently Asked Questions
How deep should a living room built-in be?
For books, display and baskets, around 12 inches of internal depth is usually right. Give AV equipment and larger storage 16 to 18 inches. Deeper than that and a small room loses usable floor, while anything pushed to the back stops being findable. Check your TV recess depth against the actual bracket you plan to use.
Can I build living room cabinets without a workshop?
Yes, if you plan your cuts. Have the lumberyard break plywood sheets down to rough sizes, then trim to final dimensions with a circular saw and a straightedge. Assemble in place. Pocket screws and glue are strong enough for painted carcasses, and the face frame hides most sins.
Should the built-in go all the way to the ceiling?
Full height makes a room feel taller and removes the dust shelf on top, so it's the better default. Stop short only when the ceiling is very high and a full run would overwhelm the space, or when you specifically want the low horizontal line a half-height run gives you.
Is an IKEA hack good enough for a living room built-in?
For most homes, yes. Standard carcasses are square and well made, and once they're leveled, joined together and hidden behind a plywood face frame with a plinth and top filler, the result is hard to tell from custom work. Flat-pack struggles with very irregular walls and unusual heights, which is where a joiner earns the fee.
Where to Start
If you have alcoves beside a fireplace, start there. It's the smallest version of the project, the walls do half the work, and you'll learn scribing and face frames on a forgiving build.
Before cutting anything, tape the outline of the run onto the wall and floor and live with it for a few days. Depth is the decision people regret, and painter's tape costs nothing. Then measure your alcove in three places, price plywood locally, and decide honestly which parts you want to build and which you'd rather hand over.
Still settling the direction for the room? The style finder is a quick way to land on a palette before you commit to a cabinet color.