12 Wooden Room Divider Ideas for Open Living Rooms
Twelve wooden room divider ideas for open living rooms, with buildable slat screens, sliding panels, and honest notes on cost, stability, and daylight.

· 14 min read
An open living room usually has one problem: nothing tells you where the sofa zone stops and the dining table starts. A wooden room divider fixes that without closing the space back up, and most of the good versions are within reach of a beginner with a miter saw and a weekend.
The 12 ideas below run from a screen you can build on a Saturday afternoon to a floor-to-ceiling slat wall that becomes part of the architecture. Each one notes rough material cost in USD, build difficulty, and whether it survives a rental inspection.
One thing up front: a tall freestanding screen that is not weighted or anchored can tip. If you have toddlers or dogs, treat the stability notes as the most important part of this article.
Key Takeaways
- Slats zone a room without killing daylight, because the gaps let light and sightlines pass while the vertical rhythm still reads as a wall.
- Anything taller than about four feet needs weight at the base or a fixing at the top. A tall, light screen is the one real safety risk here.
- Freestanding options are renter-safe. Floor-to-ceiling and half-wall builds are not, so save those for a home you own.
- Match the wood tone to your floor's undertone, not its exact color. White oak beside a red-toned floor fights; a warm oak or pine sits down quietly.
- Small rooms often get worse when divided. In a tight open plan, a rug and a floated sofa usually do the job better.
12 Wooden Room Divider Ideas Worth Building
Idea 1: Build a Freestanding Slat Screen You Can Move
This is the entry point, and the one most people should build first. Two horizontal rails, a run of vertical battens between them, two feet at each end. Standard 1x2 pine or poplar battens spaced roughly the width of the batten itself gives you the classic look: solid enough to read as a boundary, open enough that you still see the window behind it.
Expect around 60 to 120 USD in lumber for a screen about six feet wide, plus screws and finish. Pocket-hole joinery is friendliest here because nothing shows from the front.
The feet are not optional. Cut them wide, at least ten inches deep on each side of the frame, and the screen stops wanting to fall over. If you've never cut and finished anything, the tools-and-first-project guide covers the small kit this needs.
Idea 2: Anchor a Floor-to-Ceiling Slat Wall
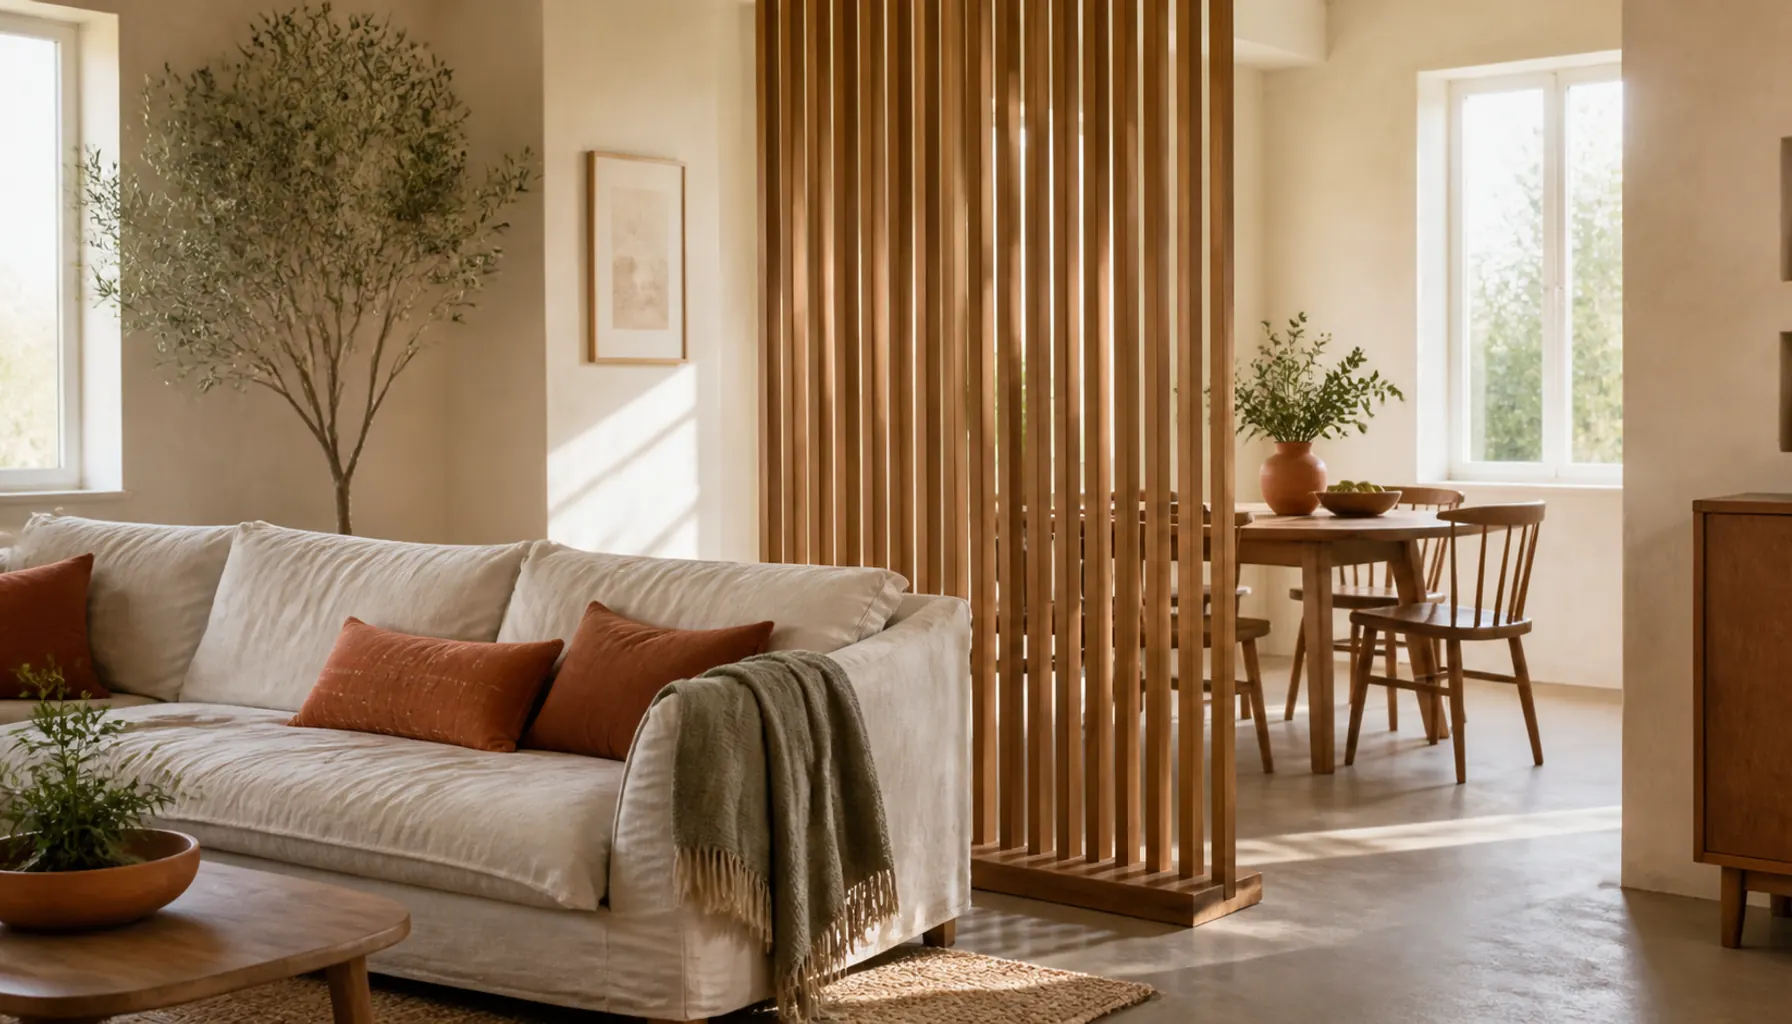
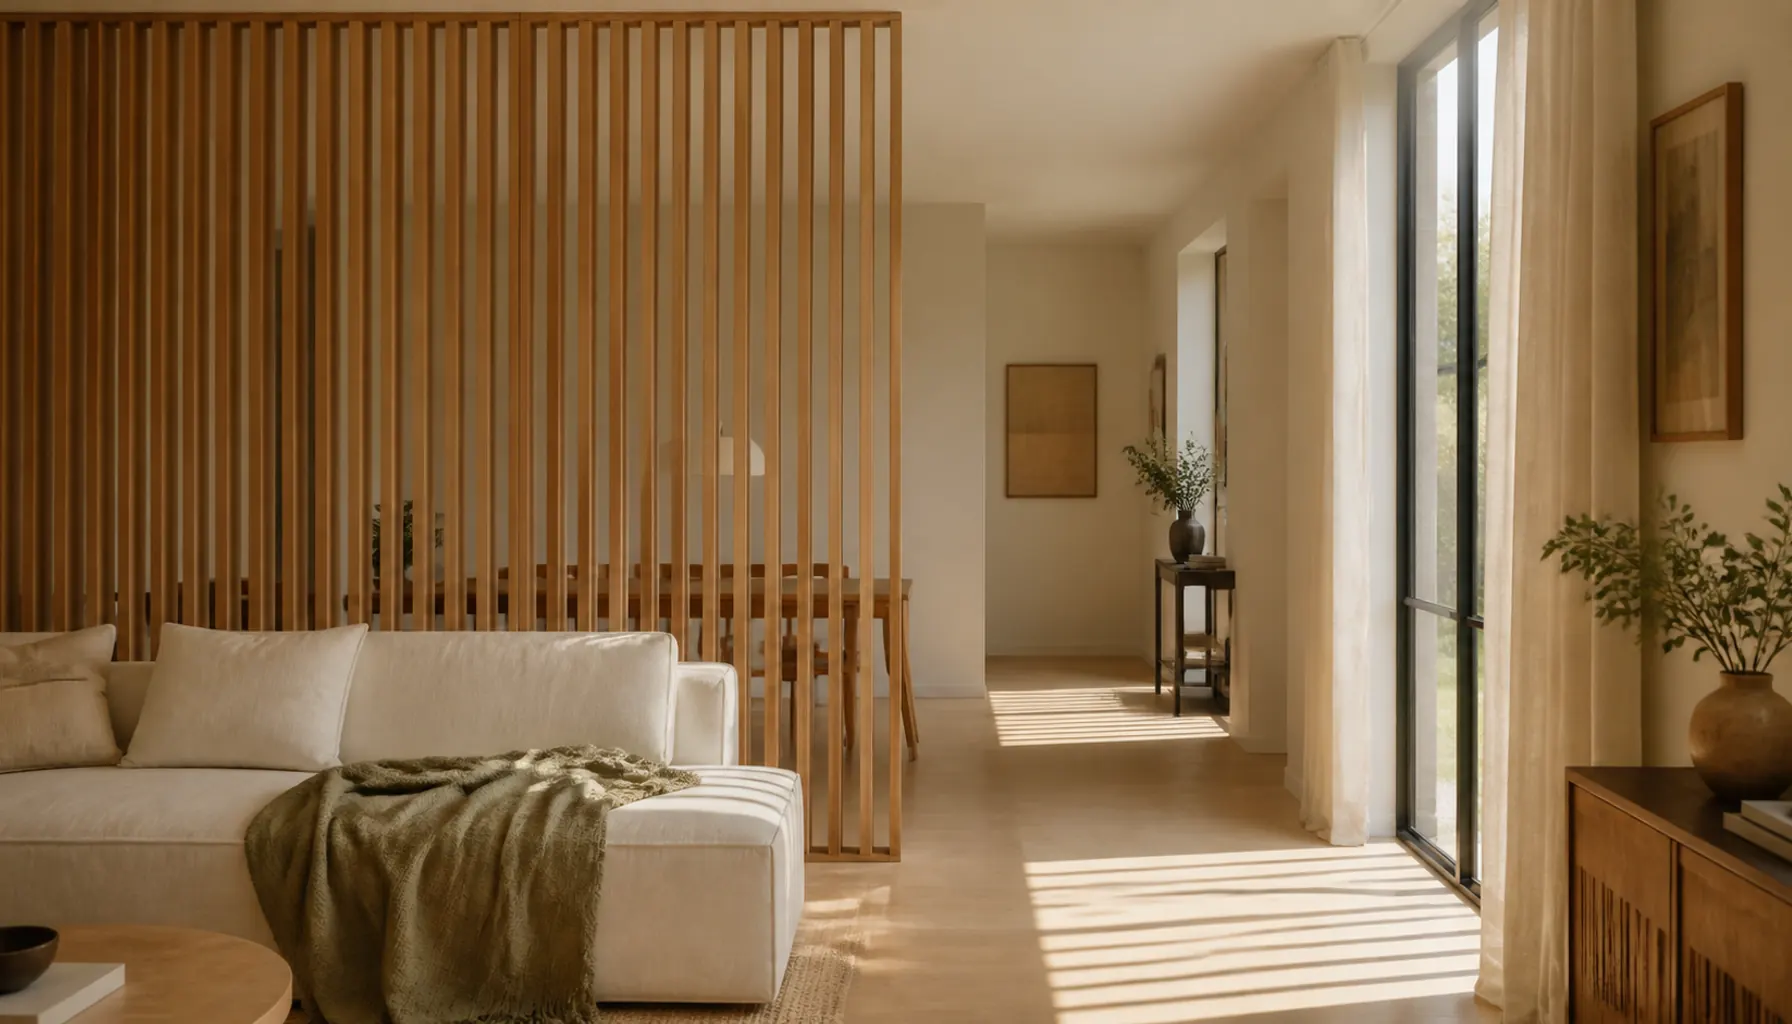
Fixed slats from floor to ceiling change how the room reads, because the eye follows the vertical lines up and the ceiling starts to feel taller. You build a top plate screwed into joists and a bottom plate screwed into the floor or a base shoe, then run battens between them.
This is the strongest option and the least flexible. You cannot move it, and you cannot do it in a rental. It costs more too: a nine-foot run of ceiling-height battens might land at 200 to 350 USD in material.
Leave one end open rather than running slats wall to wall. Stopping three or four feet short of the far wall creates a walkway instead of forcing you to route around it.
Idea 3: Cap a Half-Height Wall With a Wood Shelf
A partial wall roughly counter height (call it 36 to 42 inches) blocks the view of sofa clutter from the dining side while leaving the whole upper half of the room open. Cap it with a wide board of oak or pine and you get a real surface: keys, a lamp, a plant, somewhere to set a glass down.
This is a framing job, not a furniture job, so it sits at the harder end. If the wall carries no load, a stud frame lag-bolted into the floor and one adjacent wall is enough. Anything touching a load path needs a professional.
Paint the wall body to match your existing walls and leave the wood cap raw or oiled. That contrast makes it look intentional rather than unfinished.
Idea 4: Turn Open Shelving Into a Two-Sided Divider
A shelving unit with no back panel divides the space and stores things, which is the best value per square foot of anything on this list. The catch is that both sides are on display, so you cannot use it as a dumping ground.
Keep it low, around four to five feet, so the room stays connected above the top shelf. Style it sparsely with objects that read from either side: ceramics, books lying flat, a trailing plant. Solid-backed cubbies facing the messier zone and open cubbies facing the living room is a fair compromise. Our notes on styling open shelves without the clutter apply doubly here.
Bolt the unit to the floor or to a ceiling joist. A loaded shelf that tips is heavy.
Idea 5: Hang Pivoting Panels That Change the Sightline
Three or four narrow wood panels, each on a pivot hinge top and bottom, let you turn the divider from nearly transparent to nearly solid by rotating them. Angle them at 45 degrees and you screen the view from the entry while people on the sofa still see the window.
Barrel hinges or simple pivot pins set into a top rail and a floor plate do the job. Keep each panel narrow, roughly 12 to 16 inches wide, so it swings inside the depth of the frame instead of sweeping into the walkway. Salvaged shutters and old door panels work beautifully, and thrift and salvage finds cut the cost to almost nothing.
Worth Avoiding: panels taller than the frame can brace. Without a rigid top rail they rack sideways and stop closing flush.
Idea 6: Run a Sliding Panel on a Ceiling Track
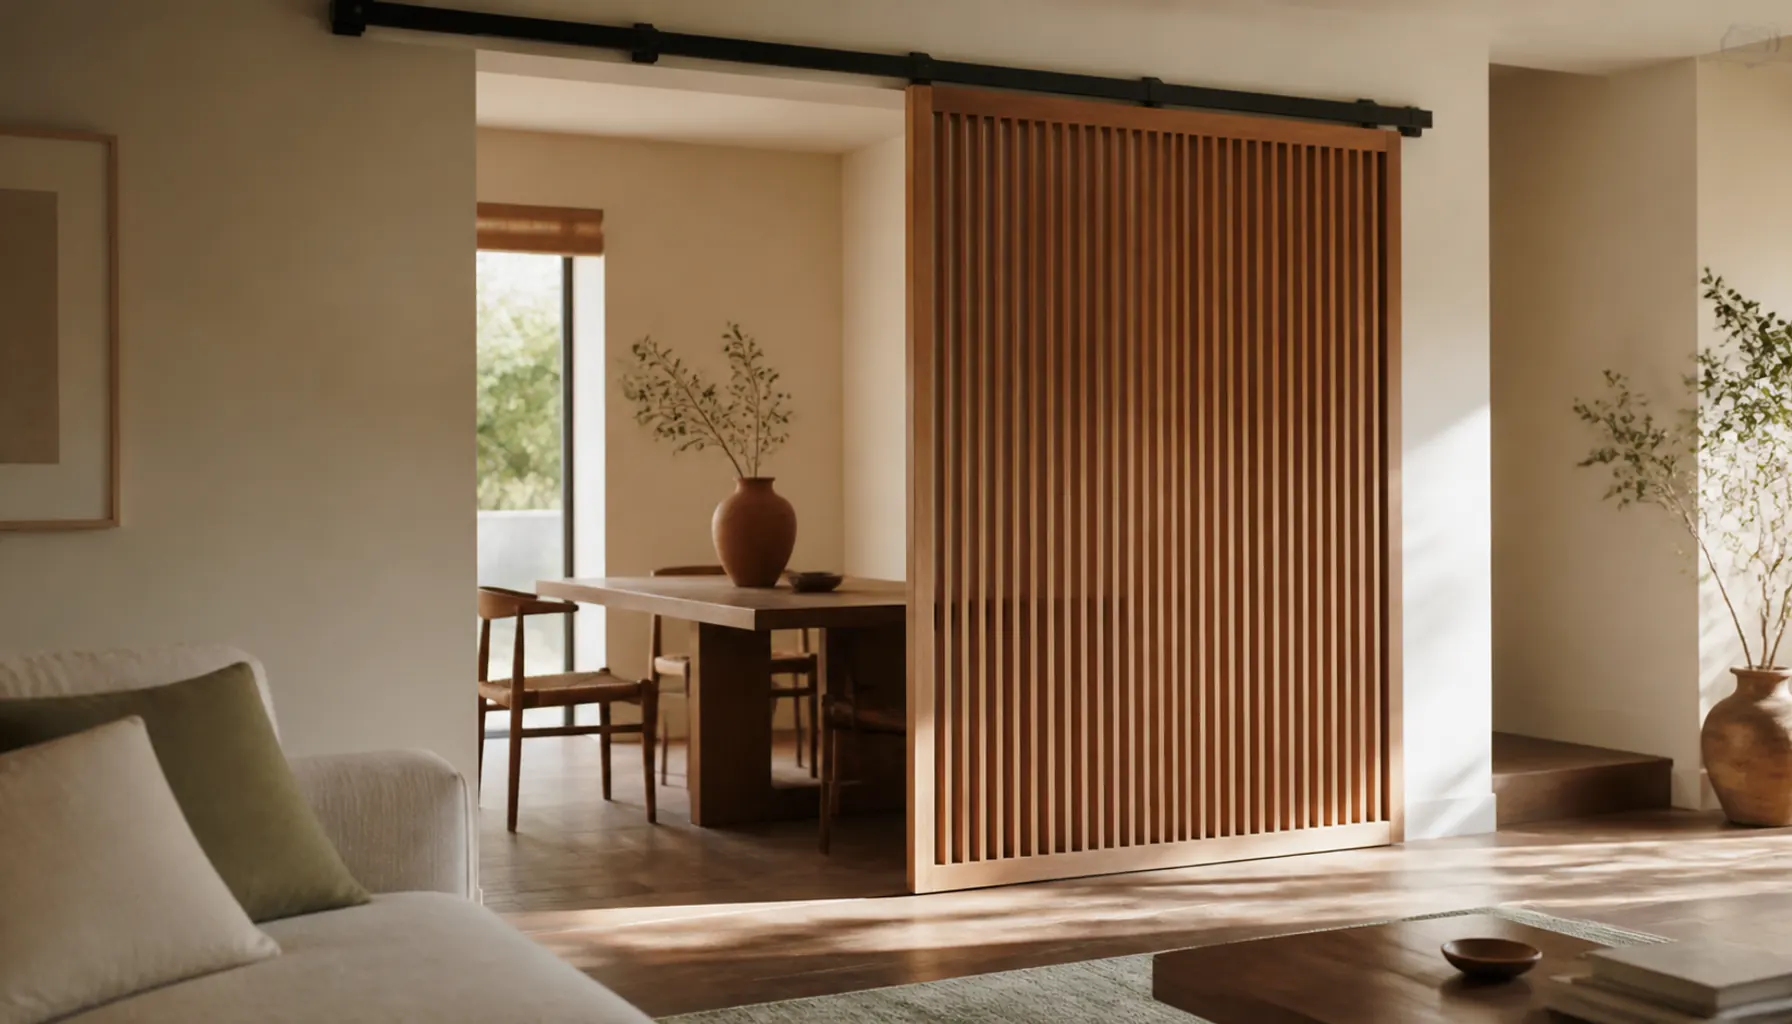
A single wide wood panel hung from a ceiling track slides out to close off the dining zone and parks flat against a wall the rest of the time. It's the most practical answer for a room that needs to be one space on weekdays and two on movie night.
The track carries all the weight, so it has to go into joists, not drywall anchors. A lightweight frame-and-slat panel is far easier to hang than a solid slab, and it stays brighter. Barn-door hardware on a header board is the common shortcut: screw one long board into the joists, then mount the rail to it.
Budget 100 to 200 USD for hardware plus panel, and check your floor is level. A slope turns a smooth slide into a scrape.
Idea 7: Frame the Opening Instead of Filling It
Sometimes the answer is not a divider but a border. Add a substantial wood casing (a header board plus two jambs) to the existing opening between zones, or build a shallow portal where no opening exists, and the two areas read as separate rooms without anything obstructing them.
This is the cheapest architectural move here: primed 1x6 or 1x8 boards, construction adhesive, and finish nails usually come in under 80 USD. Stain it a warm walnut or paint it a shade darker than the walls so the frame reads.
It's also the right call for a small open plan, where a real divider would cramp both halves. You get the visual break with no loss of floor space and no loss of light.
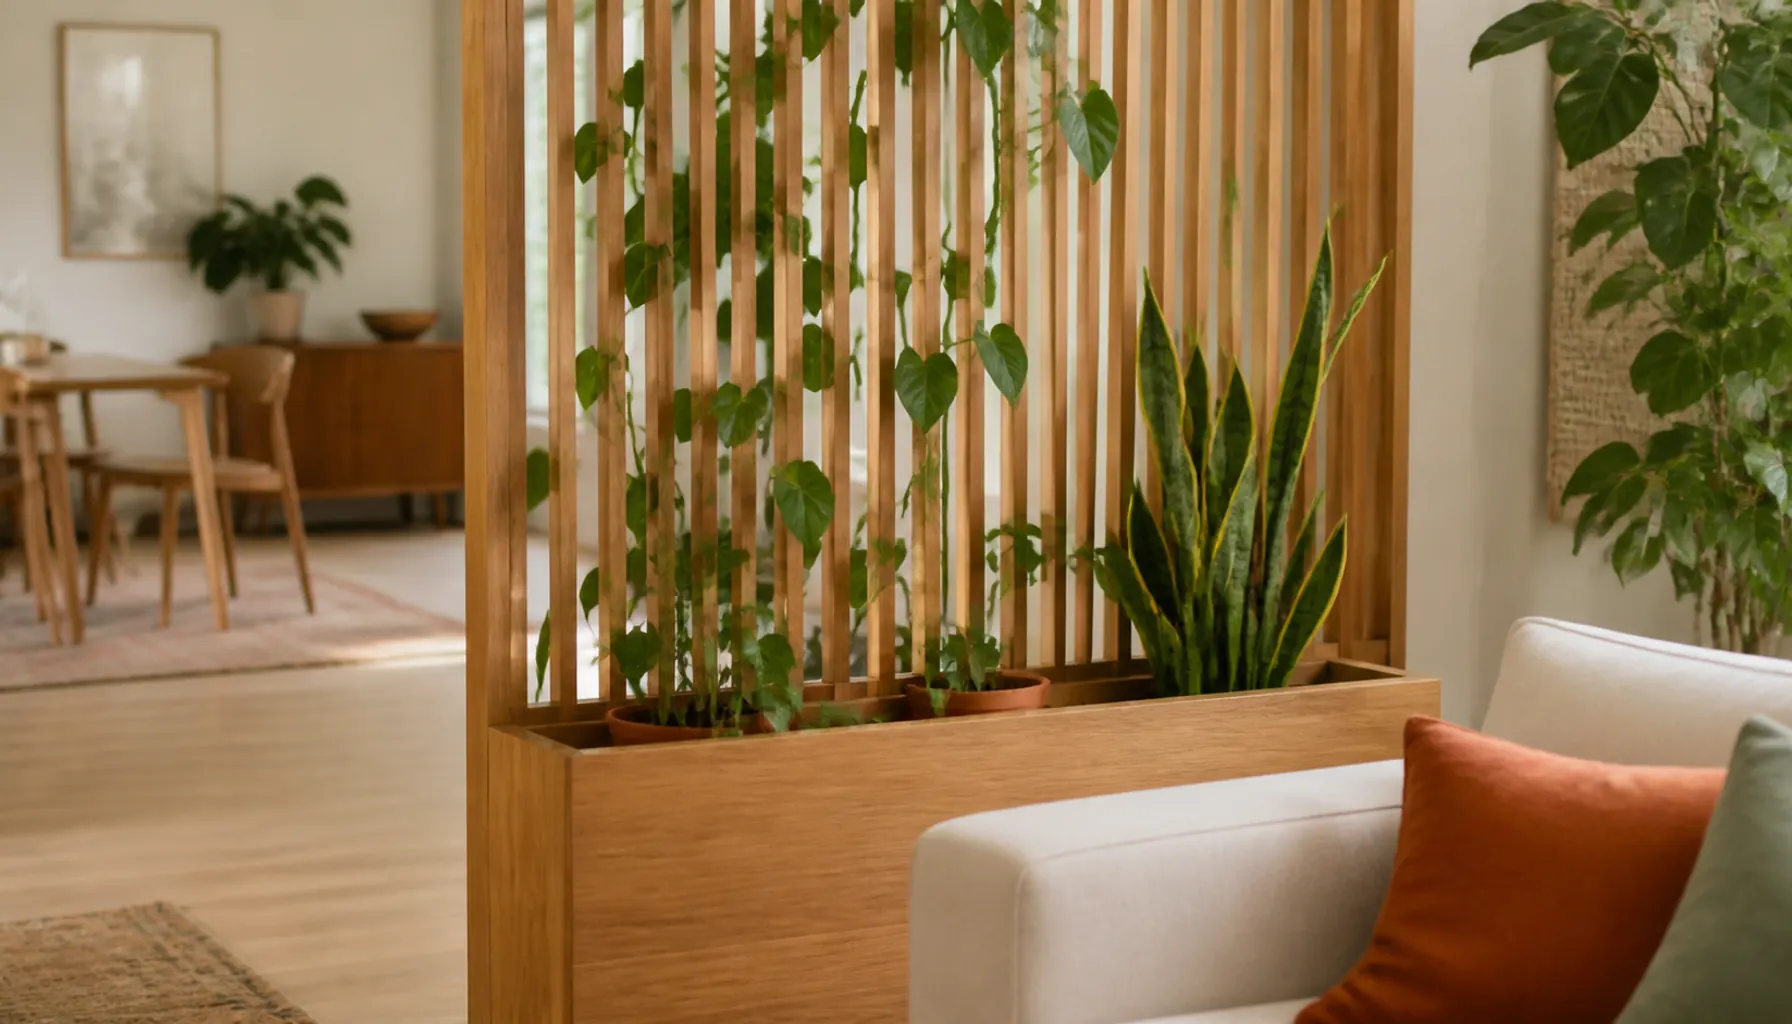
Idea 8: Build the Planter Into the Screen Base
Set a long wooden planter box at the base of a slat screen and two problems solve each other. The box gives you the weight that keeps a tall screen upright, and the greenery softens the hard vertical lines so the divider does not look like a fence.
Build the box roughly ten to twelve inches deep, line it, and set potted plants inside rather than loose soil so you can swap anything that dies. That base weight makes tipping far less likely, though a tall screen around small children still deserves a top fixing.
Snake plants, rubber plants, or a pothos trained up the slats all suit this. Skip anything needing direct sun, since the screen itself casts shade.
Idea 9: Reuse Turned Spindles for a Cottage-Style Screen
Old stair balusters, salvaged porch railing, and dismantled crib sides all give you turned wood spindles, and a row set between two rails makes a divider with far more character than flat battens. The turned profile catches light differently along its length, so the screen reads as a rhythm of light and shadow rather than a flat grid.
Salvage yards often sell balusters in lots for very little. Expect mismatched heights: cut them all to one length on a miter saw and the problem disappears.
Paint is your friend when the spindles came from four sources. One warm off-white or a soft sage over the whole screen pulls it together, and the paint prep habits that matter on furniture matter here too.
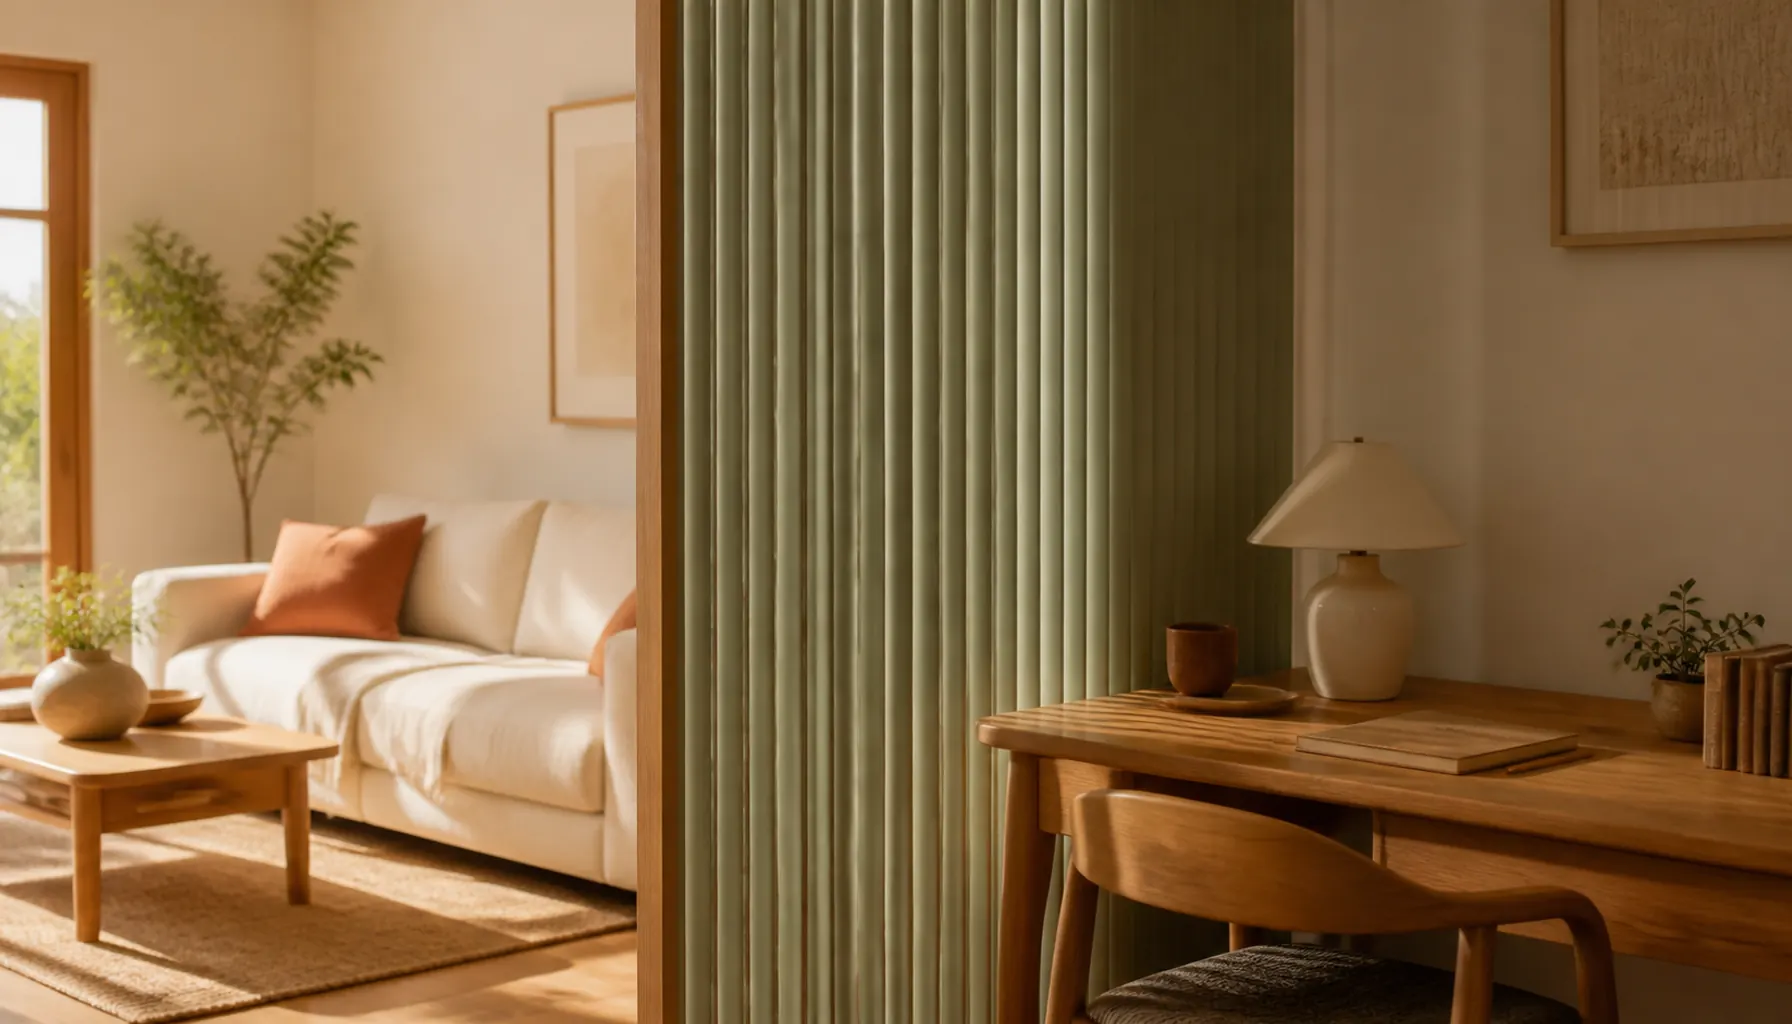
Idea 10: Use Reeded Panels Where You Want Real Privacy
Slats let sound and sightlines through. If you're screening a desk and you actually need to not see the paperwork, use solid panels with a reeded or fluted face instead. Half-round dowels glued to a plywood or MDF backer give you the vertical texture of a slat screen with none of the transparency.
Cut half-round moulding to length, glue it edge to edge across the panel, then paint the whole face one color so it reads as a single sculpted surface. Painted reeding is far more forgiving than stained, because paint hides the glue lines.
The tradeoff is real: a solid panel darkens whatever sits behind it. Put it on the side away from your main window, and check the effect with a sheet of cardboard first.
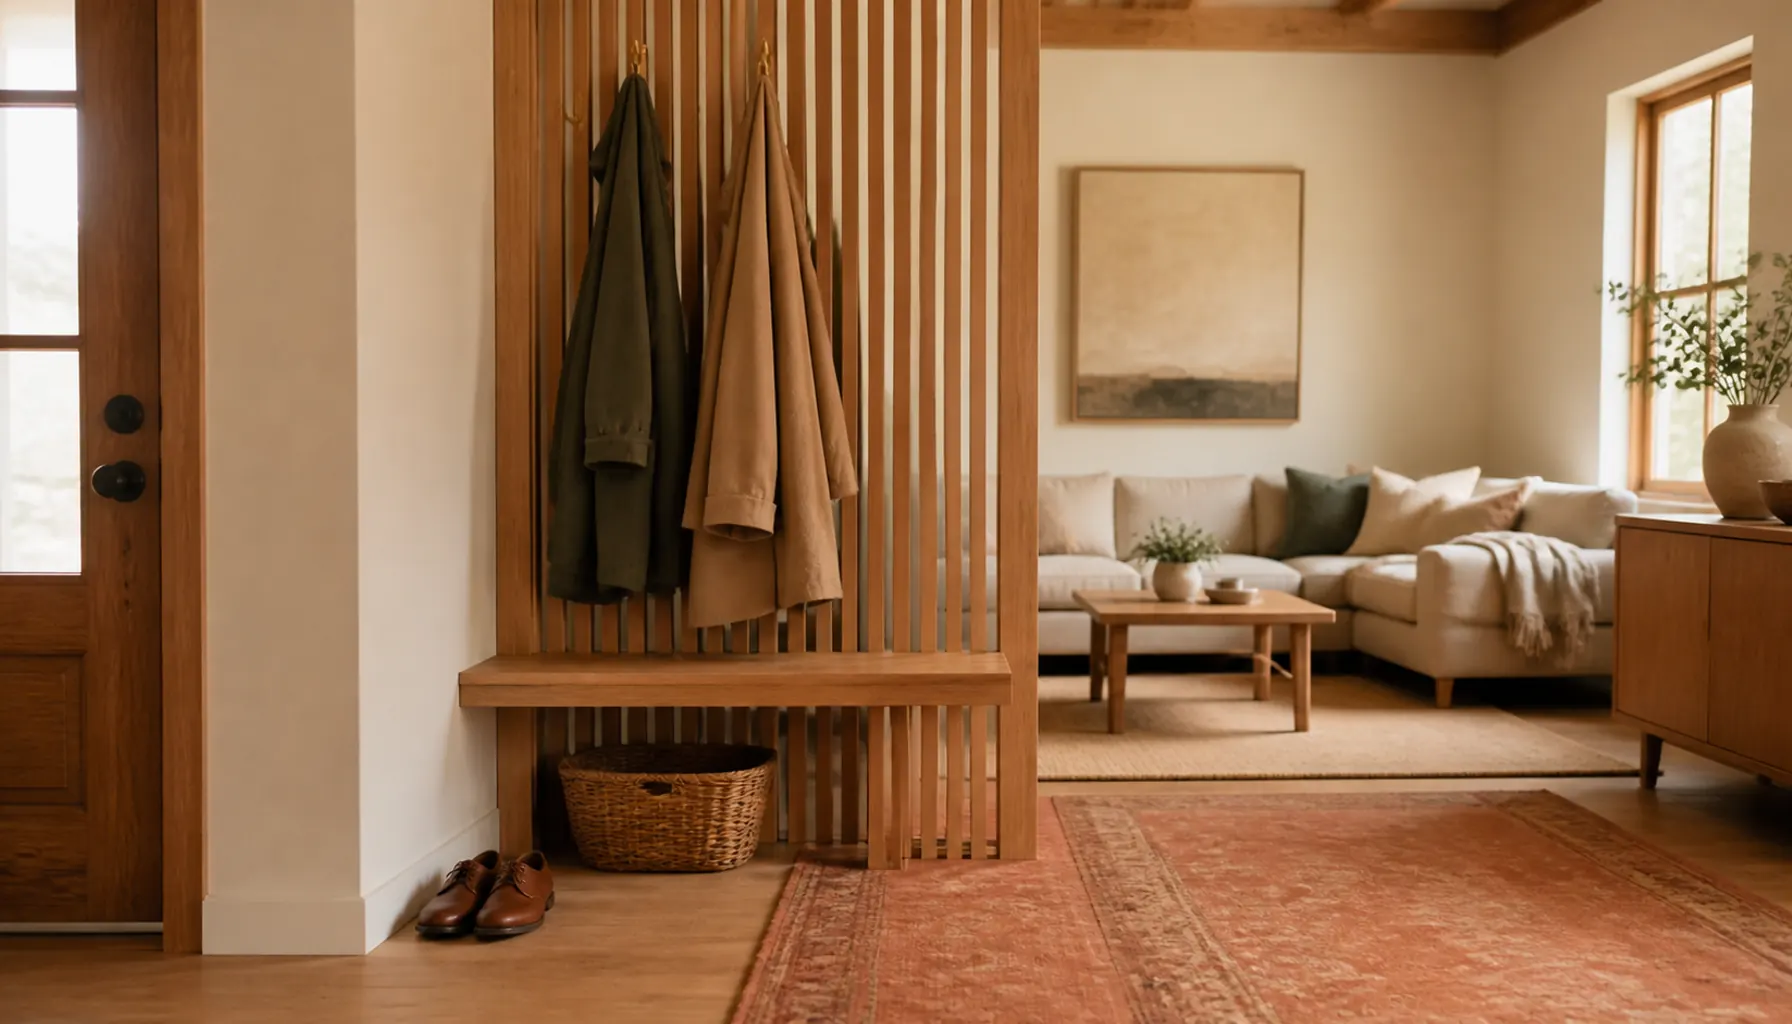
Idea 11: Pair a Low Bench With a Short Screen at the Entry Edge
Where the front door opens straight into the living room, a bench with a short slat screen rising from its back edge makes an entry that did not exist before. The screen only needs to be waist height above the seat, which keeps the whole thing stable and the room bright.
Build the bench box first, with the screen frame joined into the back rail. That single connection means the bench weight, plus your own weight on the seat, is what keeps the screen upright. No anchoring needed.
Hooks on the door-facing side take coats. It suits a proper entryway setup for busy mornings, and like other renter-friendly upgrades, it moves out with you.
Idea 12: Build an Open Grid Frame With Nothing In It
A large wood grid, a frame subdivided into big squares by horizontal and vertical members, marks a boundary while hiding almost nothing. Think six or nine openings across a frame roughly five feet wide. Nothing goes in the squares.
Why it works: the eye reads the frame as a plane, so the zones separate, but you keep the whole view and all the daylight. It's the lightest-touch divider here and the right pick for a room where one window is doing all the work.
Half-lap joints where the members cross look best and stay flat. If that sounds like too much, butt-joint the pieces into a face frame and screw from behind. At often 40 to 70 USD, it is a sensible first build for testing whether you want a divider there at all, the kind of low-stakes trial our take on when DIY beats buying new covers.
Common Mistakes to Avoid
Building it too tall. A divider stopping a foot short of an eight-foot ceiling feels oppressive from both sides. Five or six feet looks better and stays safer.
Ignoring the daylight path. Stand where the divider will go at the hour you use the room most, and hold up a large piece of cardboard. If the far zone goes gloomy, move it or switch to slats, or you inherit one of those lighting problems that make a room feel cold.
Blocking the walkway. Leave at least 30 to 36 inches where people pass. A divider forcing a sideways shuffle gets resented fast.
Skipping the anchor because it feels steady. A screen that resists a hand push tells you nothing about a dog running into it. Weight the base, bolt it to the floor, or fix an L-bracket into a stud at the top.
Dividing a room that was fine. In a small open plan, try a correctly sized rug and a floated sofa before you build anything.
Expert Tips for Making the Wood Look Right
- Match undertone, not color. If your floor has a red or orange cast, a cool white oak screen looks gray and wrong beside it. A warm oak, pine, or stained poplar sits down quietly instead. Test on an offcut laid on the floor first.
- Repeat the wood somewhere else. One wood object reads as an accident. Carry the same tone into a shelf, a frame, or a lamp base and the divider looks planned, the logic behind the terracotta and neutrals palette.
- Vary the slat spacing on purpose. Wider gaps near the top and tighter gaps at the bottom screen the seated view while keeping the upper room bright.
- Finish all four faces and sand the edges. Unfinished backs absorb moisture unevenly and can cup, so oil or seal every side. A divider stands in a walkway, and hands and hips will find its corners.
Frequently Asked Questions
Will a wood divider make my open living room feel smaller?
It can, and that's the main risk. Slatted and open-frame dividers keep sightlines through, so they read as organized rather than shrunken. Solid panels do the opposite. If the whole open area is small, a divider usually makes both halves feel tight, and zoning with a rug and furniture placement works better.
How do I stop a tall freestanding screen from tipping over?
Give it wide feet, add weight at the base (a planter box, a bench, a low cabinet), or fix a bracket into a wall stud or ceiling joist at the top. Height plus light weight plus a narrow footprint is the dangerous combination. With young children or large dogs in the house, use a fixing rather than relying on weight alone.
Are any of these renter-friendly?
Yes. Freestanding slat screens, spindle screens, planter-base screens, bench-and-screen units, open grid frames, and open shelving all sit on the floor with no fixings. Ceiling-track panels need joist screws, so they leave holes. Floor-to-ceiling slats, half-height walls, and framed openings are permanent, not rental projects.
How much does a DIY wooden room divider cost?
A six-foot pine slat screen typically runs around 60 to 120 USD in material, an open grid frame less, and a ceiling-height fixed slat wall considerably more once hardware is added. Reclaimed spindles and salvaged panels bring it lower. Prices vary by region and species, so price your own lumber list before committing.
Where to Start
Pick the divider by the problem, not the picture. If the room only needs a visual boundary, build the grid frame or a low slat screen. If you need to actually hide a desk, go solid and reeded. If the space has to change through the day, spend the money on a ceiling track.
Before you cut anything, tape the divider's footprint on the floor and live with it for a few days. You'll learn whether it lands in a walkway, whether it steals light from the far corner, and whether you wanted a divider at all. That test is free, and it saves more lumber than any measuring trick.